I’ve been working with Craig on his plane a bit recently and we started his leading edge skins. We’ve still got a fair bit of work to do in order to finish up his right wing, after which we’ll move on to mine. That being said, he came by to help me install the tank extension skin on my right wing today so that we’d be ready to start on my leading edge skins as soon as we’re done with his.
I had previously marked out the positions for the holes that go through the extension skin and into the spar cap. With Craig there, we finalized the position of the extension skin side-to-side, clamped it in place with spring clamps, and marked the positions of the holes into the tail ribs 5/16” from the rear of the extension skin (in order to make sure they cleared the pre-drilled holes in the tail ribs). With that done, we started in the middle and worked outward drilling all of the holes into the spar cap. We used the Carbon Cub drilling jig sold by Aircraft Tool Supply in order to drill these holes. This jig made the work much easier since keeping the sheet metal flush with the bottom of the spar cap was much less critical and it ensured that we would be drilling in the appropriate area above the bulb. I would highly recommend purchasing and using the jig. With the holes into the spar cap drilled, deburred, and cleco’d, we drilled the remaining 3 holes into the tail ribs and pulled all of the rivets. This finished section 381 of the manual.
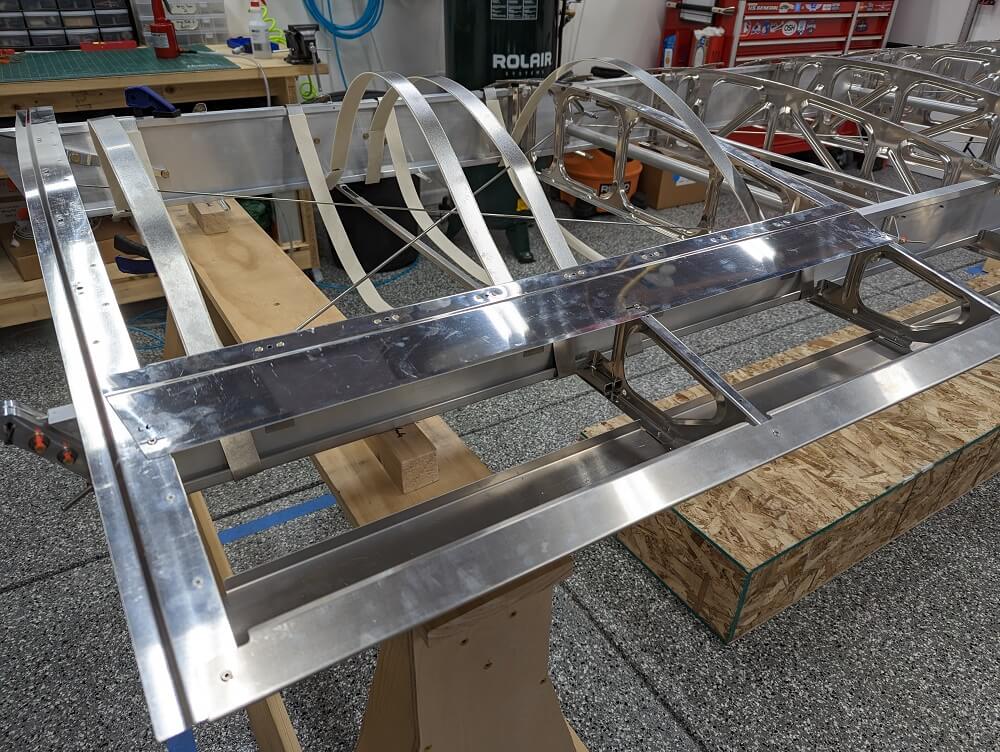 The fully-installed tank extension skin
Once we were done with that and Craig left, I cleaned up the bottom, front spar channel on the front spar by blowing it out with the air compressor and then running a shop towel moistened with denatured alcohol through it. After the spar channel was reasonably clean, I fished the wires for the wingtip and landing lights through it per section 442 of the manual. I fed the wingtip lights through first and these were a bit of a challenge since I had installed the crimp-on knife disconnects already. These had a tough time fitting under and behind the lift strut fitting. If I were to do this again, I definitely would not terminate that wire until it was in place. That being said, the landing light wire went into place next without any fuss. I used spring clamps and some tape to hold the wires in place temporarily while I applied some neutral-cure silicone (smoothed with a large popsicle stick) to do the job permanently. This would have been much much harder to do with the leading edge skins installed and, now that it is done, I am ready to prep and install the skins.
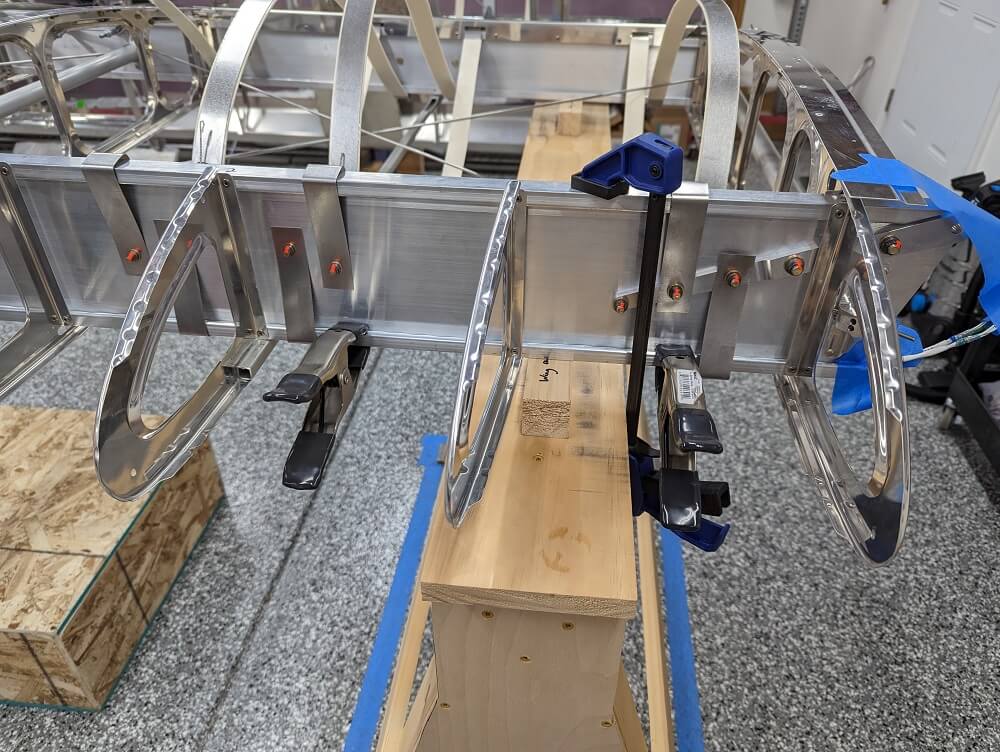 Wires clamped and waiting for silicone
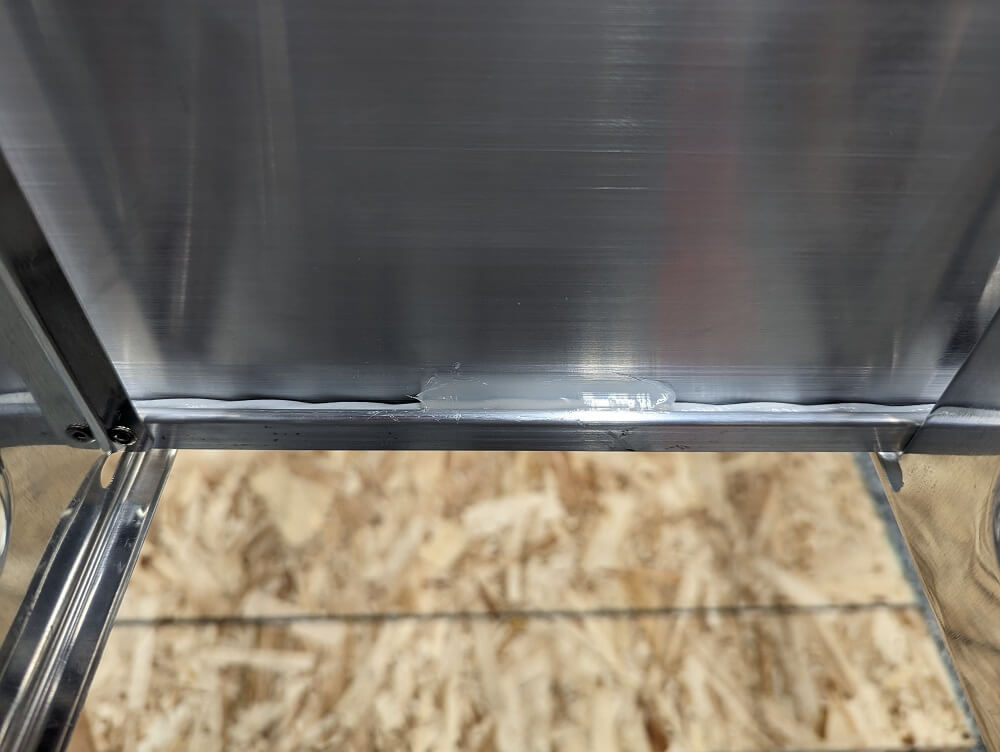 Silicone holding the wires in place