Today was another day working by myself on the tail ribs. I haven’t been able to work on the plane in a little over the month because I was back in Kentucky for most of that time for the holidays. While I was there Craig got the tail ribs and the false spars installed so he was able to give me a number of tips and walk me through the process a bit so I would be more prepared to do it on my own.
I started today by doing the last bit of trimming of the tail ribs to prepare them for installation. I trimmed off the top of the #2 tail rib so that it was flush with the spar. The manual doesn’t call for this in this step but it is supposed to be done later when installing the tank extension skin (so that the skin can wrap around over top and down over the inside of the spar). Dave Embry points out doing it now and I figured it would be easier to do before the rib is installed. I went ahead and trimmed this with a nibbler (cleaning it up with a sanding drum on a Dremel) and checked with a ruler to make sure it didn’t stick out past the spar.
 Tail rib #2 trimmed so it doesn’t stick out past the front side of the rear spar
Once this was trimmed I went down the line installing the stainless steel rivets that hold the tail ribs onto the spar. These are the same rivets that are used for the center ribs and pulled just fine with my ground down hand puller. These went in just fine although I skipped the rivets in the tail rib that lines up with center rib #8 for now (more on this later).
Once the stainless steel rivets were in place, I went down the line match drilling the first set of holes from the tail ribs through the center ribs (one top and one bottom per rib) using a 6” #40 drill bit with a drill stop. I used a bit of a longer bit because I also used a Cleco clamp to hold the ribs together before drilling and the longer bit let me clear the clamp with the drill. I went ahead and used a drill stop just to be safe (although there wasn’t much close to the back side of the holes to hit). As I went I also used the rivet squeezer and ground down dimple die set to dimple the holes. For each set I started with the top hole and placed a Cleco in it before moving on to the bottom. This may have been unnecessary but it ensured that everything stayed lined up. Once all of the holes were prepared, I went back and squeezed rivets in all of the holes.
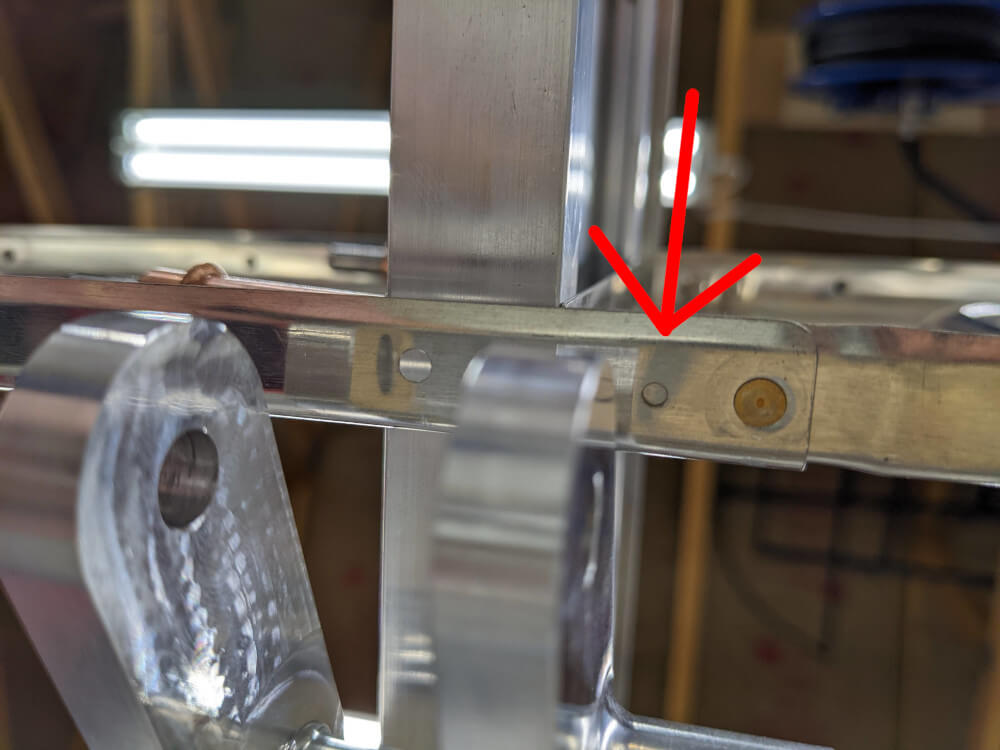
 A dimpled hole through one of the double ribs
Next, I match drilled all of the remaining holes. There was no need to clamp this time as there was already a rivet between each set of parts. Once drilled, I went back and dimpled all of the holes and then finally installed all of the rivets. This prevented me from having to change out the die on the squeezer more often than necessary. I did go ahead and install 2 rivets top and bottom on the flap tail ribs in addition to those for the aileron (even though the manual just calls for one) since the holes were pre-drilled in the tail ribs and I have seen some discussion on the forums recommending this. It also strengthens the ribs and helps since the edge-tolerances on the double ribs in the flap area are a bit small.
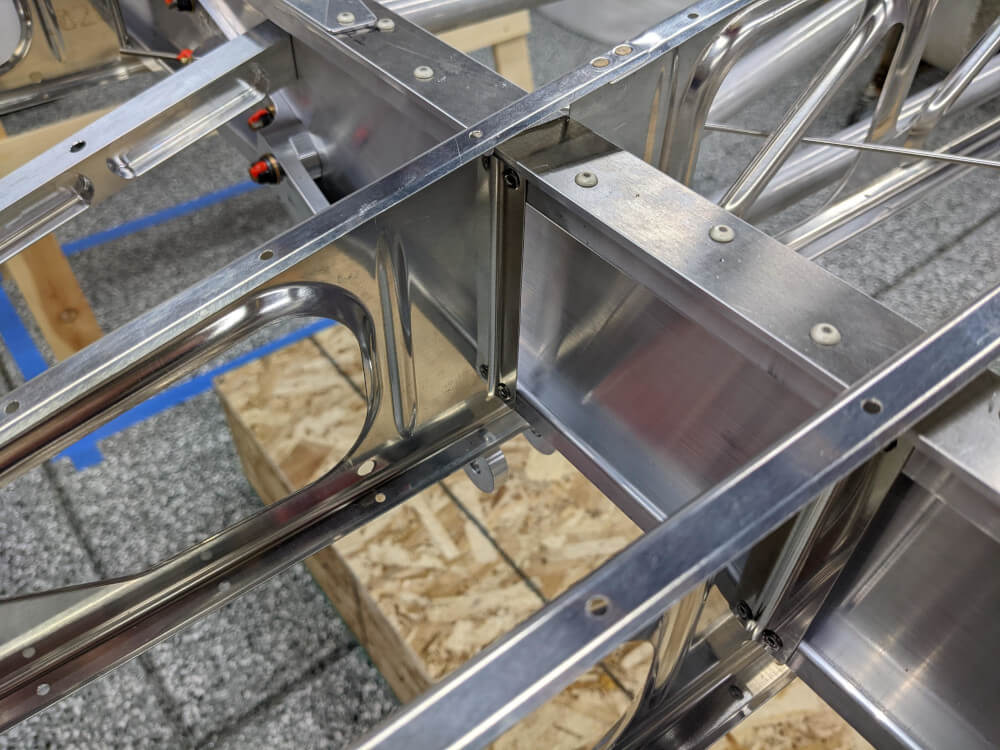
 A set of finished rivets
Finally, I returned to the tail rib attached to the #8 center rib. I had been able to instal both rivets on the top and the front rivet on the bottom during my first two passes but the lift strut fitting is in the way of the rear hole and prevents it from being drilled, dimpled, or squeezed.
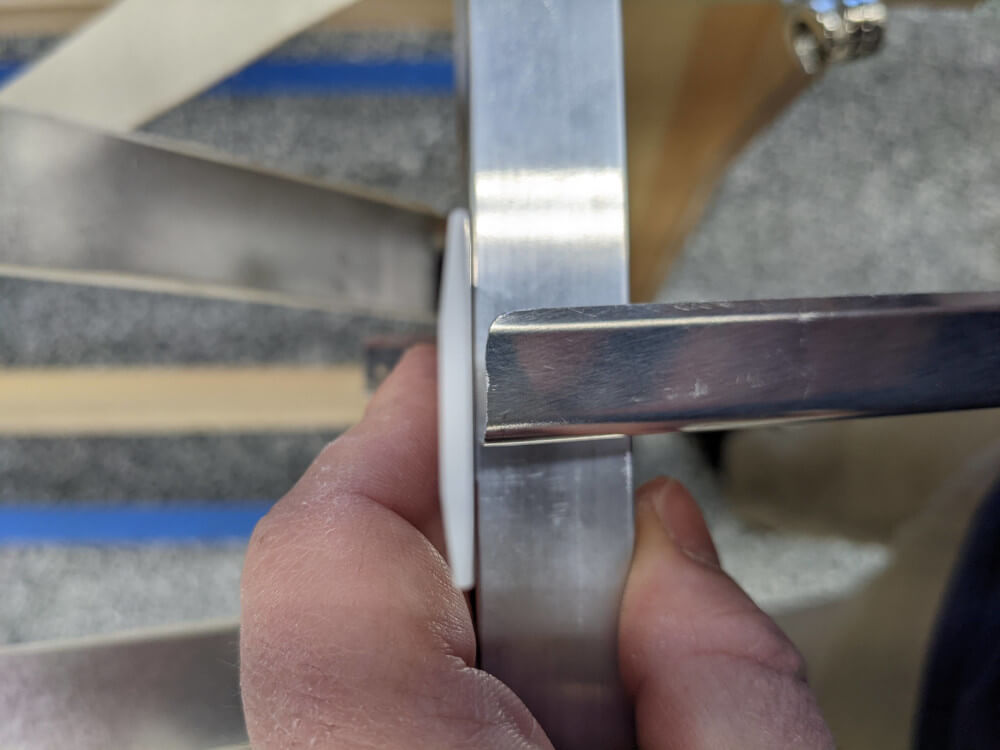
 The strut fitting preventing access to the rear rivet hole
In order to work around this, Craig had recommended leaving the bottom stainless steel rivet on the tail rib out (I left both out for now and just removed the Cleco from the bottom at this point) and drilling out the bottom rivet on the center rib. I ran into some trouble getting this rivet out since it started to spin but, also at Craig’s suggestion, I was able to grip the head of the rivet with some thin nose locking pliers while I drilled it which did the trick.
With this done, the rib could be rotated to the side enough to install the remaining rivet. Since 3 of the 4 rivets were in place everything stayed lined up nicely as well. Once this was done the rib was rotated back and all of the stainless steel rivets were pulled. In the future I would leave the bottom rivet on the rear of the #8 center rib out until after this step is complete.
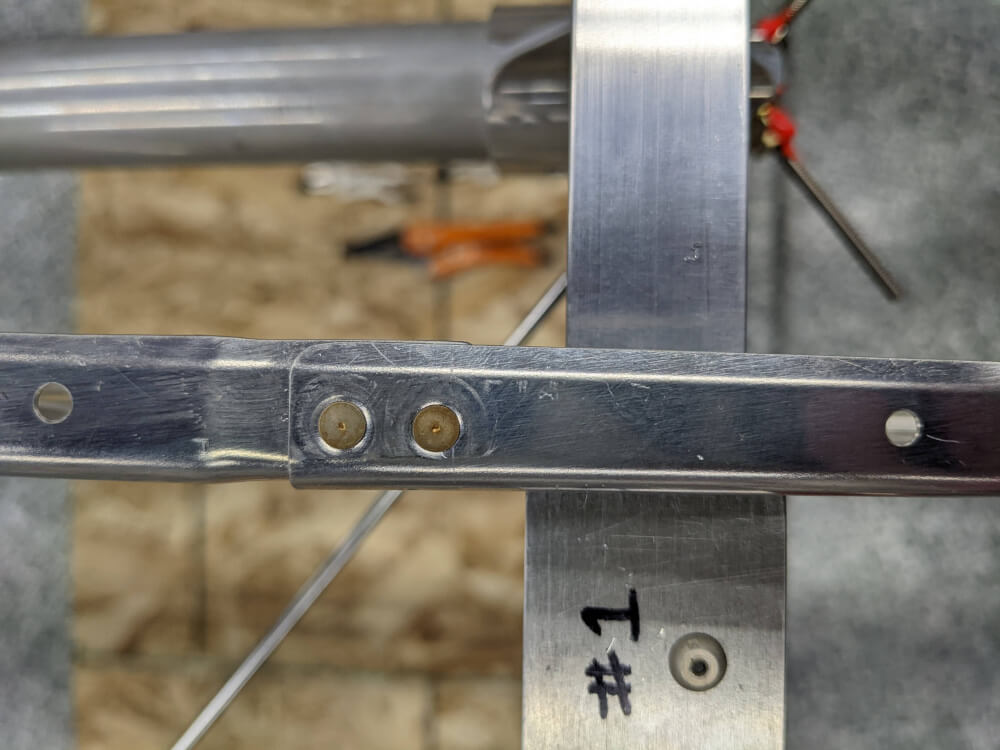
 The finished tail rib at rib position 8
With all of these things done, section 211 of the manual is complete.
Wing Manual (Extended Fuel), CCEX-004 Rev. 2.02, Pages 100-102 ↩