My grandfather came into town for a long weekend of helping me on the plane and this was day 1!
Tank Extension Skin
We started trying to finish up the left wing by installing the tank extension skin per section 381 of the new manual. We had a bit of trouble marking the positions in which to drill the holes (where it will be riveted to the spar) since the manual specifies the distances between the holes and not the distance from either end hole to the edge. What we ended up doing, that worked well, was marking all of the hole positions on a piece of masking tape on the work bench. Then we moved the tank extension skin side-to-side across the masking tape until the positions were reasonable and the distance from each hole to the nearest edge was acceptable. At that point, we transferred the positions from the tape onto the part and extended the lines using a small square.
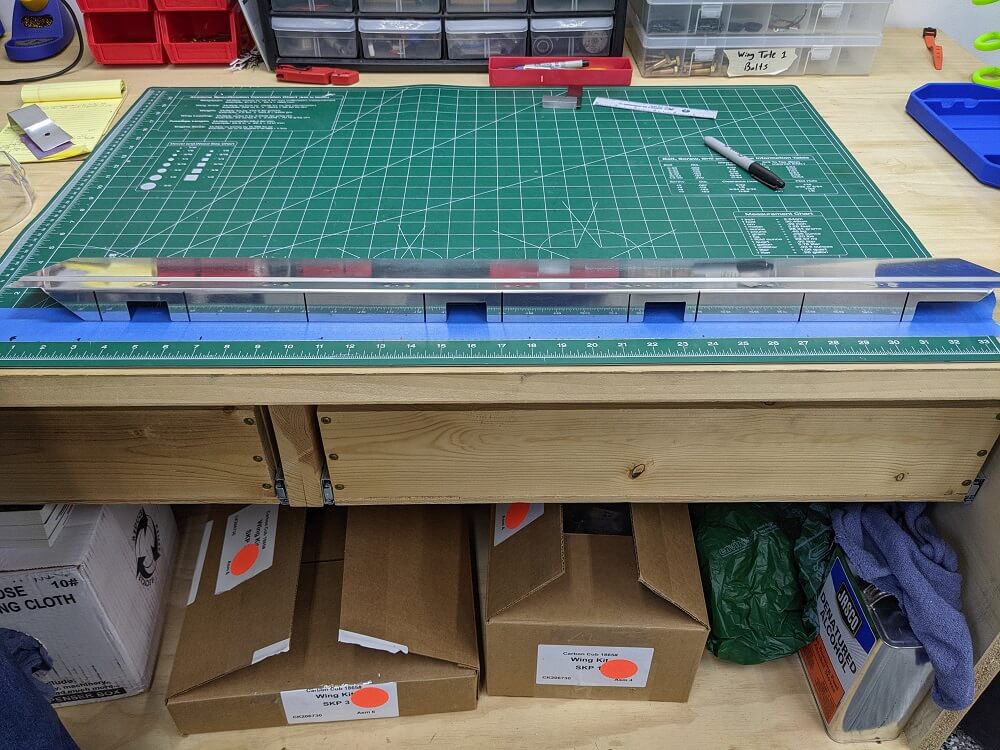 Marking the hole locations in the tank extension skins
With that taken care of, we placed the tank extension skin onto the wing and worked to position it so that we could drill the rivet holes. Fortunately, before we did any drilling, my grandfather noticed that it just covered the fabric rivet hole in each of the tail ribs it needs to be riveted to. These holes are extremely close to where the rivets need to go and we wanted to make sure that they didn’t interfere. The holes were too close to the edge of the extension skin to use directly but in order to avoid placing another hole too close to them it seemed like the rivet holes we needed to drill would be too far forward. The manual didn’t specify for sure but we decided to wait to install this part until later and we could confirm with CubCrafters that the rivets should just go farther forward.
Pitot Bracket
Since we couldn’t install the tank extension skin yet we decided to go ahead and install the pitot bracket into the nutplates I installed with Mitchell and Phillip. This was pretty simple using some AN960 washers (not the thin washers designated with an “L”) as spacers between the spar and the bracket so that the bracket would clear the heads of the rivets that hold the nutplates on. That being said, after we installed the bracket we realized that it was bent incorrectly at the factory and that it sat a little crooked. It was bad enough, unfortunately, that it would have extended past the fabric so we uninstalled it. I will need to contact CubCrafters for a replacement part.
Wing Holder
The next thing we decided to do was figure out how we were going to put the left wing into the stand so that we could transition to working on the right wing. I asked several people how they had stored the wing before putting the leading edge skins on and they all told me that they had it supported by the false spars (on the trailing edge). My initial plan was to use some sheet metal to span the nose ribs and put the wing into the holder the “normal” way; however, since I received a lot of advice to store it upside down I opted to try that instead.
The main problem with this is that the outboard aileron hanger extends down past the false spar a fair bit. This distance is longer than the distance between the ground and the “cradle” of the stand meaning that it would hit the ground. To solve this, we decided to make some supports to raise the entire wing stand off the ground by about a foot. We made these out of scrap wood that I had laying around but it ended up taking a good chunk of the day.
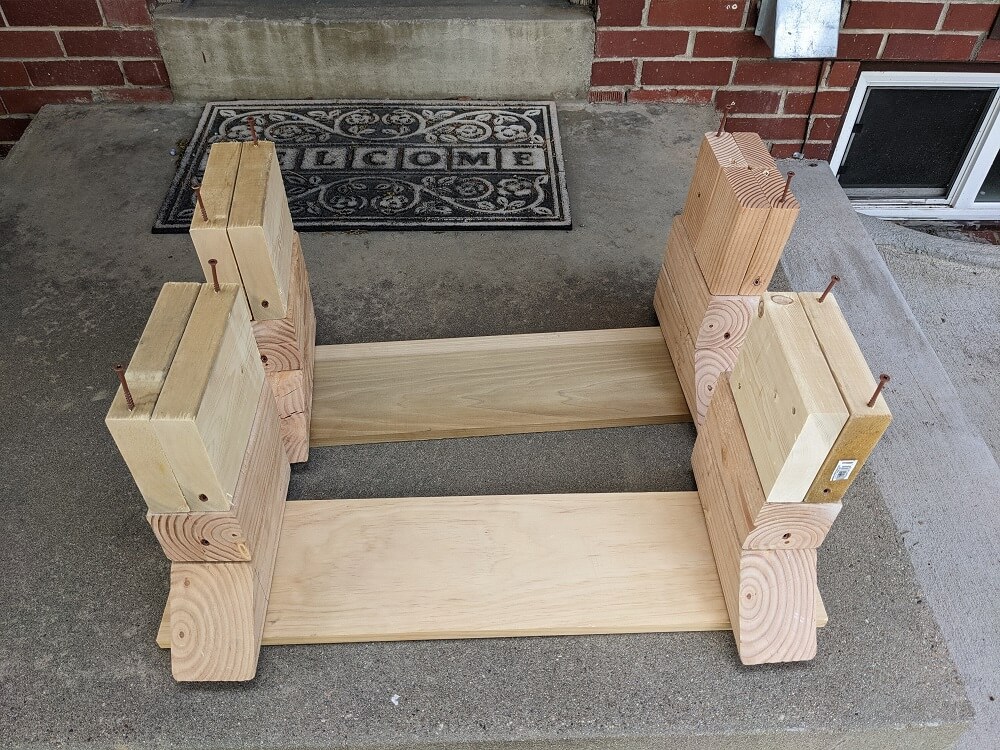 The finished wing holder stands
False Rib
At the end of the day Craig stopped by to help me install the false rib into the left wing and glue together the double ribs for the right wing. I needed his help since he had a respirator (my grandfather did not) and was familiar with these steps. Having an extra set of hands while working with the glue is a huge help. We glued together the ribs first which worked the same way as the first time I did it, then we moved on to the false rib.
We started with the front of the rib (into the nose rib) and placed a small amount of methacrylate adhesive in the corner of the nose rib where the parts mated. Then we put the parts together, cleaned the extra methacrylate out of the rivet holes using a toothpick, and pulled both rivets using a cherry hand puller. This puller worked great but on the next wing I may wait to install the #3 nose rib (just outboard of #2) until after this step is complete. That would provide the clearance necessary for this step to be able to use the pneumatic puller with the offset head.
After the rivets were pulled we used clamps to hold the parts tightly together. Importantly, we used a thick piece of aluminum across the bottom (held in place with a clamp) to make sure that the bottom edge of the rib stayed nice and flush.
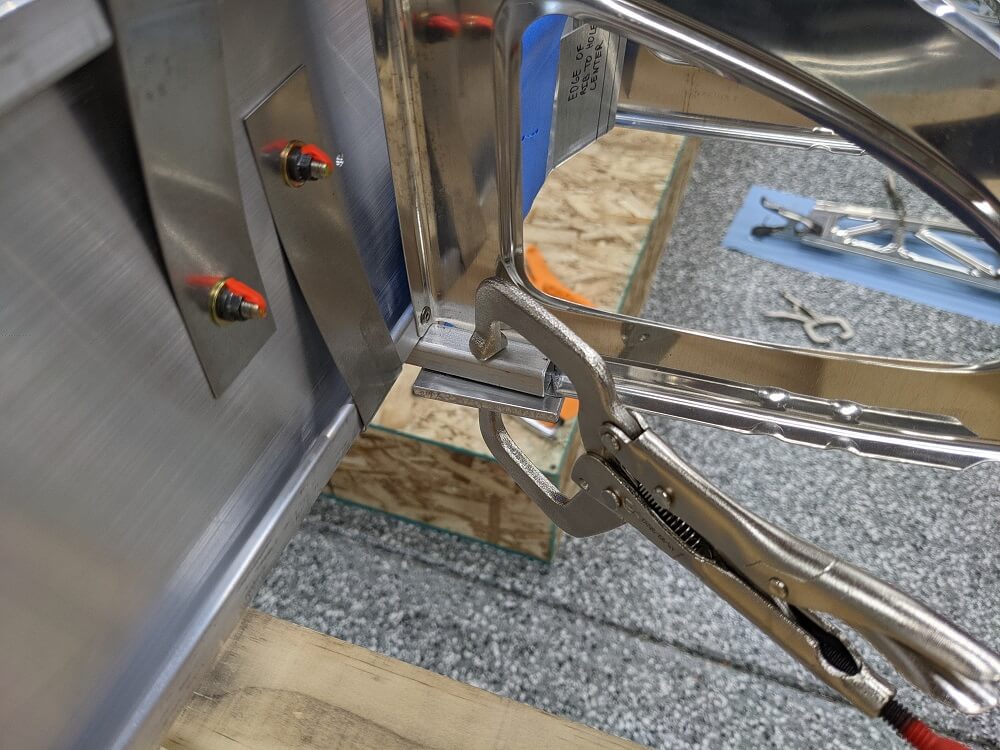 Clamp holding the false rib in place
With the front done, we moved on to the back and repeated the process (using the pneumatic puller this time). This was the last step of the day since we needed to let the methacrylate cure. This finished section 352 of the manual and means that we are ready to put the left wing into the holder and start on the right!