Today Craig came by to help me with the outboard aileron false spar and remaining items from section 231.
We started by drilling the last tricky hole in the aileron/flap hanger for the aileron false spar using my angle drill, a 45 degree head, and a very short #30 bit. I had Craig help me with this because it isn’t possible to get it completely straight and he did it before in a way that worked so I wanted to get his opinion when we were done. Now the only rivet missing here is the aileron false spar rivet where I’m potentially going to try a large head rivet (I have some ordered). It has a cleco in it so that I don’t forget to return and do it.
 The aileron and flap hanger with the new rivet installed
Next, we mounted the aileron using some AN4 bolts from the kit and 2 AN960-416 washers between the aileron and the aileron/flap hanger. With this done, we verified the measurement from the aileron/flap hanger to the center aileron hanger one more time and then temporarily installed the bracket and hardware that is used to attach the center hanger to the false spar.
With the bracket in place, we matched drilled the center hole in each side through the false spar and cleco’d them in place. This set the position of the brackets so we could install the self locking nut (instead of the temporary nut we had used) and torque it. At this point the position of the center aileron hanger was fixed.
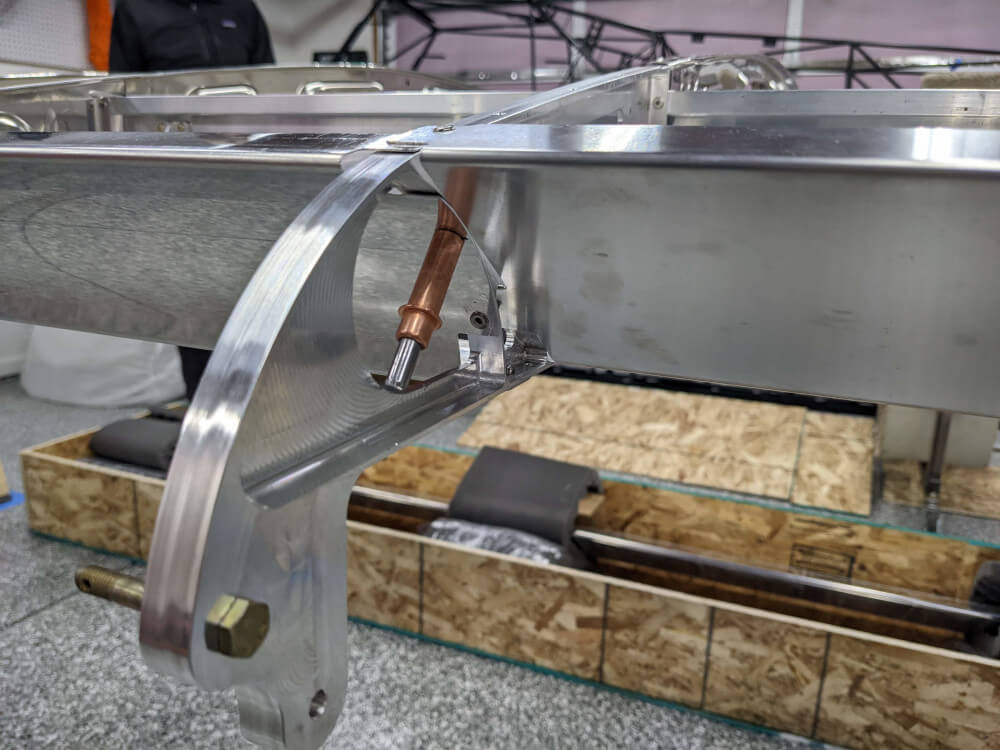
 The center aileron hanger with its bolt torqued and brackets cleco’d in place
Finally, we focused on the outboard aileron hanger and set its distance from the aileron to between 5/16 and 3/8 of an inch as shown in the manual. We did this by stacking 3 AN960-416 washers between the aileron and the hanger (on the bolt being used temporarily as a pin). With that measurement verified (and triple checked by each of us) we clamped the outboard false spar to the outboard aileron hanger so that the edge of the false spar was flush with the edge of the hanger. We also clamped the two aileron false spars where they overlapped. This was all we had time for today and means that the aileron is ready to come off so I can drill the holes next time.
I should also mention that we taped some scrap neoprene to the center aileron hanger to prevent the control horns from hitting the hanger too hard if the aileron were accidentally dropped or moved too far.
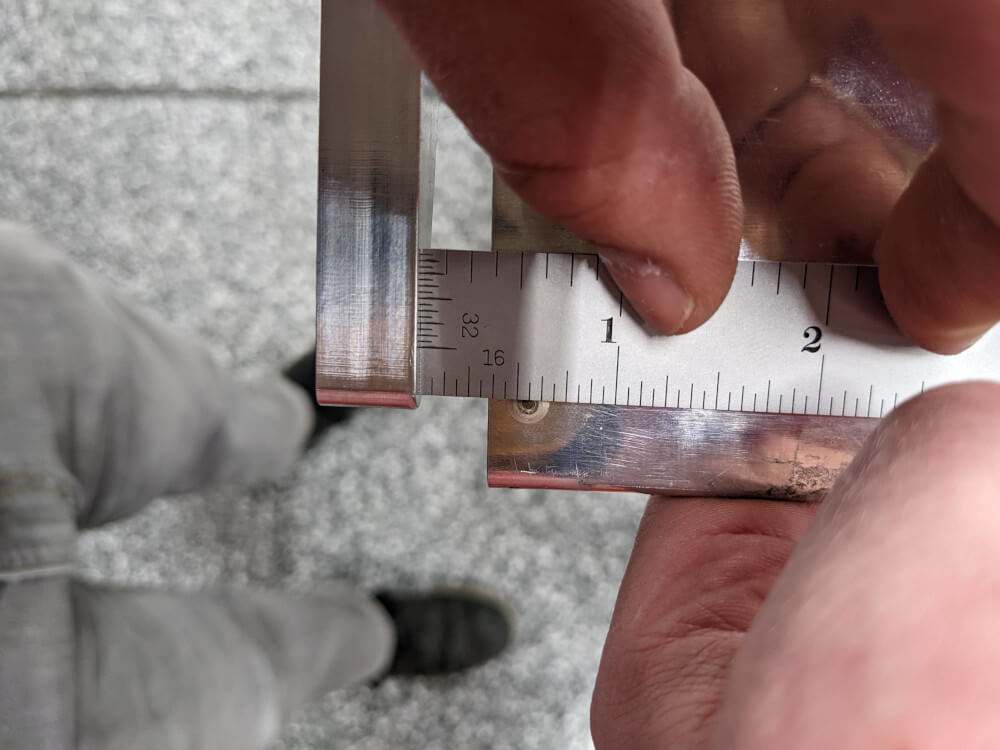 The measurement from the aileron to the outboard hanger
Wing Manual (Extended Fuel), CCEX-004 Rev. 2.02, Pages 106-125 ↩