Today I went back over to Craig’s place and we finished building the sawhorses. There was a bit more lumber to cut (the rest of the end plates and a few pieces of dimensional lumber to trim) and then assembly of the sawhorses.
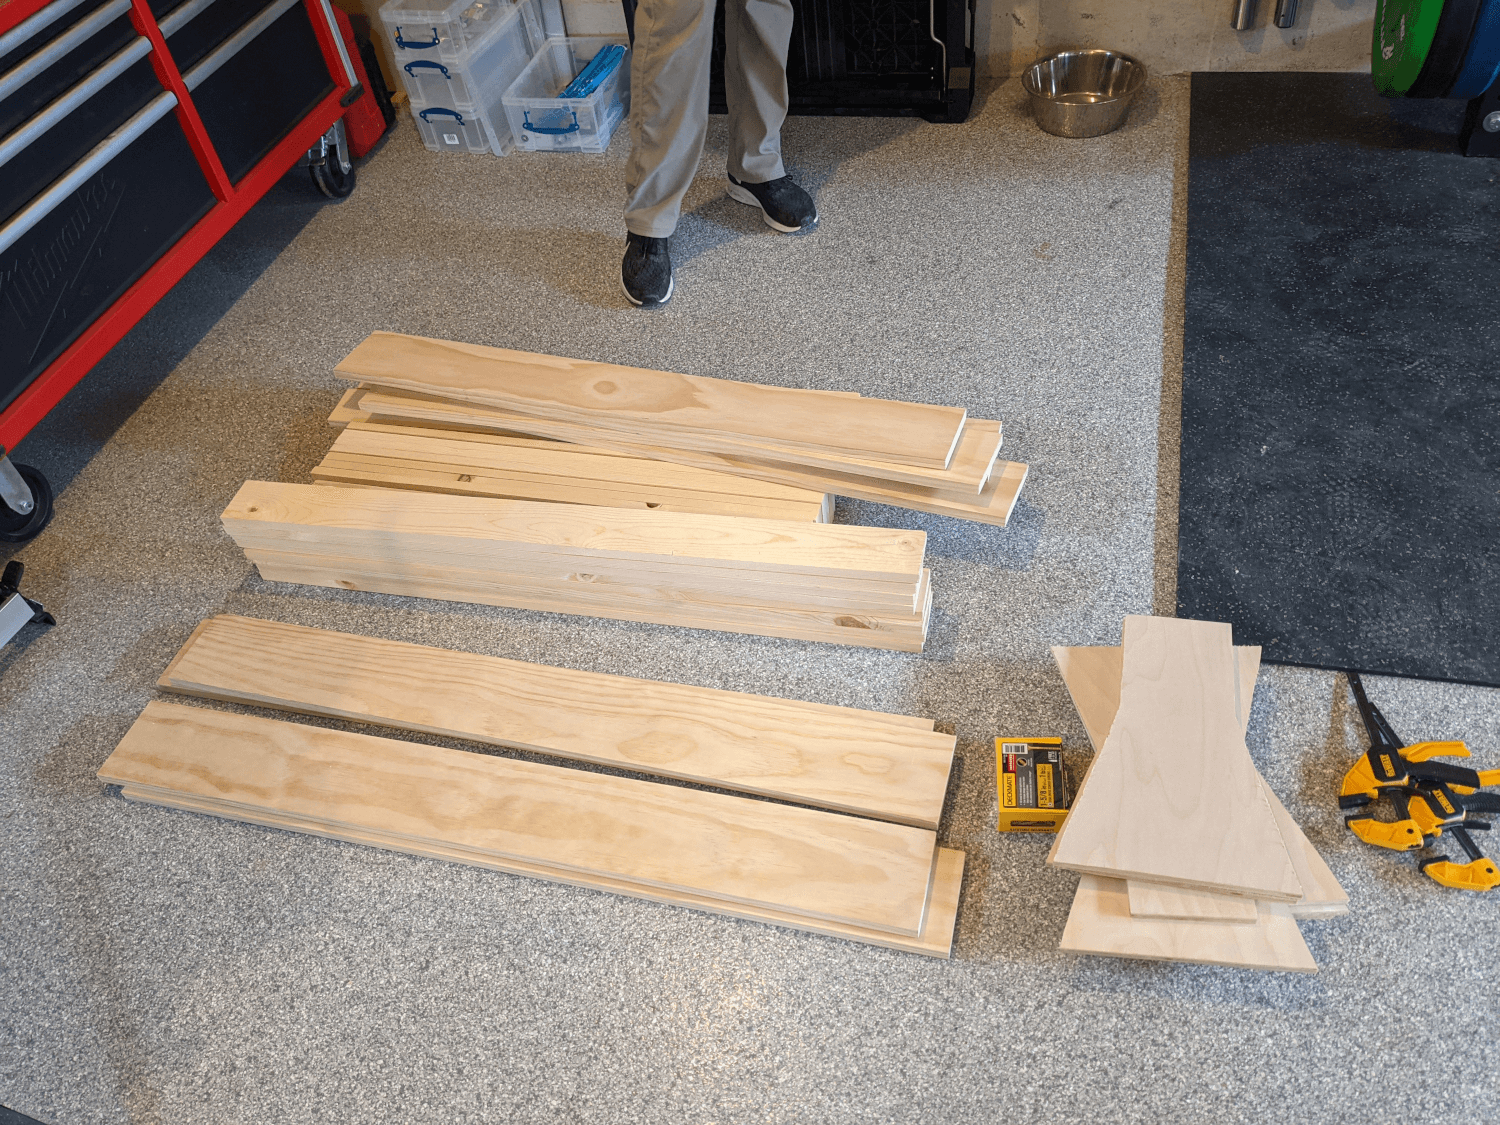 Lumber all cut
We started by attaching the end plates for each sawhorse to the piece that runs the length of the sawhorse and supports the top using primarily 1 5/8” screws (a few 3” screws where the shorter ones didn’t catch well). We then attached the legs to the endplates using a few 1 5/8” screws. All of this was done with the sawhorse resting across a table so that the legs were off the ground.
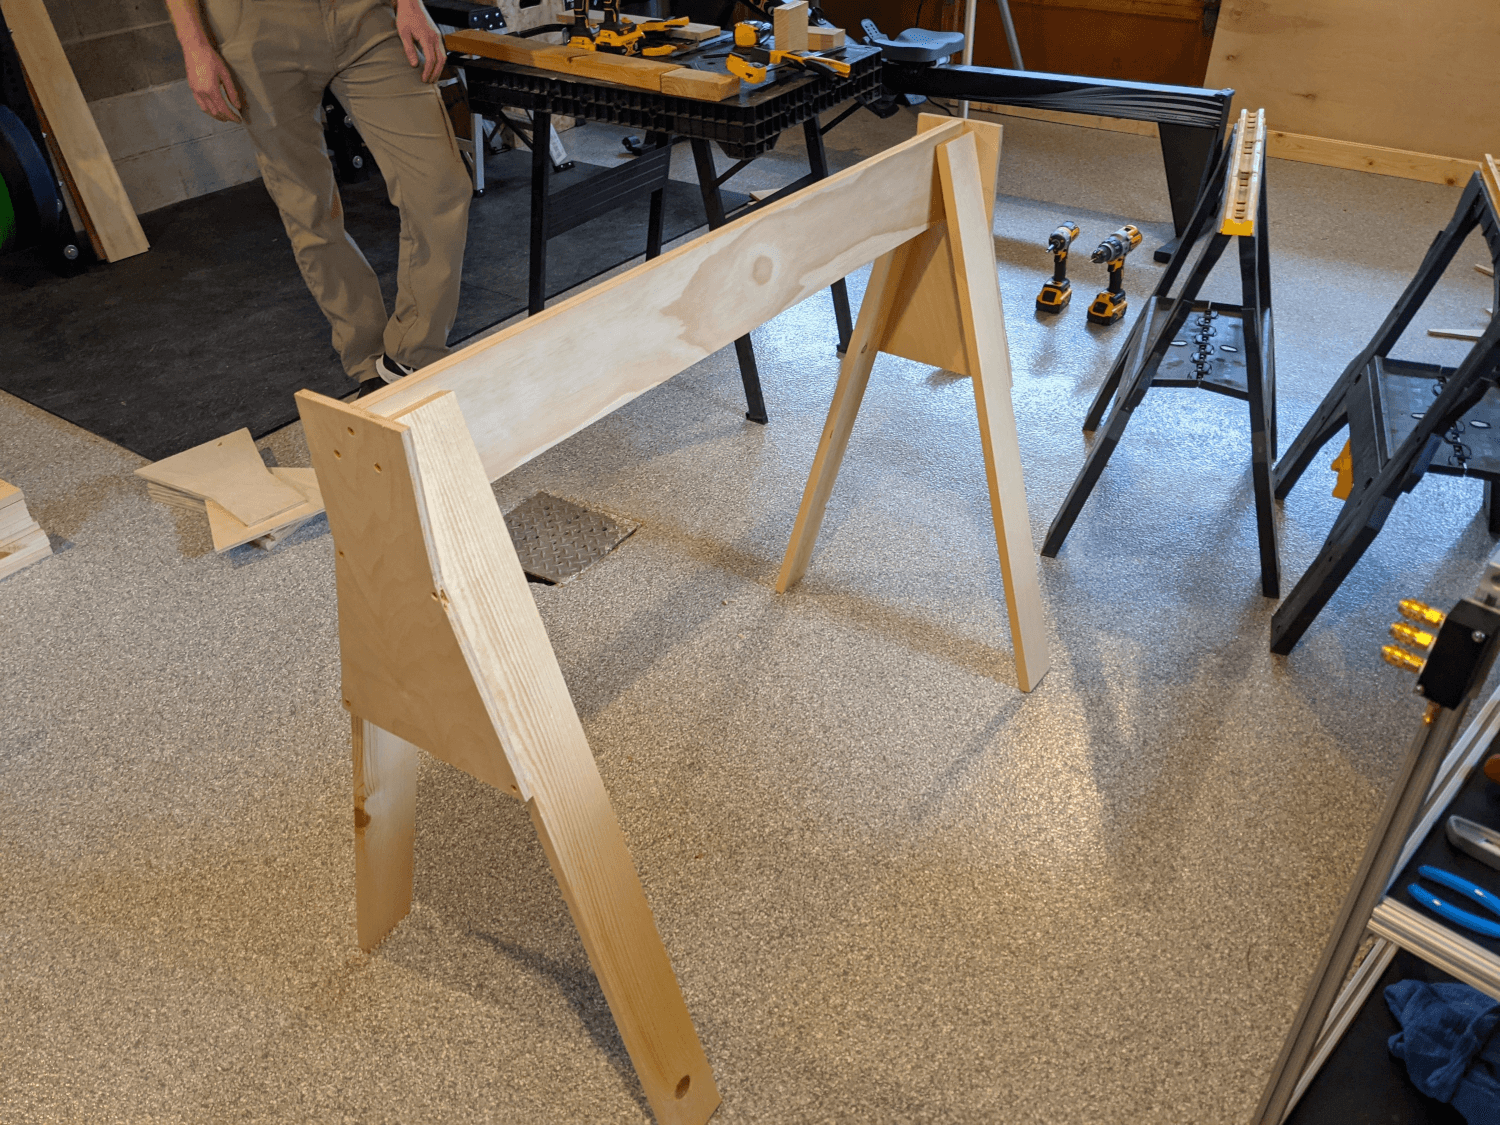 Legs attached
After these steps were completed for all of the sawhorses we attached the horizontal pieces that run from leg-to-leg using 1 1/4” screws. These added a lot of stability. We also attached the tops by screwing them down from above using 1 5/8” screws (and recessing the screws a bit). Finally, we added a few additional 3” screws into the endplates and a few 2” screws into the top of the legs for good measure.
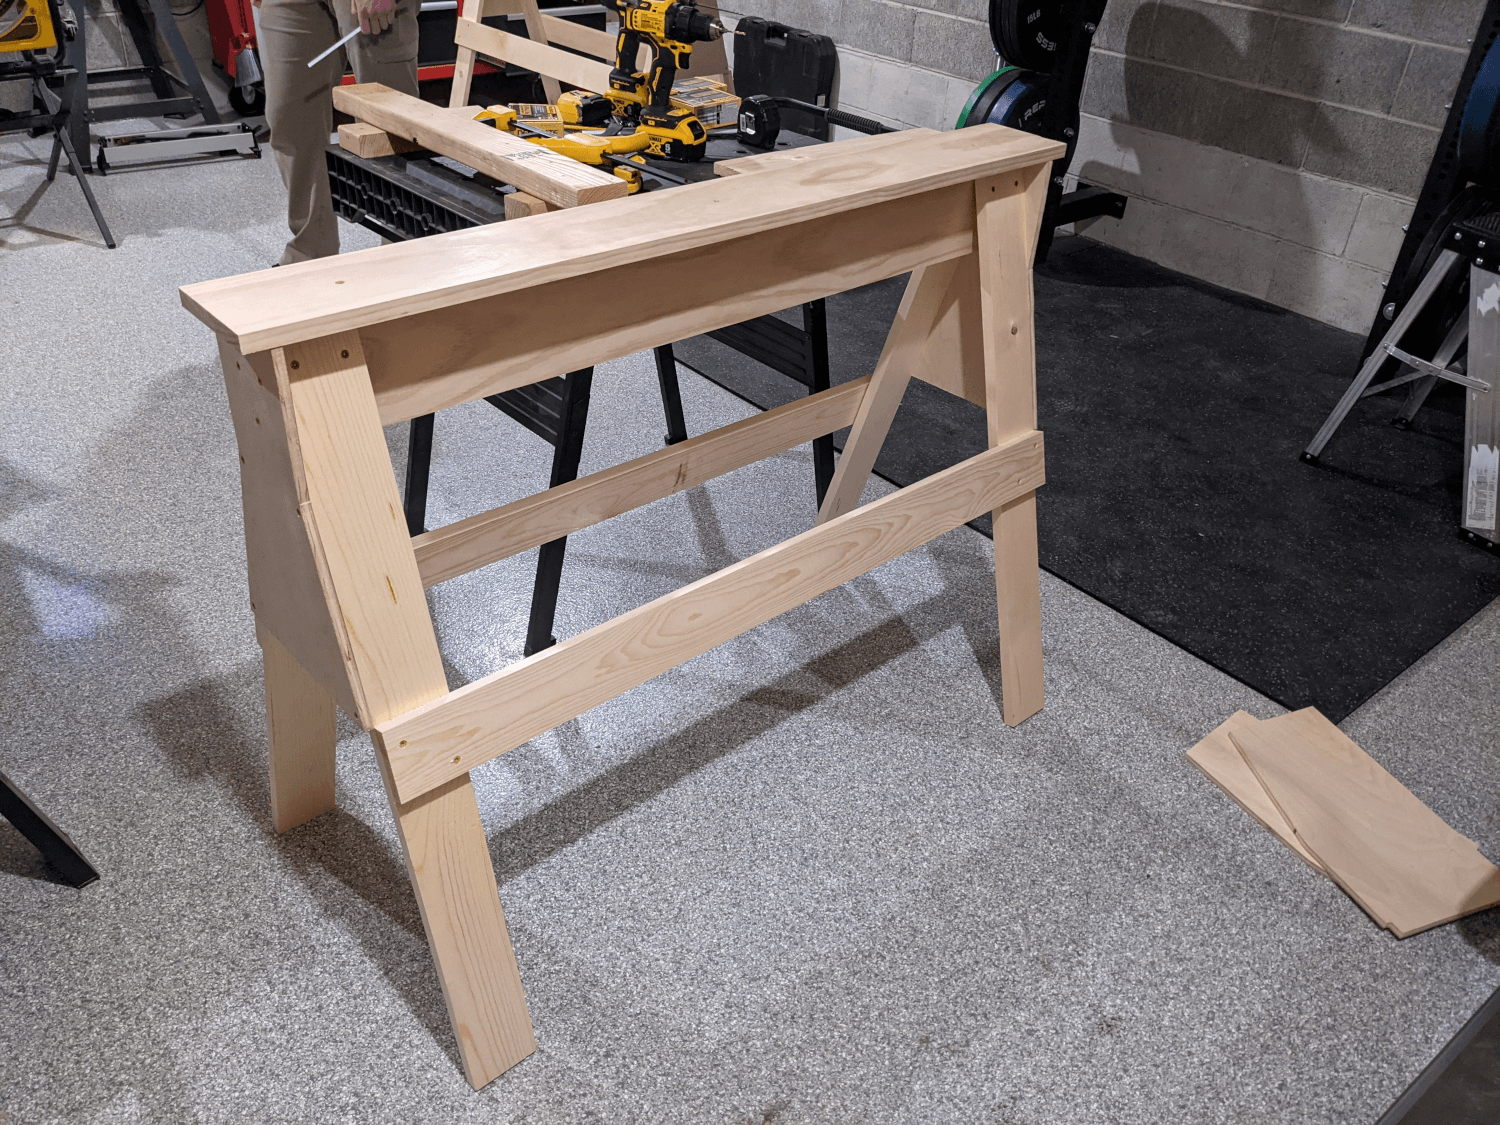 Completed sawhorse
We took our time with this project since we weren’t sure how precise the sawhorses needed to be and what parts were critical. We discovered that the end plates are very important to the structure of the sawhorses and that we were probably aiming for more precision than necessary. That being said, the sawhorses came out great! They are very sturdy with almost no wobble and look good too! We also spent a fair amount of time discussing how to attach an after cooler to the compressor and planning for the build in general which took some time.
I was able to fit both sawhorses in the back out my Subaru Outback whose cargo capacity continues to surprise me. It did require nesting them a bit but they fit no problem.
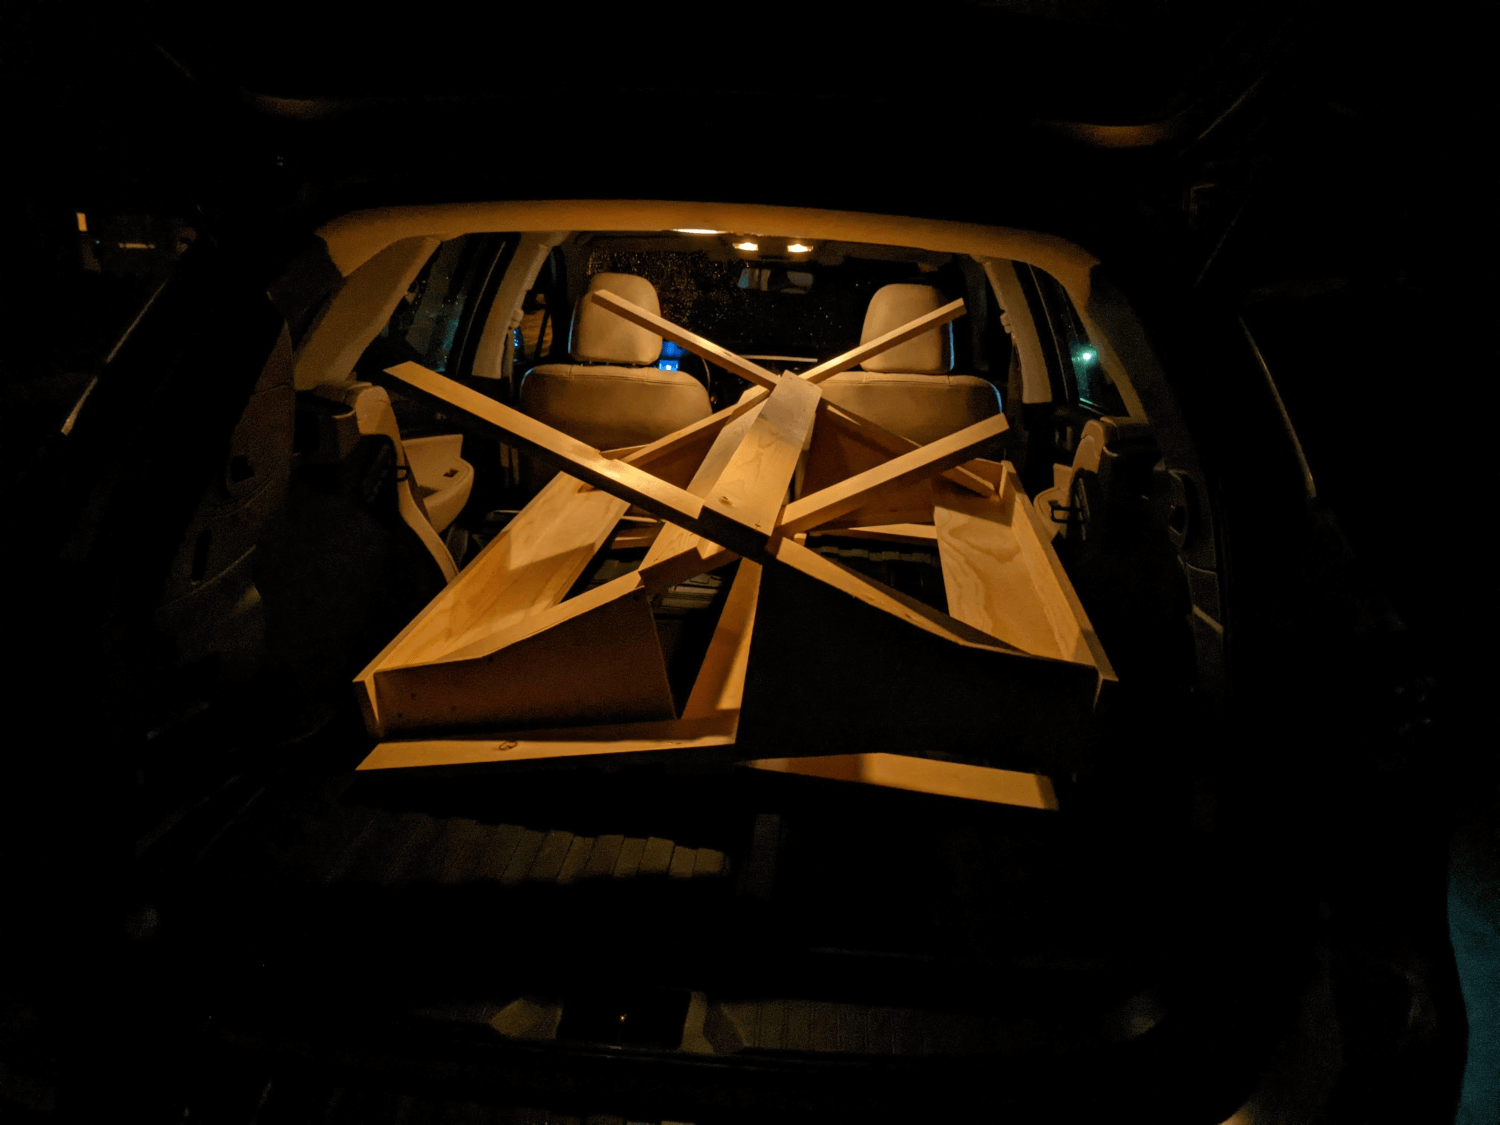 Completed sawhorse
The sawhorses are not set up in my shop and look really good! They still need to be placed precisely and leveled but are ready for use other than that.
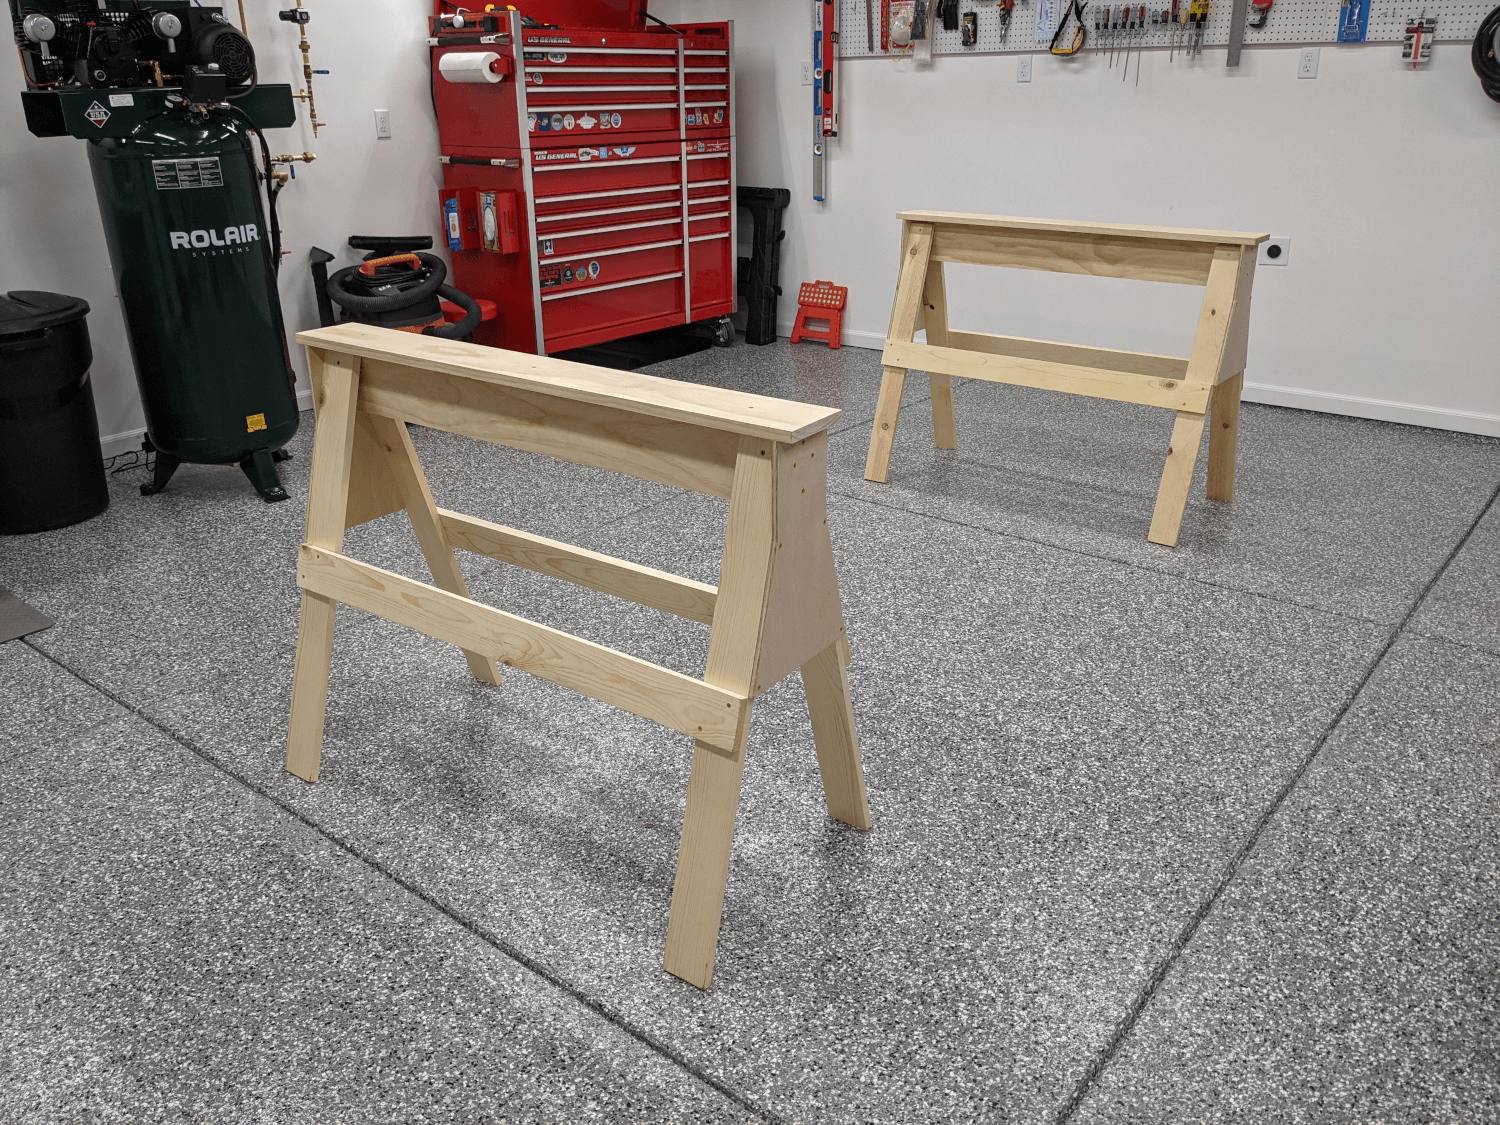 Sawhorses in my shop