I talked to Mark at CubCrafters and got some tips for deburring the match-drilled rib holes and installing the rivets straight. He advised that I use a doubled up Scotchbrite pad to debur the back of the holes by fitting it in the gap in the spar and passing it back and forth a couple times. I therefore started the build today by removing each double rib, deburring the holes (including the front with a standard deburring tool), and reinstalling them. The picture below shows a cleco through one of the holes I drilled (on the left) and why it was so hard to reach the back. I should also mention that the hole cannot disturb the spar bulb (the rounded part above it) in any way. Since this one was a bit close I did double check with Mark and was told that it looked fine.
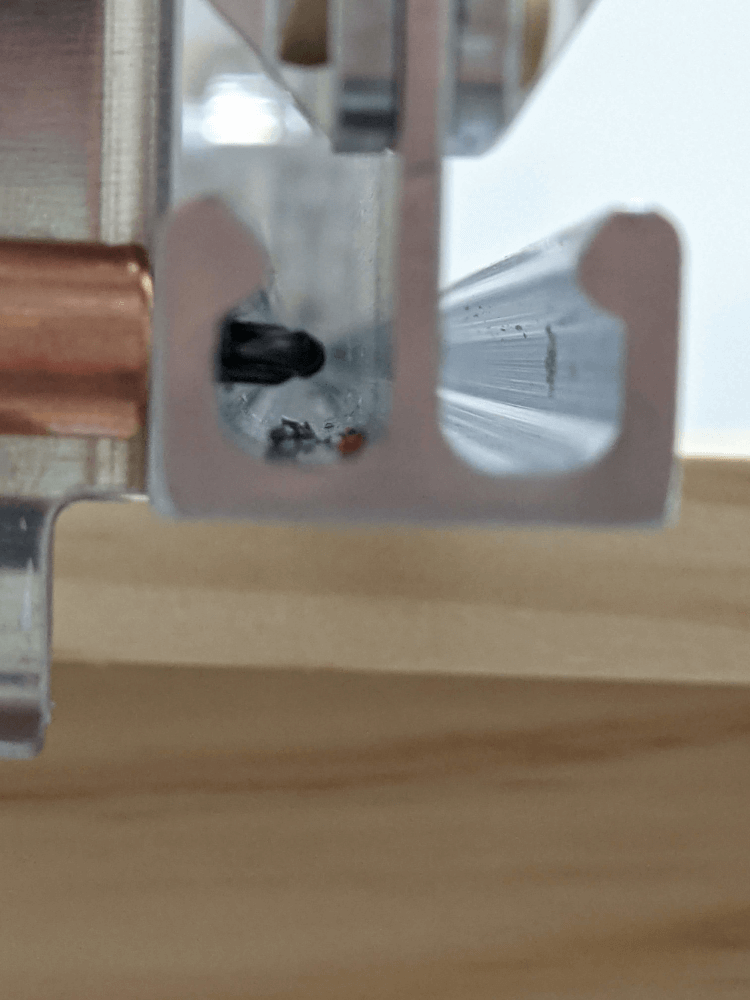 The location on the back of the hole that I needed to debur
Mark also told me that, in order to get the rivets to pull straight, you have to force the puller in a bit by bending the rib out of the way slightly. I did this with Martha’s help - she pulled the rib aside slightly and confirmed everything was lined up and then I pulled the rivet. The rivets used here are stainless steel rivets which aren’t quite as picky as the CherryMAXs but can still have some problems. Specifically, a bit of the stem is supposed to stay in the rivet but sometimes it just falls out the back. I asked Mark what causes this and he said that it sometimes just happens. Unfortunately, there were 5 rivets that we pulled that had this issue and will need to be drilled out and re-done (I marked each one with masking tape as they happened). Because one of these is on rib #3 we also didn’t install rib #4 yet in order to give me more space while drilling it out.
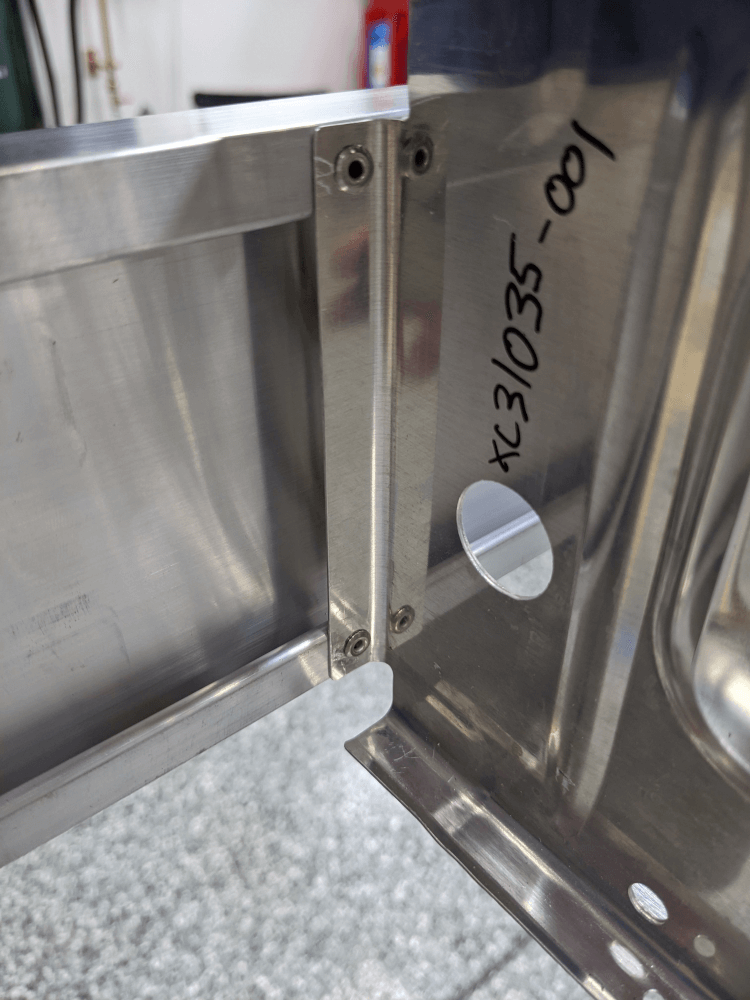 Installed rivets on one of the ribs
Finally, the two holes in the front spar for rib #12 aren’t quite big enough to fit the rivets. After finishing the build for the day I was able to confirm with Mark that the same rivets are used here and that the holes should just be re-drilled with the appropriate (#30) bit. I was obviously not able to do that today because I had already stopped working but that will be on the list for next time.