Rib 5 Capstrip
I picked up today where I left off yesterday on section 281 of the old manual/section 312 of the new manual, installing the capstrip on rib #5.
I began by drilling the final hole in the capstrip - a #40 hole through the capstrip and nose rib. I then removed the capstrip and deburred all of the holes before cleco’ing it back in place.
The next step was to dimple all of the holes from the capstrip into the center rib so that they would accept countersunk solid rivets. Because the holes in the rib flare out, the squeezer/dimpler yoke wouldn’t fit as it was. Instead, I used an angle grinder and a hand file to remove some more material so it could fit and the holes could be dimpled.
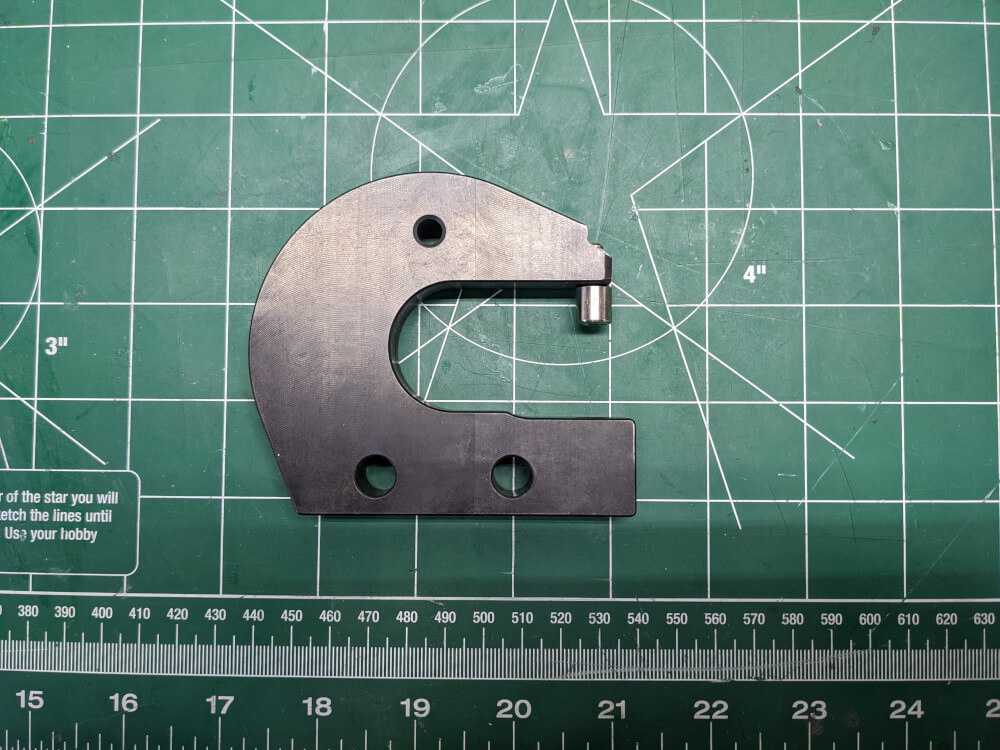 The squeezer yoke with extra material removed so it would fit
After that was done, I dimpled all of the holes and the inserted/squeezed the solid rivets. This process took a long time because of the modification of the squeezer yoke, and the large number of rivets, but it was relatively straightforward.
Once that was done, I verified that my countersink cage was set at the proper depth for 1/8” countersunk CherryMax rivets and countersunk the 3 holes in the machined rib as called for in the manual. I still need to pull these rivets once I’m able to borrow the CherryMax puller from Craig again. I also need to countersink the #40 hole in the capstrip/nose rib and install the rivet there, however, I’m waiting to do that until after I’m done countersinking for 1/8” rivets so that I don’t have to adjust the countersink cage depth too many times.
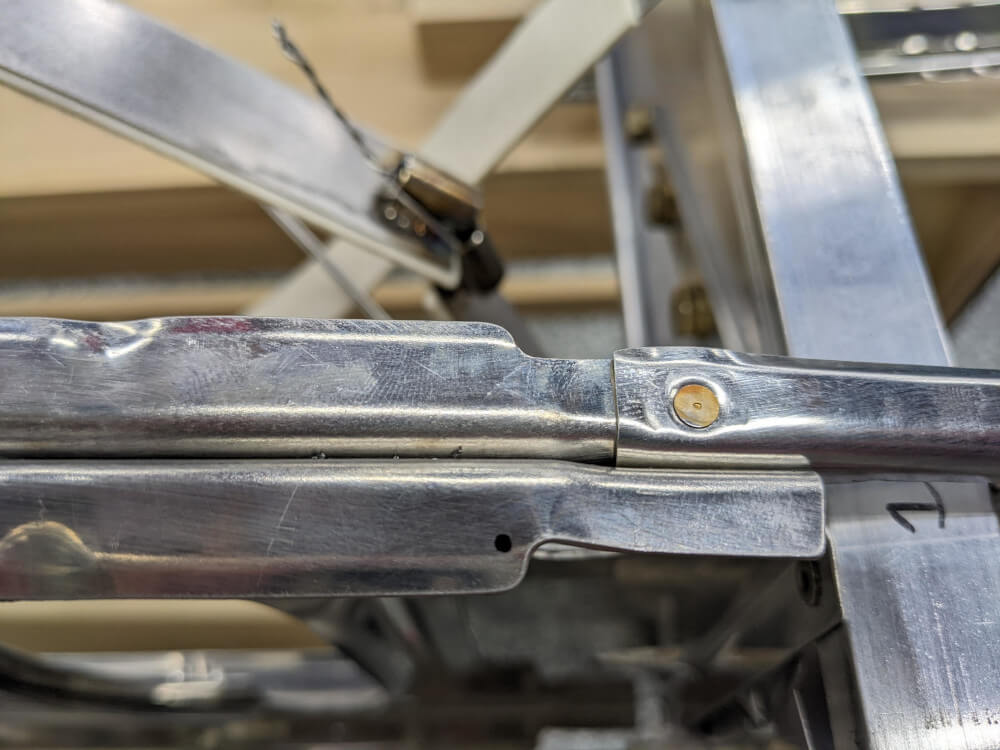
 The capstrip with the solid rivets installed in the center rib
Rib 1 Capstrips
Since I was blocked on completing the rest of the rib #5 capstrip, I decided to go to the next section in the new manual, section 323. This section instructs the builder to install the capstrips on the top side of ribs #1 and #3.
It starts with rib #1 and provides the position of the capstrip as flush with the outboard edge of the rib and pushed back so that the end of the capstrip is flush with the end of the tail rib (under the flap false spar).
There are then a number of holes to match drill into the rib that will get countersunk and have CherryMax rivets installed. Unfortunately, the last hole position towards the front of the wing ends up being extremely close to the edge of the rib when I align the capstrip as prescribed (see the picture below). This is a bit too close so I decided to move on past this step and ask CubCrafters what the appropriate course of action is here. My guess is that I can trim a very small amount off the back of the capstrip so that I can shift it rearward a hair but I want to verify with them first.
 The front hole position in the #1 capstrip extremely close to an edge
The position of the capstrip on rib #3 is based on the position of the capstrip on rib #1 so I decided to move on yet again to section 334, installing the capstrip on the bottom of rib #1.
For this step, I followed the alignment instructions and clamped the capstrip in place. Before I drilled any holes though, I checked Dave Embry’s build tips and he said that the hole in the nose rib shouldn’t be match drilled and that there are only 21 rivets to install. The manual calls for 22 and I don’t see a reason why the nose rib can’t be riveted too. That being said, since there is some disagreement here I decided to verify this with CubCrafters as well so that I can be confident about the placement before I drill any holes.