Craig came by once again today to help my finish the center aileron hanger on my right wing. We were able to use a couple pairs of pliers wrenches to put a “double bend” in the bottom tab of each bracket in order to get them to sit mostly flat on the false spar. The double bend is just an aggressive bend down towards the false spar and then, a bit closer to the end of the tab, a bend back up to “flat”. It took a couple tries to get this right but we were pleased with the results and it was much easier than using clamps to hold the tabs down while drilling and riveting.
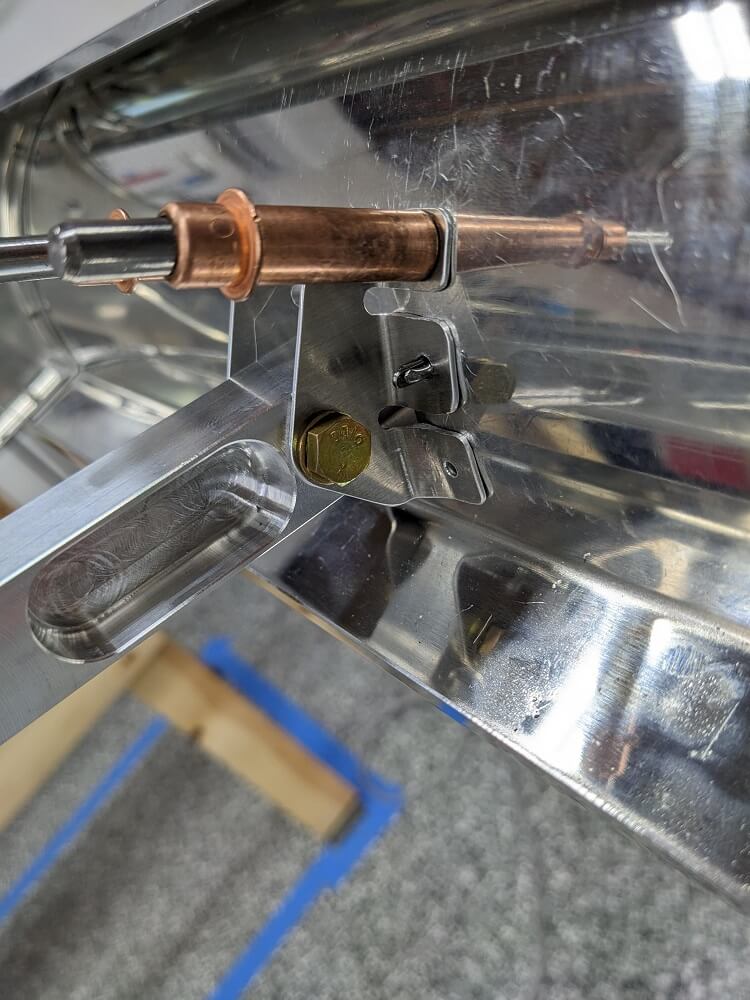 A center aileron hanger bracket with the bottom tab bent so it sits flat
With the tabs bent it was straightforward to match drill the holes using the angle drill and offset head. Then, after clearing chips and deburring, the rivets were all pulled using the CherryMAX pneumatic puller and offset head. Finally, we test fit the aileron one more time, replaced the nut on the center aileron hanger bolt with the appropriate locking nut, and torqued the nut to the appropriate value given in the manual. This officially completed section 401 of the manual.
In addition to finishing the aileron false spar, the completion of this step also means that the right wing is officially caught up to the left wing! Up until this point, the left wing has taken 152.2 hours and the right wing has taken 88.1. It’s also interesting to note that the left wing took just over a year (388 days) while the right wing took just over 4 months (134 days) to reach the same point. This is a sizable time savings/velocity increase and definitely shows the amount I learned during the construction of the first wing that I didn’t have to re-learn on the second. Some of the time savings can also be attributed to less wait time for new tools and a less busy schedule outside of plane building that allowed me to work more consistently (an average of 4.6 hours/week instead of 2.75). Regardless, this is very exciting progress! The major remaining steps on both wings are: installing the tank extension skins, installing the leading edge skins, and installing the outboard ribs/wingtips.
Wing Manual (EX-2/EX-3) CK-KM301 Rev B, Section 40 ↩