Rivet Replacement
I started today where I left off the previous time, trying to remove the top rivet from rib #7. The first thing I did was drill out the remaining 3 stainless steel rivets (one in the center rib and 2 in the tail rib) in the rear of the offending rib so that I could shift the whole thing to the side. With that done, I had good access to the rivet.
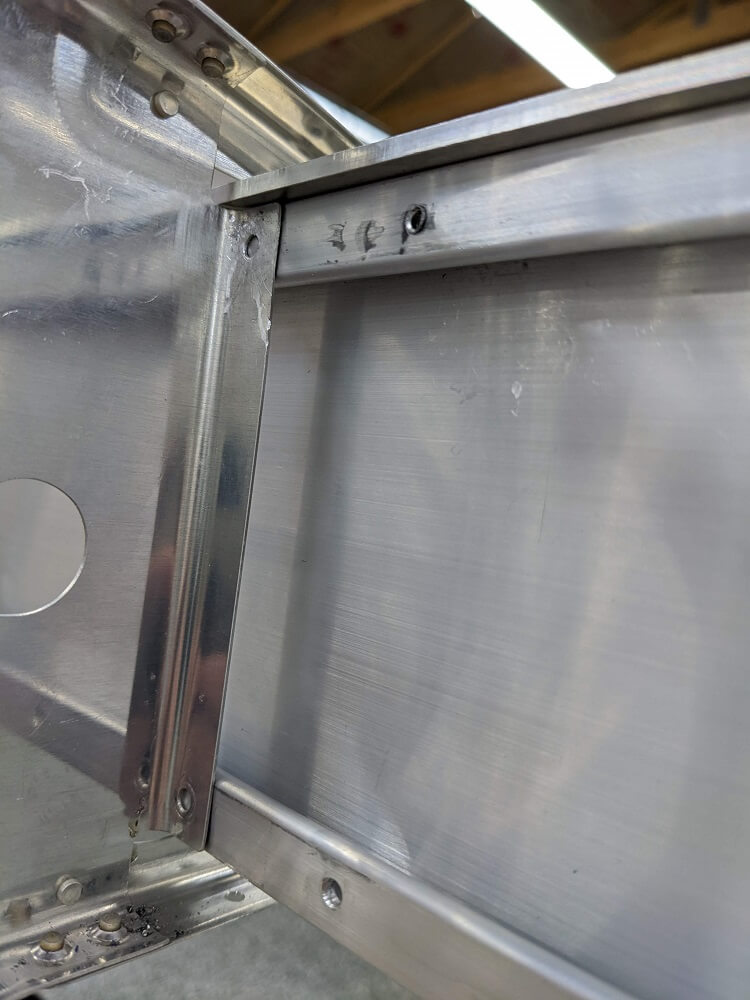 The rib moved to the side giving access to the rivet
With this done, I was able to use a punch to carefully tap the edges of the rivet in towards the center so that it would fit through the hole. It took a lot of patience and another pass with a #40 bit but eventually the rivet was loose enough to spin. at this point, I used a center punch to tap the rivet through the hole until it contacted the protruding CherryMax that had hindered it’s installation to begin with. At that point, it was loose enough that I was able to jostle it with a smaller punch and it fell out.
With the rivet removed, I decided to attempt to install it again. This time, I was able to get the back of the stainless steel rivet to slip under the bottom of the CherryMax as long as I started it at a bit of an angle. This allowed the rivet to be inserted much farther than it had been the first time.
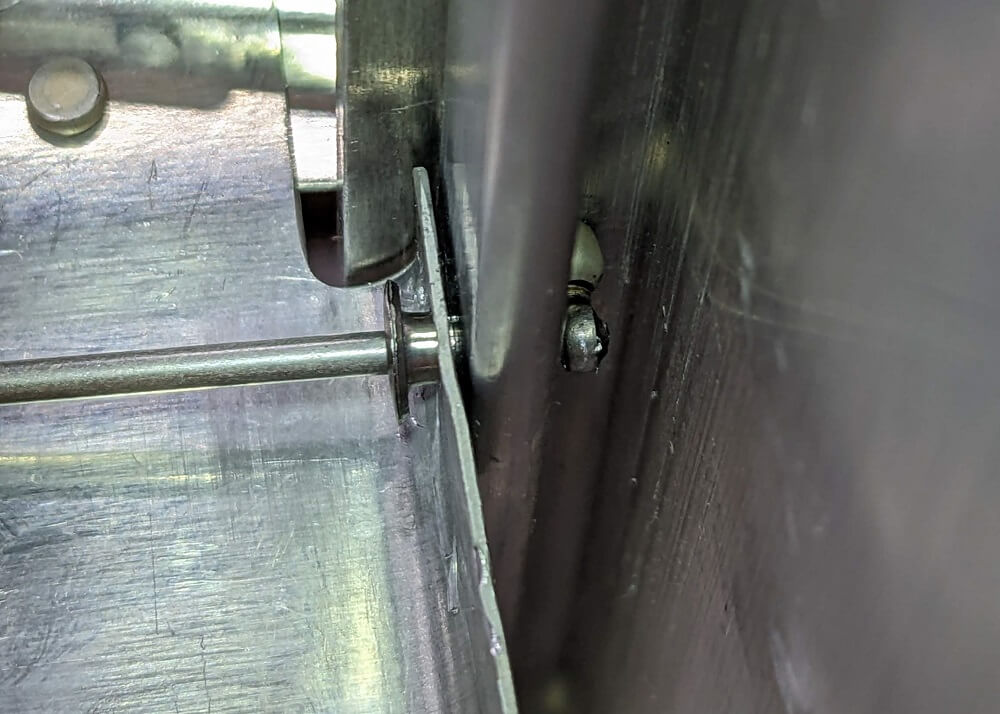 The rivet inserted farther with more sticking out on the back side
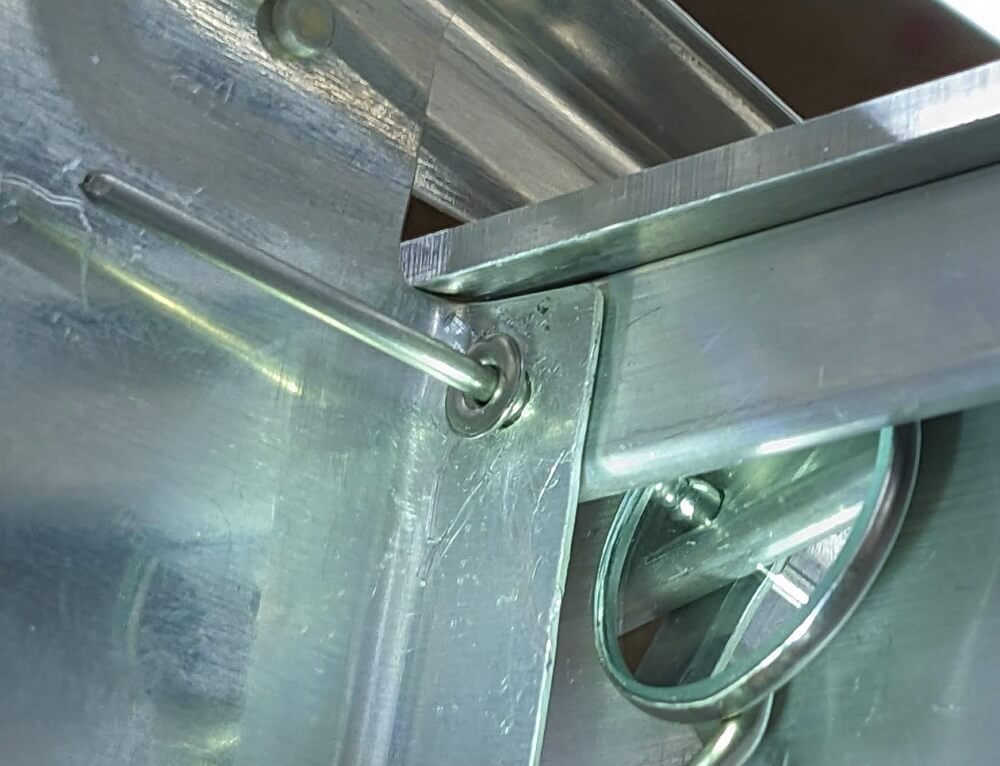 The tail of the rivet under the CherryMax
I pulled this rivet with the hand puller and straight nose (v.s. the nose with the angle ground into it) by pulling a little bit at a time and then pushing the rivet into the hole. This ended up working and the rivet pulled correctly on this (second) attempt! I was really relieved that it worked and I went ahead and re-installed the other 3 rivets in the rib to completely finish it. I also cleaned up the dings I made in the rib itself using a bit of sandpaper.
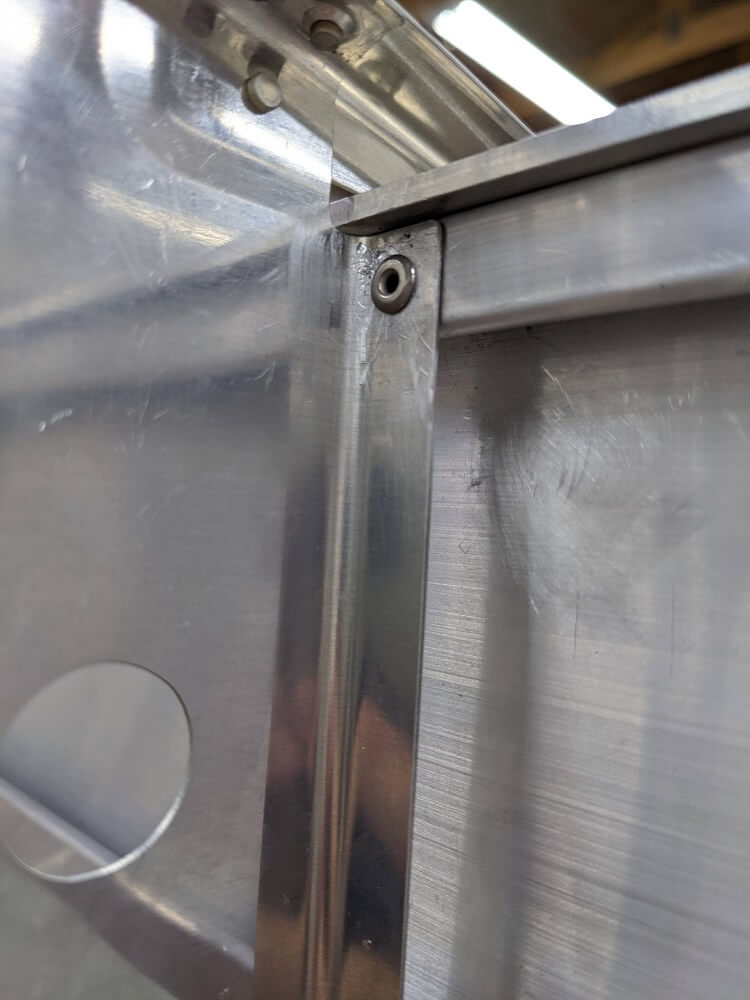 The rivet successfully installed
Wiring Harnesses
With the rivet installed successfully, I turned my attention to the wiring harnesses again. I made the last two landing light harnesses and weighed them again compared to those that were supplied. Each harness is 0.8oz heavier (2.8oz vs 2oz) which seems acceptable to me. This finished the landing light harnesses and just leaves the wingtip light harnesses to go.