Pitot Bracket Nutplates
My friends from high school, Mitchell and Phillip, were in town today visiting and they helped me on the plane build.
We started by installing the nutplates for the pitot bracket into the front spar per section 121 of the new manual. The 4 #10 center holes for the nutplates were pre-drilled but we still needed to drill the 8 #40 holes for the rivets that hold the nutplates on. I had purchased a drilling jig for this purpose that makes it pretty easy. With that done, we riveted the nutplates on using the hand squeezer. One thing to note for this step was that the squeezer wouldn’t fit on over the spar when set at the appropriate depth for the rivets (the gap was too narrow). In order to avoid having to re-set the depth of the squeezer too many times we installed all 4 rivets for the top nutplates without removing the squeezer from over the spar. Then we did the same thing on the bottom. This allowed us to only set the depth twice.
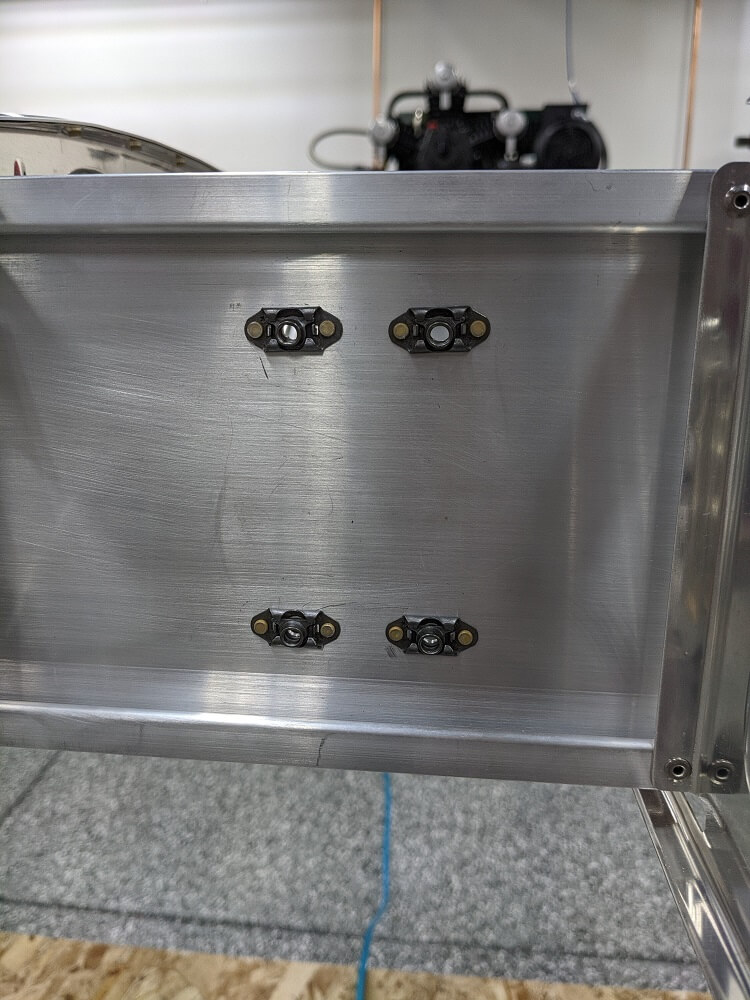 Nutplates for the pitot bracket installed
Rib 3 Bracing
Next, we installed the bracing for rib #3 per section 342 of the new manual. We started by marking the approximate positions of the holes on the rib itself (based on the distances given from the spars in the manual) and drawing a line on each spar at the appropriate height for the holes there. Then, I dry fit the braces and used pliers wrenches to bend the tabs on the ends (with the screw holes) until they sat approximately flat on the parts.
After that, I positioned each brace (one at a time) in the correct position and marked the final position on the rib by drawing through the screw hole in the brace. I then drilled each of these holes by first using the center punch, then a #55 bit, then a #40, and finally a #34. When using the bits without a drill stop I also used a small piece of scrap aluminum to shield the capstrip on top of the rib in case the chuck came in contact with it.
After those holes were drilled, I started with a short brace and installed it to the rib (with the screw just shy of snug). I then had Phillip and Mitchell hold the brace so that the other hole was on the line on the spar web that I had drawn earlier (including the slight twist required to make it sit flat). With the brace fully in position, I match-drilled the hole into the spar using a #40 bit and a drill stop (to prevent the chuck from hitting the spar cap). I repeated this process for the longer brace on the same spar and then for the other spar. Per the manual, I didn’t install the screws from the braces into the spar and instead just cleco’d them in for now.
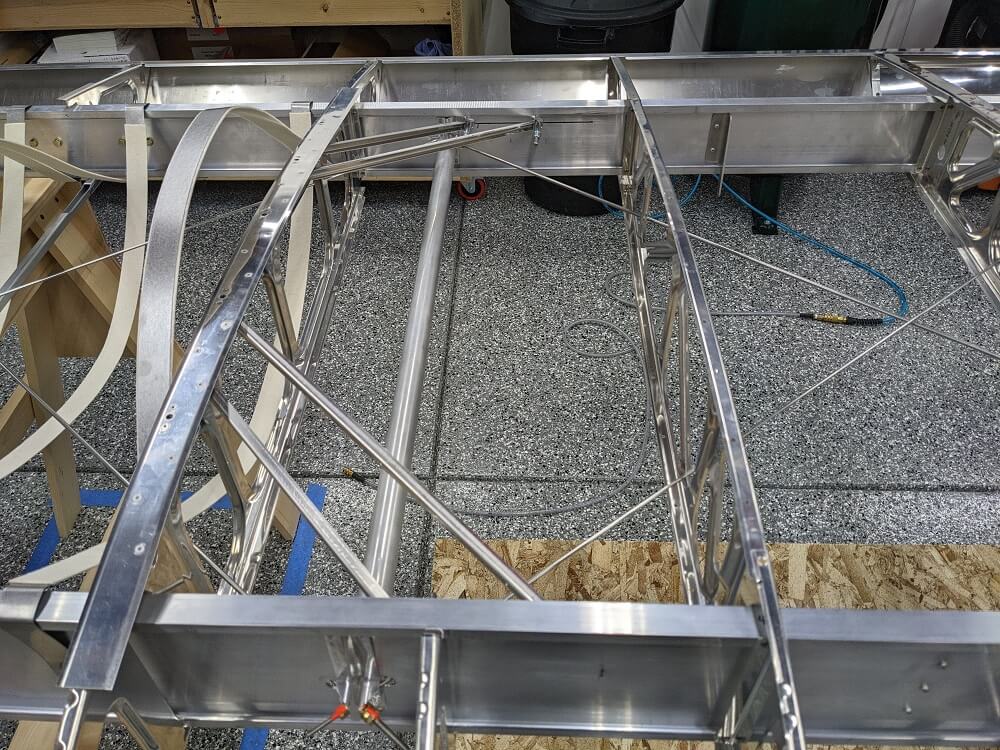 Installed rib braces