I finally had some time to work on the plane again and started by removing the rivets I installed last time that didn’t pull correctly. The first two that I removed were those on ribs that only had one bad rivet each. I was able to drill these out without any problems and, with Martha’s help, get one of them installed correctly by pushing harder to close the gap between the rib and the spar before I started pulling the rivet.
On the other hand, the other rivet, the one on the bottom outboard side of rib #3, pulled incorrectly again. I drilled this out and tried a third time still without luck. This makes me think that there is something wrong or different with the hole since it is one that I did have to match drill and since it otherwise seems fine (and other rivets pulled fine). I removed the rivet one more time and decided to come back to it.
Next I decided to remove the bad rivets from rib #1. Of the 4 rivets on the front spar, only one was pulled correctly and the rest had to be drilled out. I was able to get two of them without any problems but there was a gap between the rib and the spar on the last one. The rivet stem got a bit crooked/swollen in this gap when I tried to tap it out with a punch and it became impossible to remove. I ended up having to remove the last (good) rivet as well so that I could move the rib out of the way to get to the rivet.
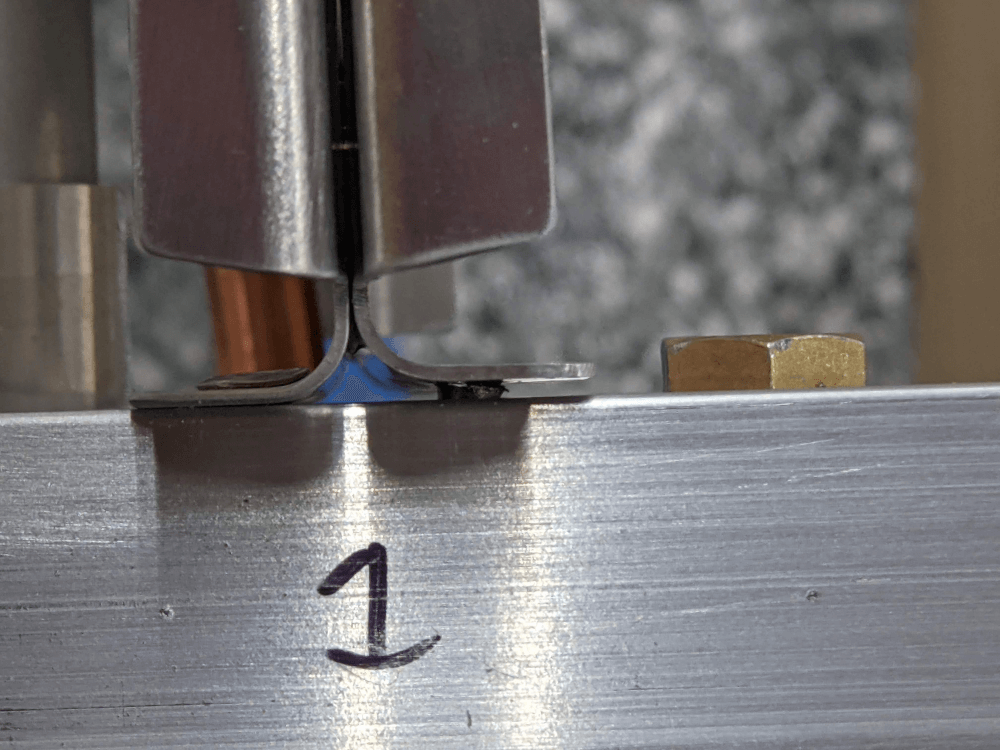 The problematic rivet in the gap between the rib and the spar
With the rib out of the way I was able to get to the rivet more easily but there wasn’t enough sticking out of the hole to squeeze back together with pliers or side cutters. Instead, I had to use very small pin punches perpendicular to the hole to tap the outsides of the rivet back in. This was a bit of a painstaking process but I was eventually able to get all of the edges of the rivet bent back in so that I could remove the rivet.
With this done rib #1 was ready to be riveted again although I was having a tough time getting the rib to sit flat against the spar where all of the holes were. If I pushed on the rib/rivet with the puller before I started pulling then I was able to get it closer but this was hard to do by myself. I decided to wait to install these ribs until I had some additional help.
After I was done with rib #1 I decided to enlarge the holes for rib #12 on the front spar. The hole size was very close so I just had to pass a #30 bit through once to make them right. This barely took off any material but it was enough to allow the rivets to fit. I made sure to deburr the backs of the holes again but there was a bit of a gap here as well between the rib and the bottom spar so I decided again that I needed some assistance to hold these parts together while I riveted.
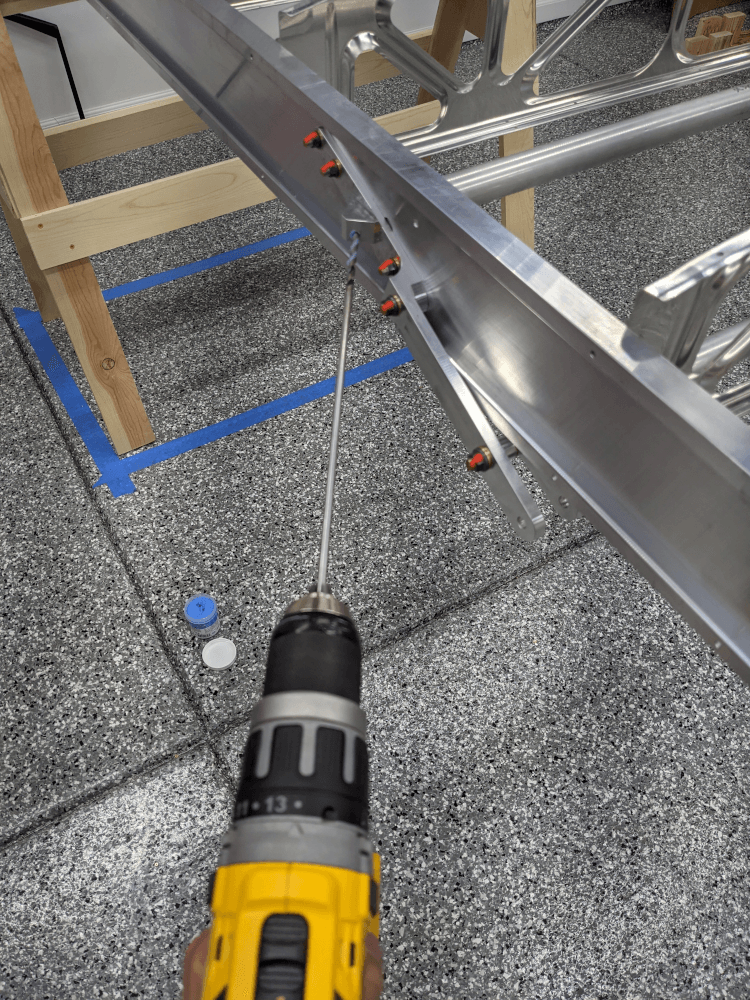
In the meantime, I cleco’d in rib #4 and pulled some parts for the next sections of the manual so that I would be ready when the time came. Namely, I pulled the fuel tank straps and the drag wires. I also tried drilling through the rear strut block for one of the drag wires using a 3/16” bit per section 111 of the manual. Unfortunately, this dulled my bit extremely quickly despite my use of cutting fluid so I was unable to complete the hole or move on to any others. My guess is that the bit bound in the hole that already existed although I’m not quite sure. I did order some replacement bits that should get here in a few days to continue with that section.
 Trying to drill the rear strut attach block
Wing Manual (Extended Fuel), CCEX-004 Rev. 2.02, Pages 73-76 ↩