Craig came by today to help me reinstall the center rib rivets that I mentioned in the last build entry that I needed help with. We started by installing the rivets in rib #12 which went smoothly. He helped me hold the rib up against the spar while I pulled the rivets and everything worked correctly on the first try.
We were also able to finish getting rib #1 installed correctly. This gave us some pause before we started since the way the two halves of the double rib were bent made it a bit challenging to get everything flush up against the spar. We started with the top outboard rivet since that had the biggest gap and had been a pain to remove. Craig helped me hold everything pressed together while I pulled and we were able to get it to pull correctly.
From there we pulled the bottom inboard rivet, the bottom outboard, and finally the top inboard. All worked correctly using this technique and rib #1 was officially finished.
We also looked at the problematic rivet on rib #3 and were able to figure out what was going on. I already suspected a burr on the back of the hole since everything else seemed to line up nicely and it looked like thr rivet should pull fine. The back of the hole is a bit hard to see well but by using an inspection mirror and a flashlight shined in from the side we were able to see that there was in fact a burr around the outside of the hole.
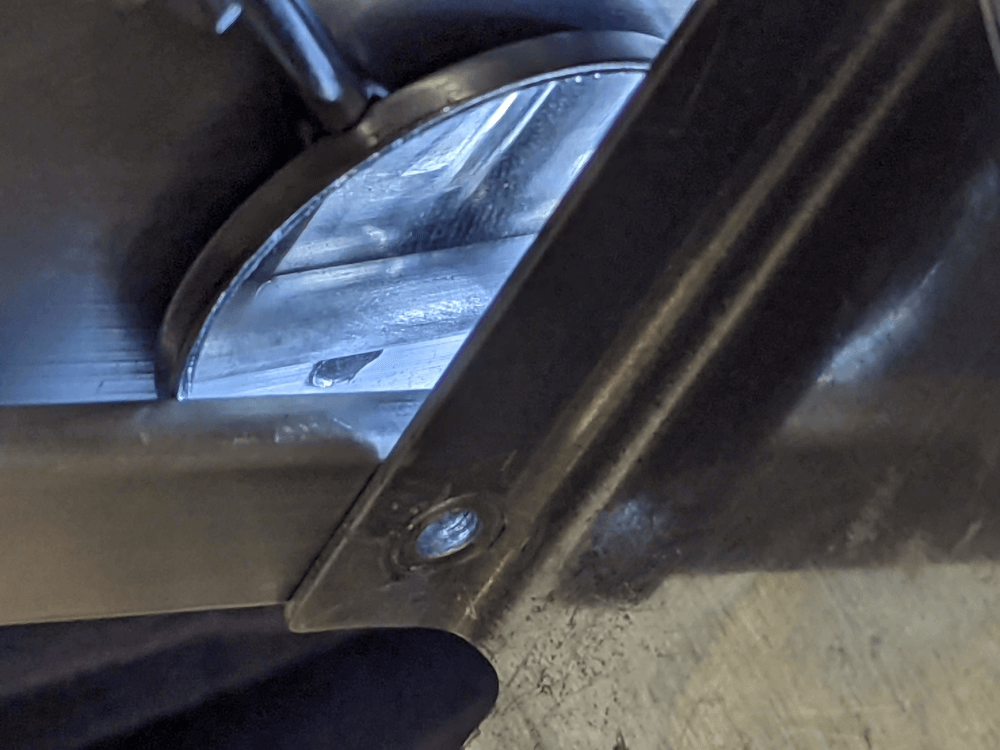 The burr on the back of the problematic hole
This burr seems like it is going to be difficult to remove since it goes around the entire hole and appears to be somewhat stout. It is also extremely difficult to get to the back of the hole and it is very close to the spar bulb (which must not be damaged) so I’ll have to be very careful when working on it. The good news is that I now know what the problem is and therefore what needs to be done to fix it but I’ll definitely have to do some brainstorming to figure out the best approach. Once this rivet gets installed correctly I can install rib #4 and will be done with the center ribs.