Hinge Blocks
I started this work session by installing the hinge blocks on the rear spar. The manual1 instructed that you use the same process as you did for the front spar so I reamed the first and last holes that actually contact the spar (the very top hole does not sandwich it) in each block and then the corresponding holes in the spar. I then temporarily installed the blocks and a washer between the top hole on the block where the spar is not sandwiched (as instructed) and reamed the last hole through the spar.
Finally, I reamed the top hole and installed hardware. Once this was done and the bolts were torqued I realized that the blocks were too tight together for the washer to be removed. I wasn’t sure if I had done something wrong so I disassembled everything and double checked. Everything seemed right and lined up well both without torqued bolts and with. I opted to just leave the washer in place since it is the same washer that is required when attaching the wing to the fuselage. I replaced the nuts with new locking nuts and re-torqued everything.
 Rear hinge block installed
This process did cause me a bit of frustration though so I think when I get to the next wing I will do this slightly differently. I will start by reaming the very end holes through each block and temporarily installing a bolt through them. After that I will ream the top hole that contacts the spar as an assembly and then the top and bottom holes on the spar. From there I can temporarily install everything (including a bolt and the washer at the very top hole) and ream the final hole as an assembly.
 Washer still in place
Once the rear hinge blocks were installed I was finally done with section 3.
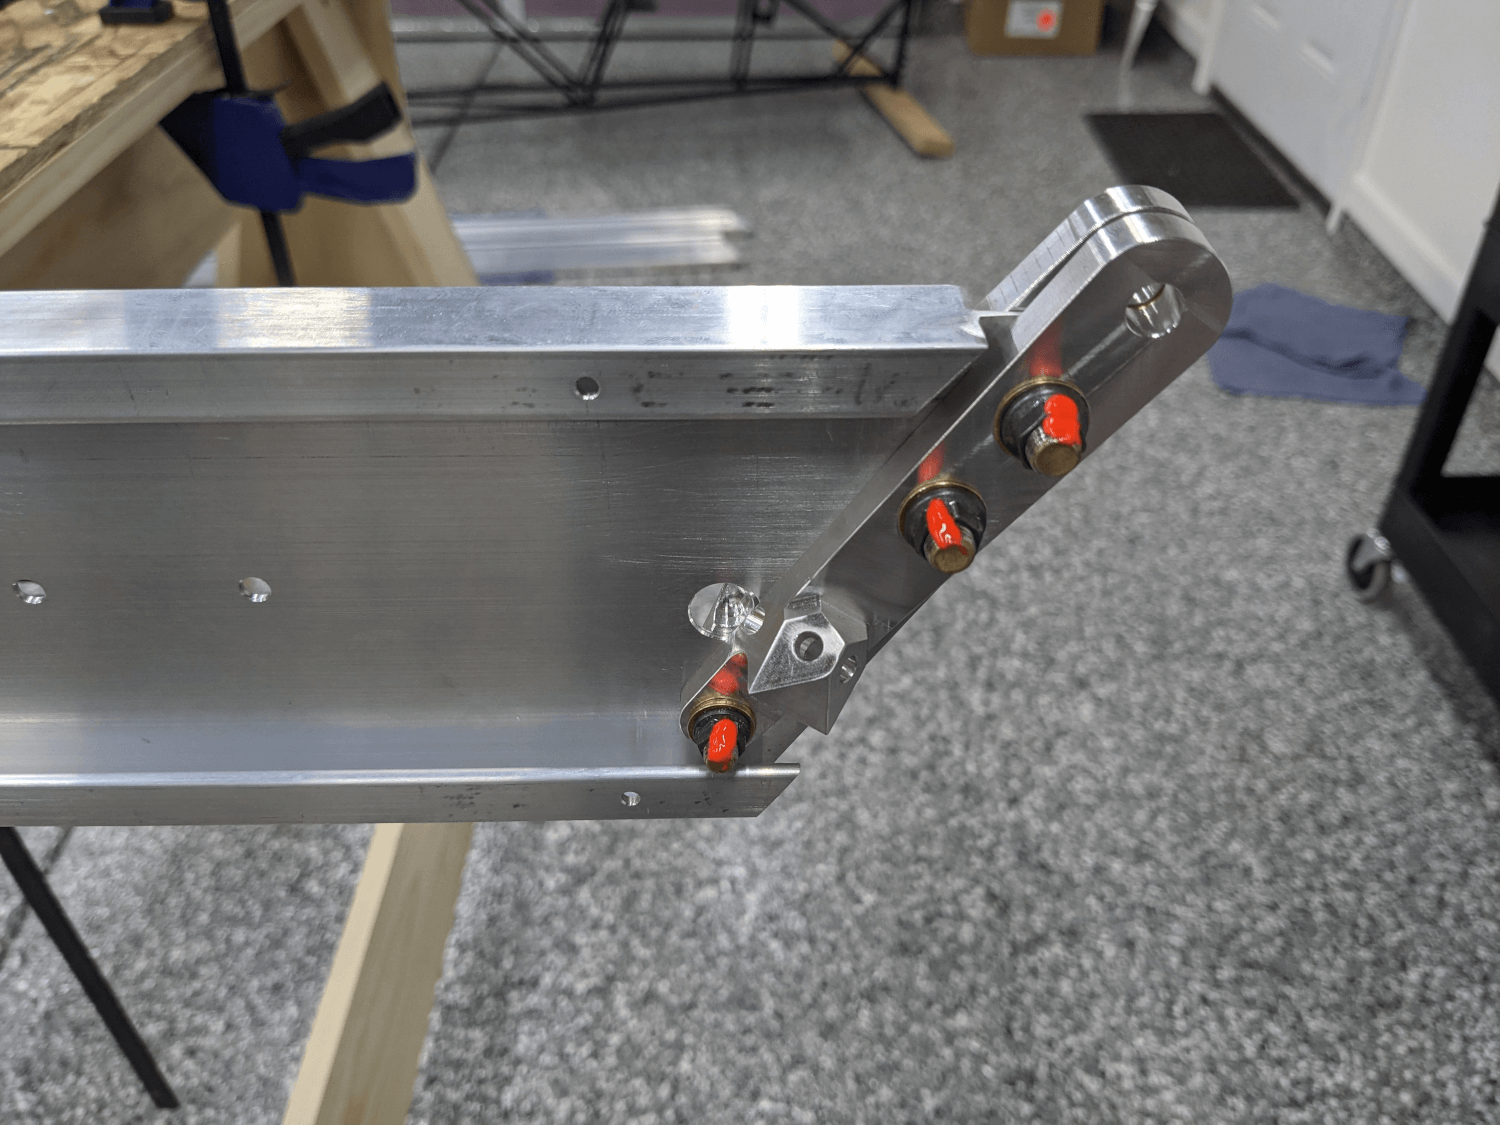
Front Lift Strut Fitting
Section 4 of the manual2 focuses on installing the lift strut fittings on both the front and rear spar. This section went much more smoothly but due to the head scratching on the previous step I only had time to do the front spar. After reading the instructions a couple times and playing around with the fittings, it was pretty clear how these pieces were installed and what steps to take. The interesting thing here is that the fitting can rotate freely while you are reaming the second hole from the top (as an assembly) since only one of the three bolts you have placed at that point goes through the spar. The hole to be reamed was a 1/4” hole and the reamer was tight enough that it provided the alignment without any slop but I still found that interesting.
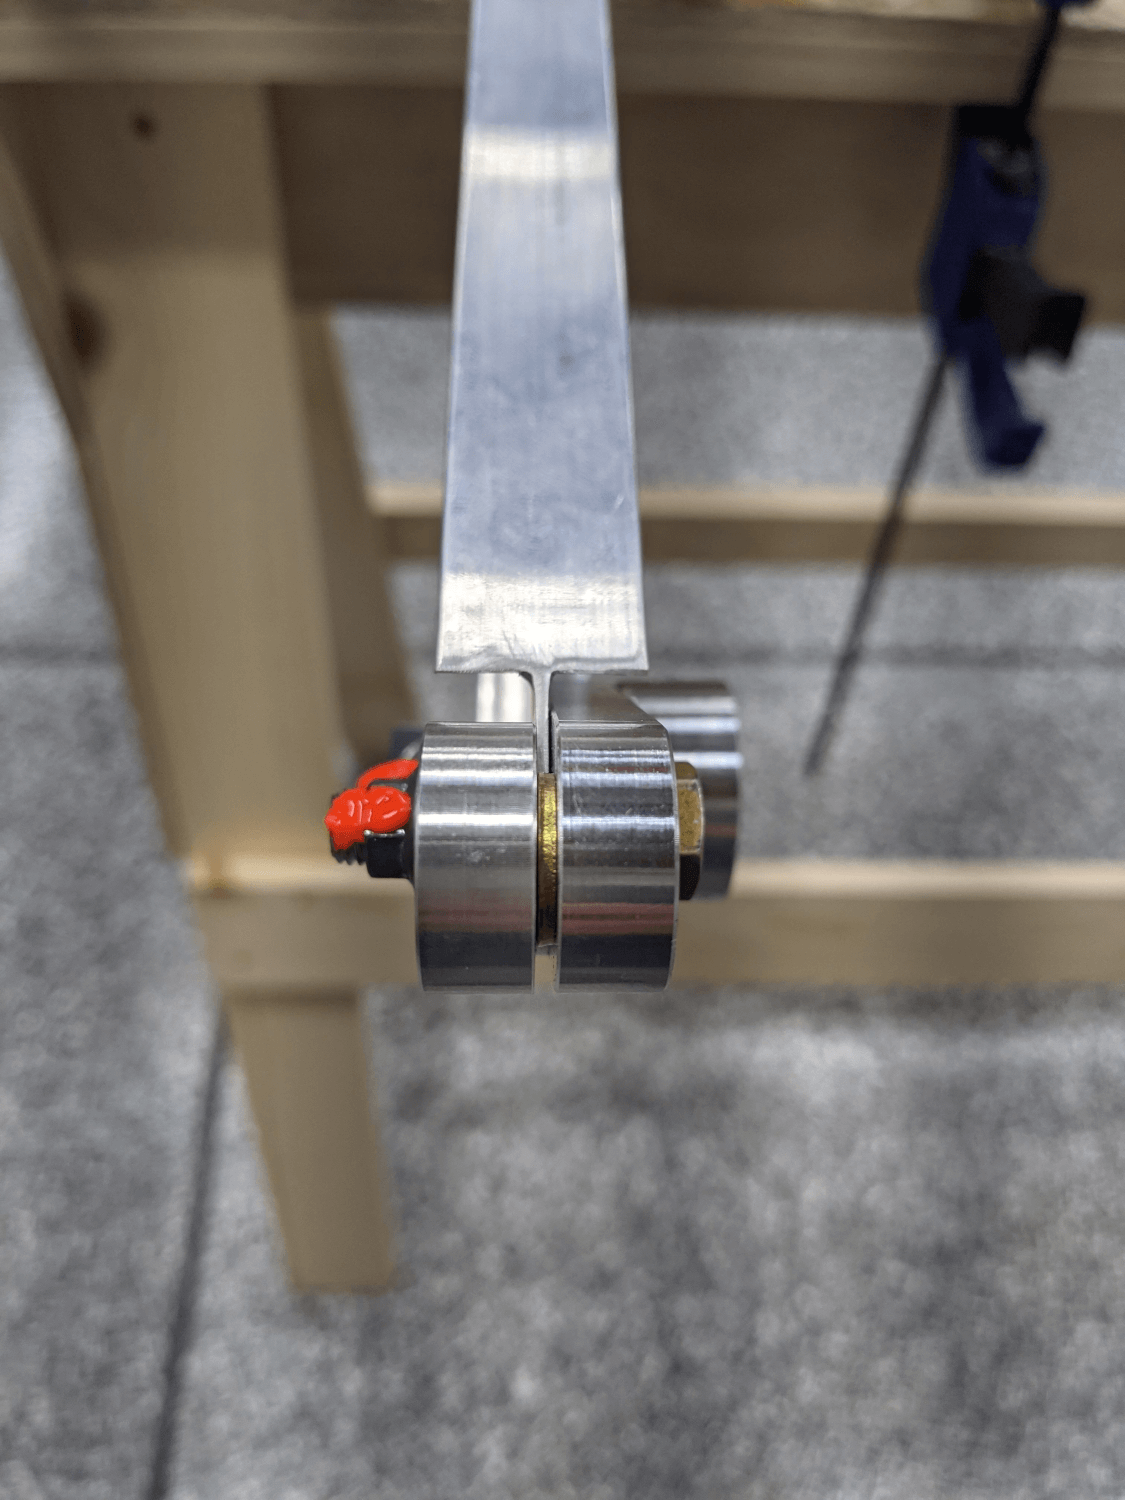
Reaming the remaining holes and installing/torquing the hardware was straightforward. I was also careful to install the AN960-616 washer on the AN-6 bolt in between the fittings. One of the bolts also passes through in the opposite direction to the others so this required some extra attention as well. The manual made these points very obvious but it is still important to double check.
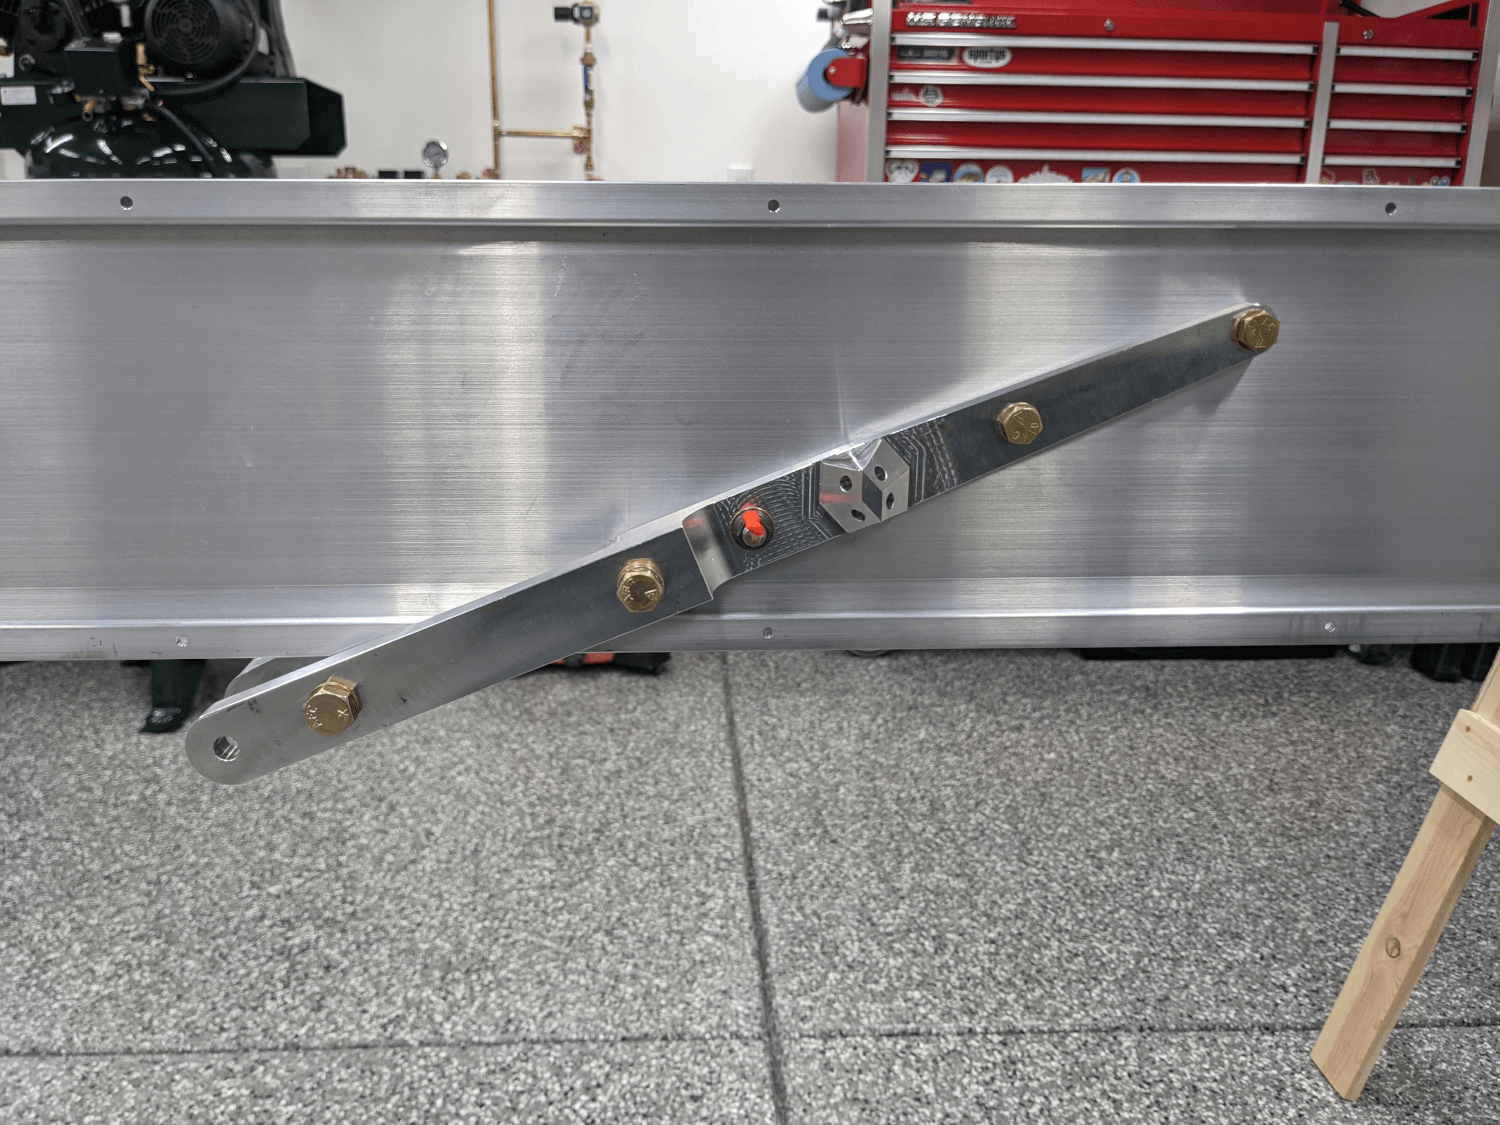 Installed lift strut