Countersinking
We started the build today by using Craig’s countersink cutter to countersink hole #24 on the rear spar reinforcement. We did this by first testing and adjusting the cutter depth using a scrap piece of aluminum and only countersinking the actual part once we were happy with the depth. After this we once again used the pneumatic puller to pull the rivet and then were finally officially done with section 191.
 The countersunk rivet
Rear Aileron Pulley Bracket
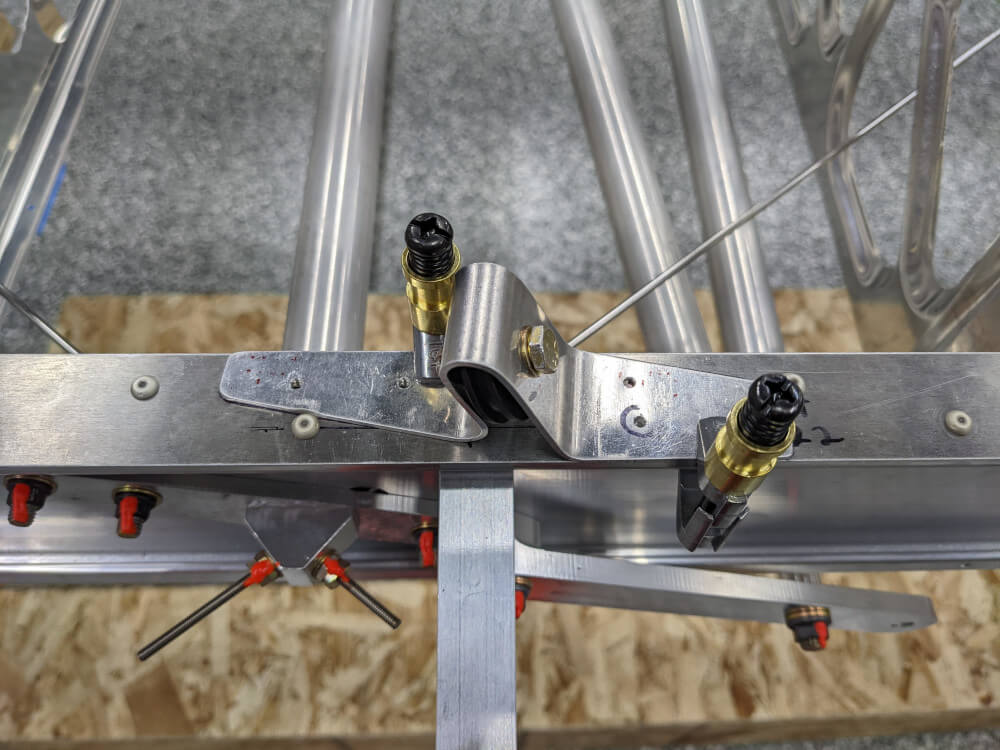
With that step out of the way, we were able to work on installing the rear aileron pulley bracket. We decided it would be easiest to install the pulley in the bracket, tighten the bolt all the way, install the bracket, and then loosen the bolt/sand the pulley slightly until it can rotate. This is basically the process we used on Craig’s wing and it worked out well.
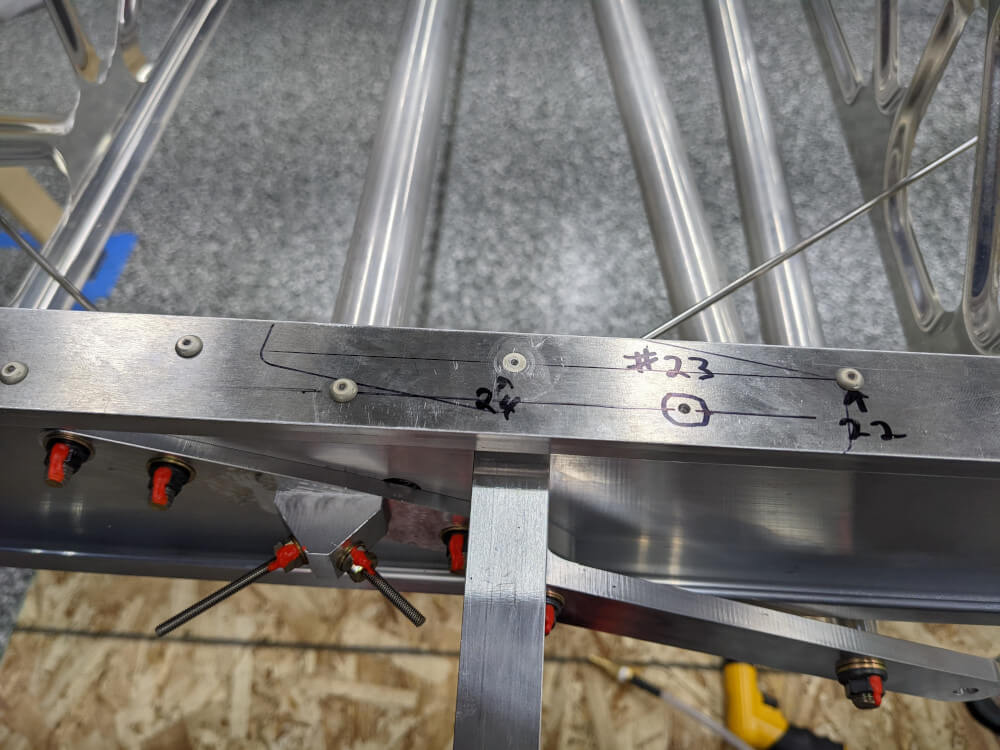
Hole #23 on the rear spar reinforcement cap was still un-drilled at this time since it is match drilled with one of the holes on the pulley bracket itself. We lined these holes up and rotated the bracket into place as closely as we could. There are two other rivets, #22 and #25, that interfere with the bracket slightly so we marked the locations on the bracket and used a sanding drum on a Dremel tool to sand the bracket slightly until it would clear.
Once this was done, we positioned the bracket on the spar with the holes that need to be match drilled once again lined up. We also rotated the bracket until its edges were flush with the sides of the reinforcement capand then clamped it in place with a couple cleco clamps.
 The bracket clamped in place
We had previously drawn lines on the reinforcement cap between the holes so that we could make sure that we saw those lines through the pulley bracket holes before drilling; this would tell us that it was lines up correctly. Everything was looking good in this regard once we had it clamped down but we also double-checked the clearances using a small adjustable square.
After confirming that everything looked good we began drilling the holes. We started with thr match-drilled hole and then moved on to the inner hole on the other side of the bracket since those two were the most vital in securing the position and making sure that the bracket didn’t pop up (it didn’t want to sit quite flat on its own). After that, we realized that the cleco in the bottom, inner hole on the right side (the first one drilled) interfered with the drill stop when trying to drill the hole directly above it. To get around that problem we drilled and cleco’d the remaining holes and then went ahead and pulled the rivet in the first hole drilled. After that we were able to drill the final hole without a problem. Finally, we pulled the rest of the rivets.
After the bracket was completely installed we removed the pulley from the bracket and sanded it slightly so that it could spin. It can now move with just the pressure from a couple fingers but we may still work on it a bit more in the future to try to make it spin a bit more easily. It is definitely not a problem as-is though. This completed section 202 for the left wing and also means that the center structure is mostly done!
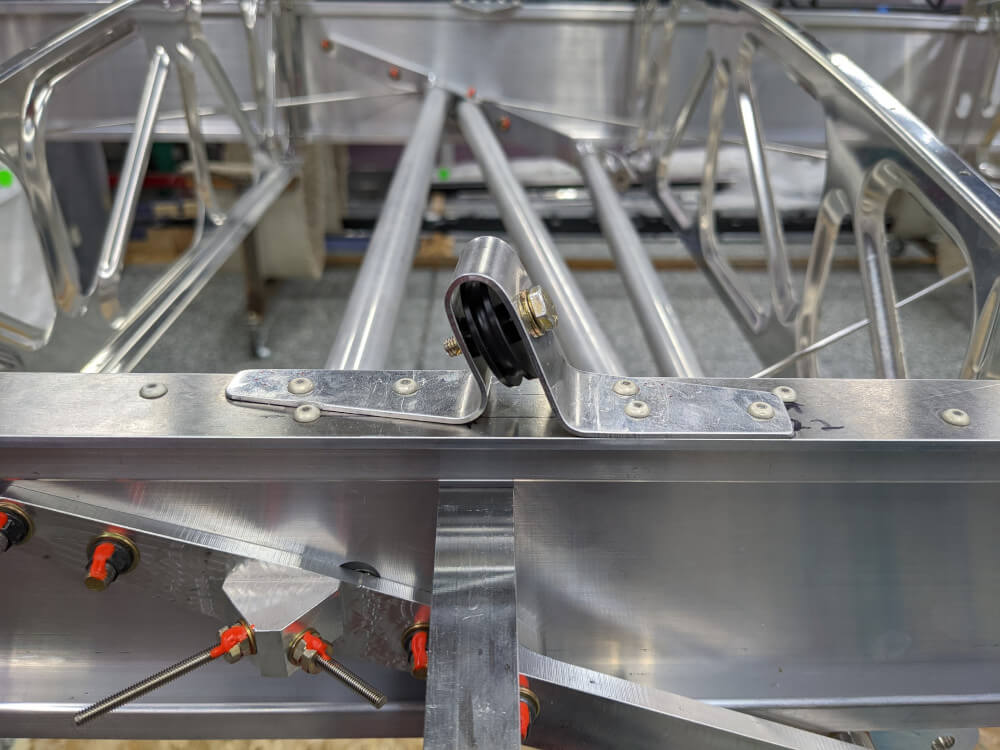 The installed bracket
Tool Modification
Before calling it a day, Craig and I decided to work on modifying a rivet squeezing yoke and a #40 dimple die as specified in the beginning of the manual. This is needed in the next step in order to dimple the ribs for the rivets that join the rear and center ribs. Craig had brought his bench grinder over so we ground down these parts as far as we currently dare. Once the holes are match drilled in the parts we’ll be able to hold the dimpler up to them and see if we took off enough material or if we’ll need to grind off a bit more.
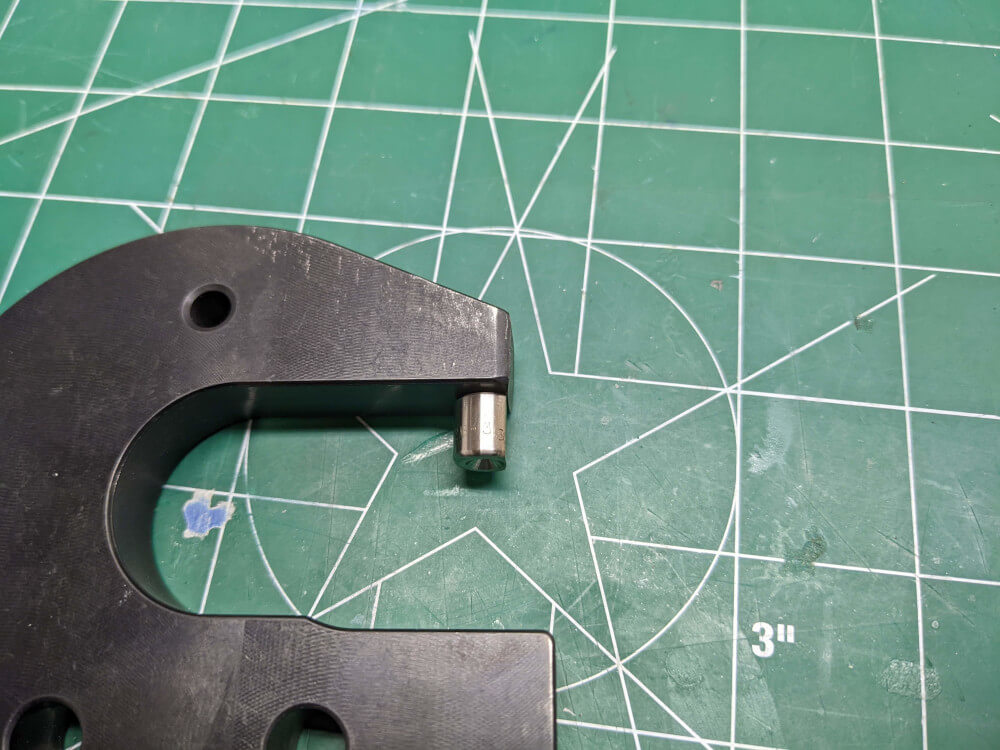 The ground down squeezer yoke and dimple die