Today I worked by myself preparing the tail ribs for installation (the start of section 211). These are the ribs that attach to the rear spar and the false spar/trailing edge and make up the rear of the wing. There are two types of tail ribs - flap tail ribs and aileron tail ribs.
The aileron tail ribs have a curved rear edge that the leading edge of the aileron can nestle in and that form the aileron cove. The flap tail ribs, on the other hand, have a straight, angled rear end. The ribs for the aileron section don’t need to be modified at all and I went ahead and cleco’d them in place. The flap tail ribs, on the other hand, need a bit more attention.
The tail ribs in the flap section at rib #1 and rib #3 needed to have the very front trimmed a bit so that they could fit in-between the two glue’d haves of the #1 and the #3 double ribs. I did this using the sanding drum on a Dremel tool until they fit.
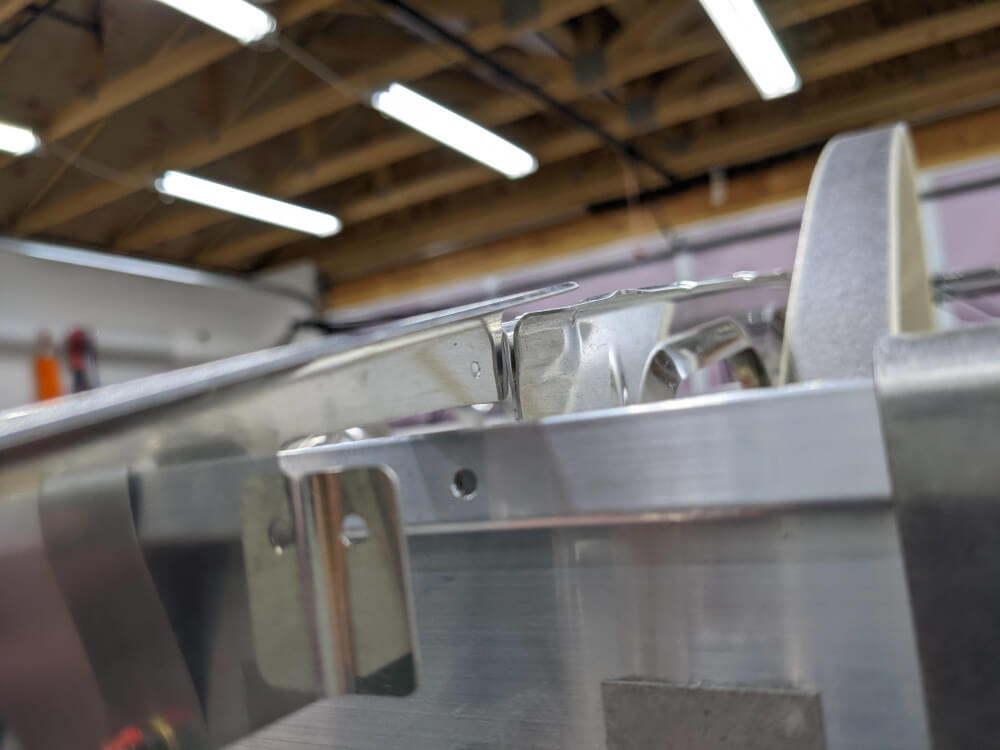 The tail ribs were a bit too tall to fit without some trimming
The tail rib at the #2 rib position also needed some trimming to accommodate the false rib that will eventually be installed there. I trimmed off the section prescribed in the manual using some sheet metal sheers and smoothed the rough edges using a file and some sandpaper. I also used a sanding drum again to reduce the height of the bottom front of the tail rib so that it won’t stick up above the cutout notch on the false rib once installed. This step took much longer than anticipated because it took me an hour and a half at least to find the false rib. I wanted to see how it would line up with the tail rib before installing it in order to ensure a good fit down the road.
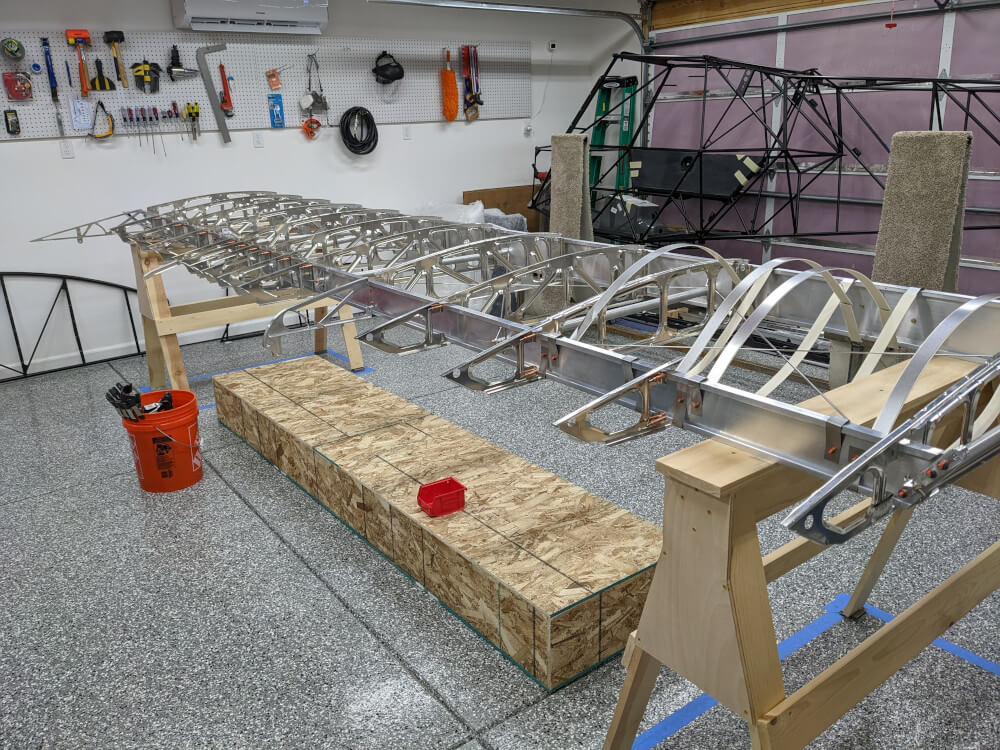 The tail ribs cleco’d in place and ready for riveting
Wing Manual (Extended Fuel), CCEX-004 Rev. 2.02, Pages 100-102 ↩