Preparing Rib Clips
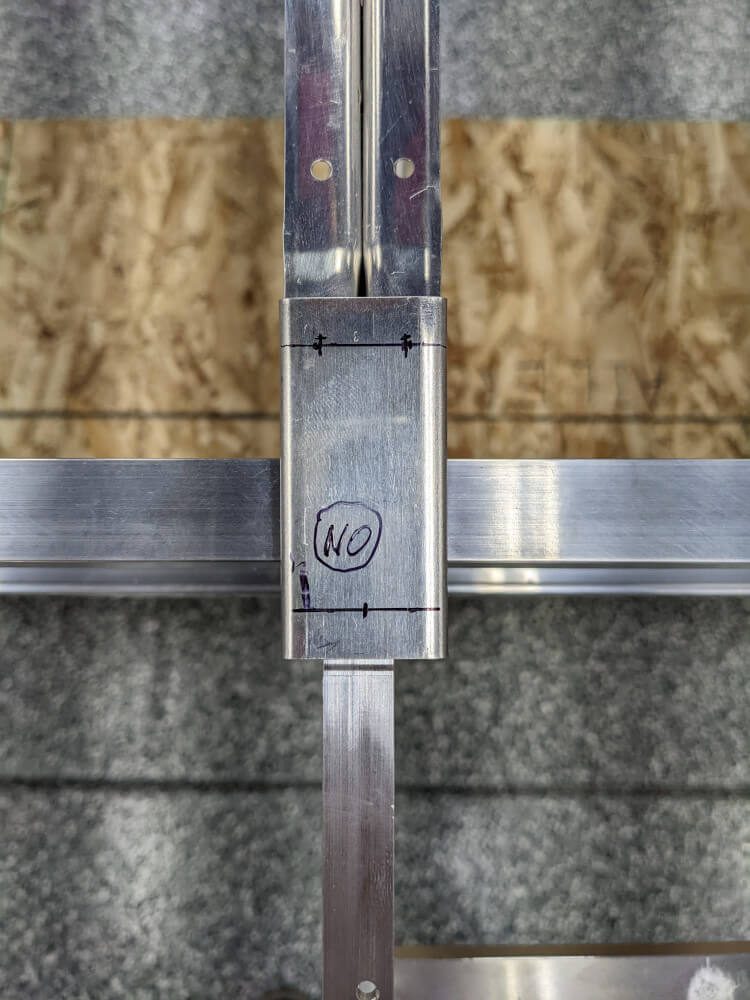
The first thing I did today was start to get the rib clips prepared for installation per section 241 of the manual. It provides some restrictions about where the holes are supposed to be located but doesn’t provide exact positions. In order to meet the requirements given, I marked the clips for the #5 rib so that the holes for the rivets in the center rib will be 9/32” (just over 1/4”) from the front edge of the clip and and same distance from the closest side. I also marked the positions of the rivets in the machined tail rib 11/32” (just over 5/16”) from the back of the clip and dead center on it.
 A clip for rib #5 with the hole positions marked
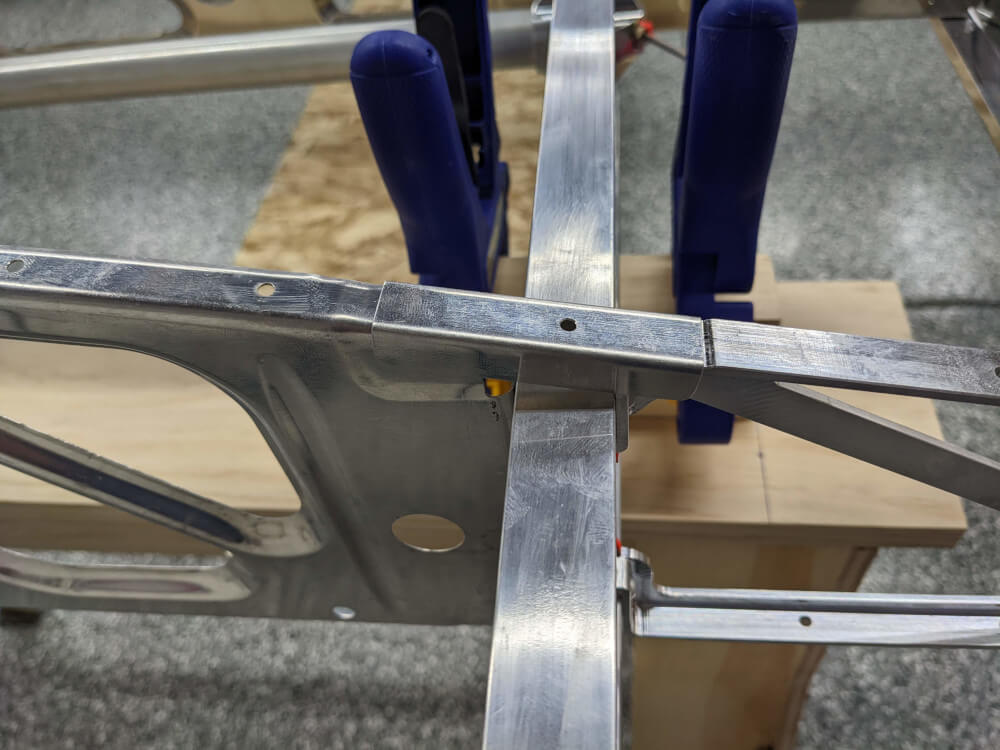
During this process, I realized that neither the clips for the #5 or the #12 ribs fit over the center ribs. To fix this, I carefully used some files to remove material from the edges of the center ribs until the clips would fit over comfortably. I also cleaned up these filed edges with some 220 grit sandpaper to remove any burrs.
 A clip for the #12 rib dry fitted after filing down the center rib
Preparing Nose Ribs
Based on a tip from Craig, I realized that a lot of the holes in the nose ribs for the stainless steel rivets (the rivets that will attach them to the spars) were drilled slightly undersized and wouldn’t fully accept a rivet. I removed the nose ribs, one-at-a-time, to check and drill out the hole with a #30 bit if necessary. I also made sure to cover the clecos in the nose rib on the #8 center rib with tape so that I wouldn’t accidentally install the rivets before installing the bottom rivet between the nose and center ribs. With this done, they are ready to be installed per section 252.