This post needs to be prefaced by saying that the CarbonCub kit comes packaged very well and that CubCrafters obviously works very hard to ensure that noting is damaged during shipping. That being said, there are inevitably a few “squawks” that occur as a result of shipping. As I’ve been unpacking I’ve noticed a few and decided to try to address some of them today.
Landing Gear and Fuselage Rubbing
The first of these minor imperfections that I noticed was some rubbing that occurred between the fuselage and some of the other parts during transit. This mostly just scuffed the powder coat/paint but the most significant rubbing was between the landing gear legs and the right side of the fuselage. In two spots, the rubbing had worn through the coatings on both parts and gotten to the metal underneath (two spots on the fuselage and one on each gear leg).
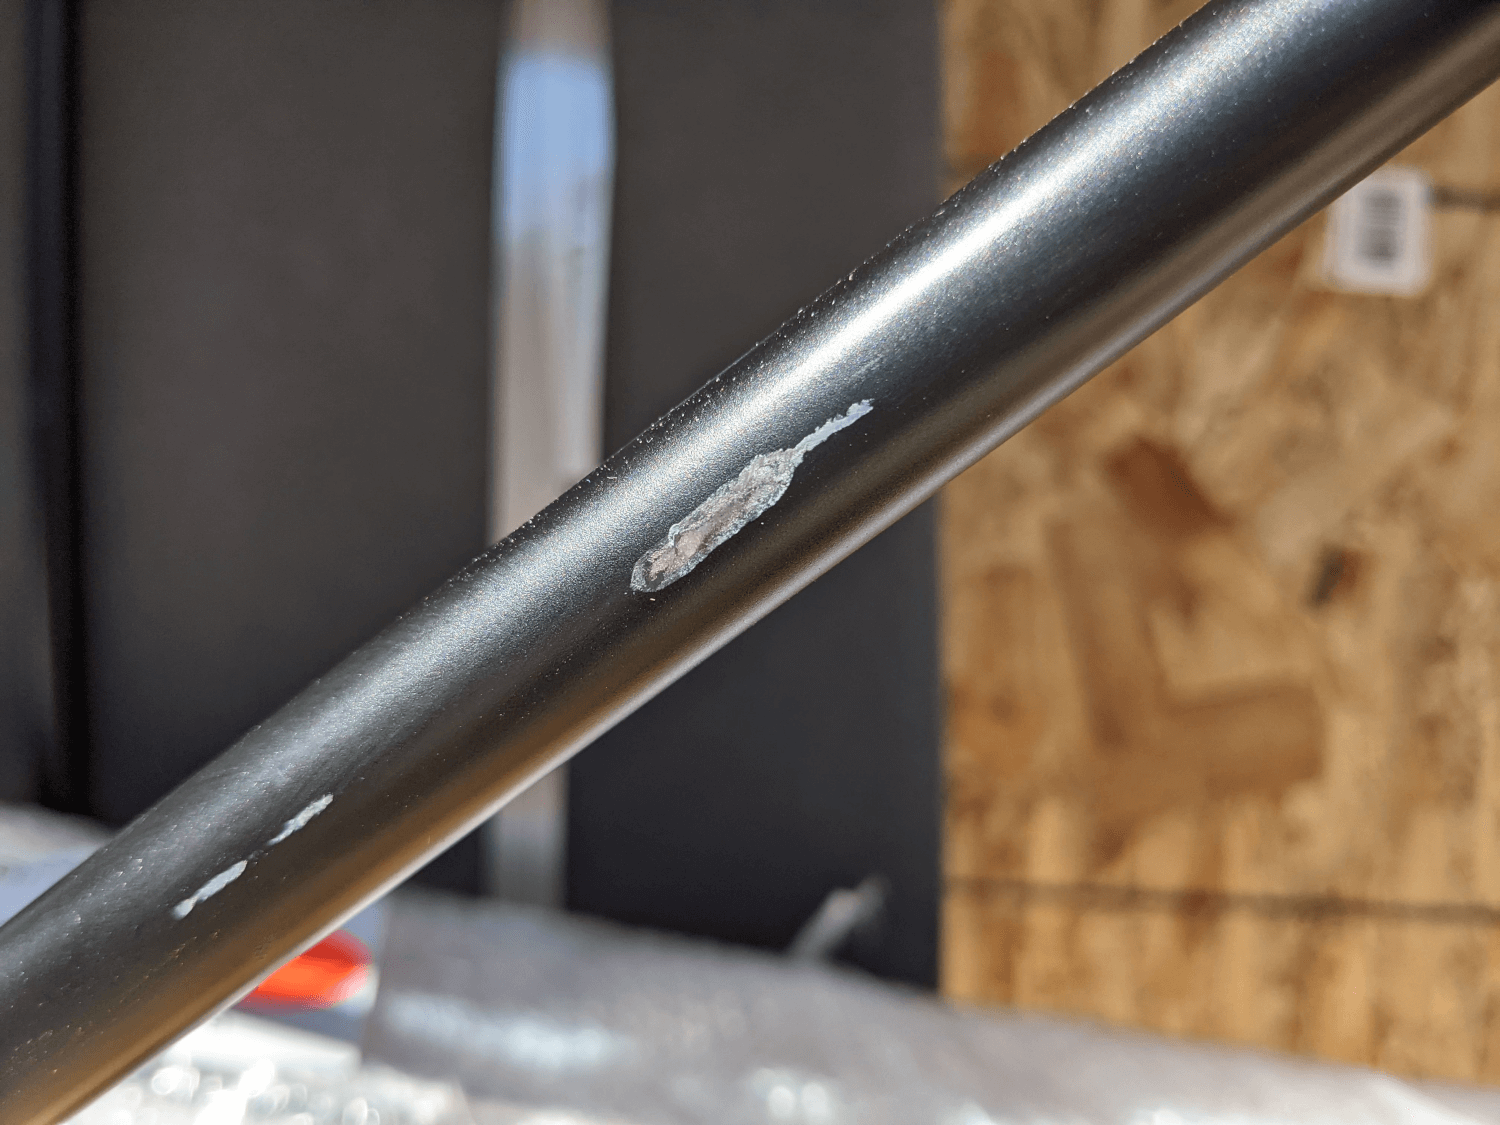 Rubbing on the fuselage
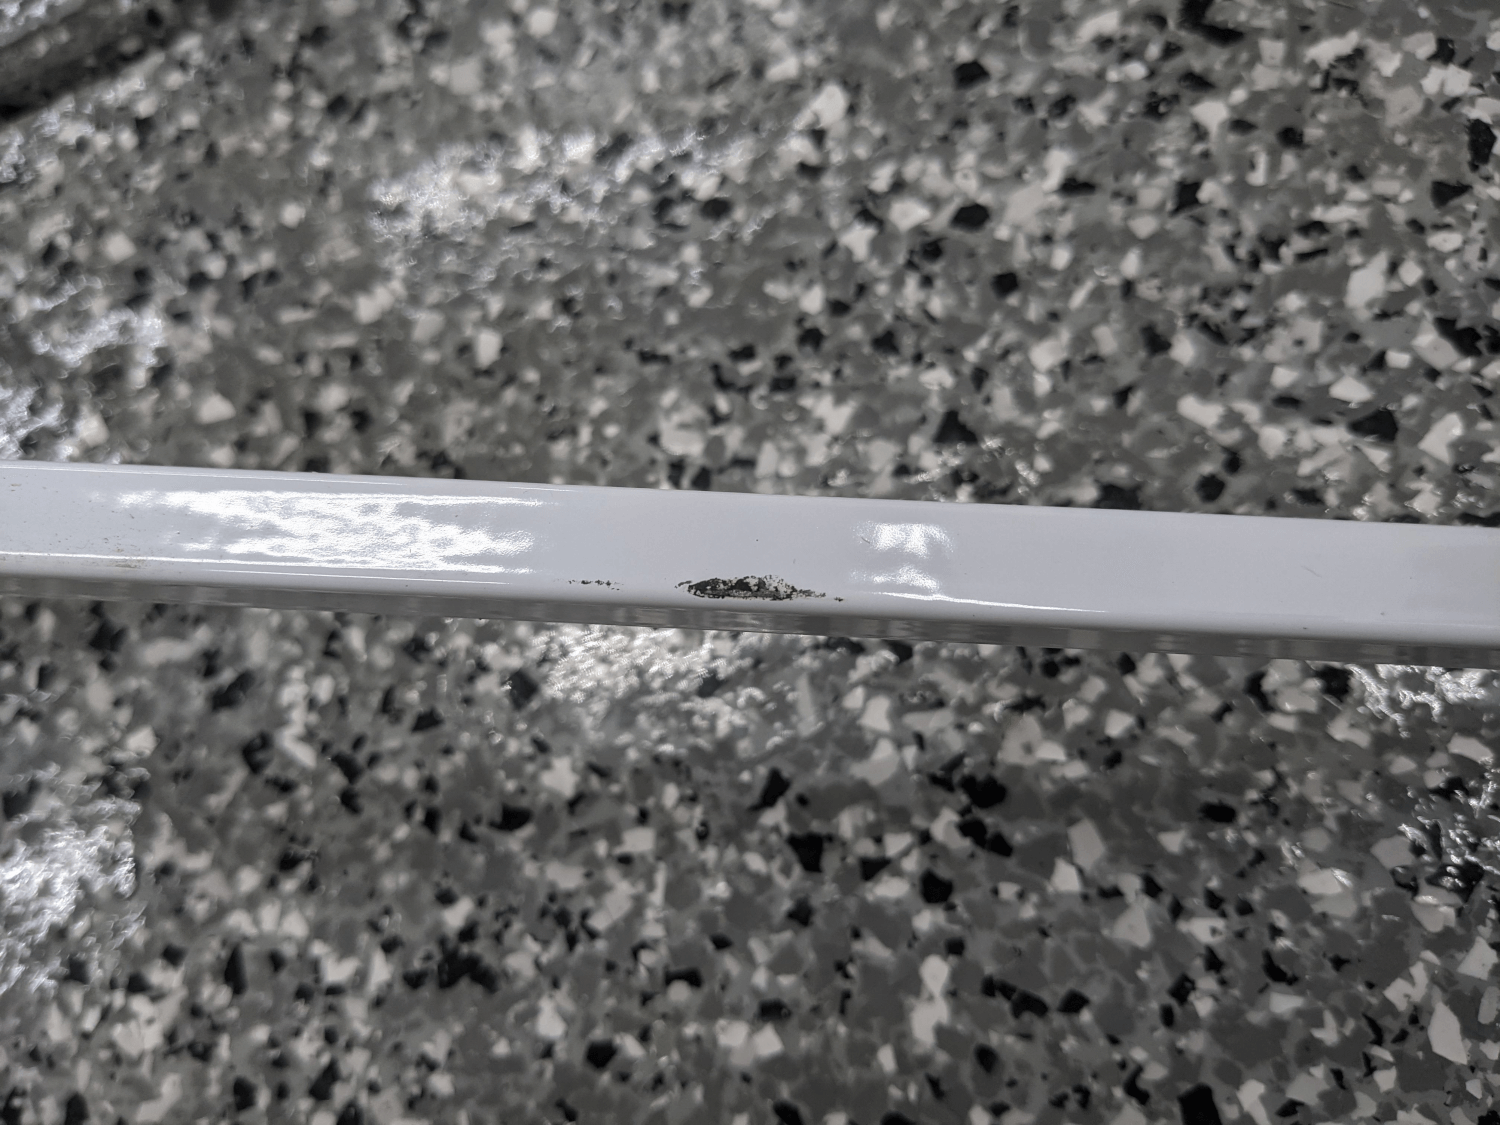 Rubbing on the landing gear
I reached out to CubCrafters last week to see what needed to be done to address these spots. They determined that the rubbing was superficial but advised that I touch them up with some paint to prevent corrosion. I asked about Rust-Oleum protective enamel paint and they said that would work fine. I purchased a small (8oz) can of matt black for the fuselage and a small can of gloss white for the gear legs.
I then lightly scuffed the areas I was going to paint with some 320 grit sandpaper, cleaned the spots with denatured alcohol, and touched up the paint with a fine brush. The black matched the fuselage pretty closely (and didn’t matter too much since it would be covered by fabric) but the white is definitely a bit off. Hopefully the slight white mismatch won’t be too noticeable since both spots are on the back/underside of the landing gear.
 Painted fuselage
 Painted landing gear
Spar Tip
I had also noticed that the outboard end of the right rear spar was rough and had some significant burrs along the edges. It looked like it hadn’t been finished after being cut. I clearly couldn’t leave it this way since any sharp edges or burrs could become stress points in the future and lead to cracking.
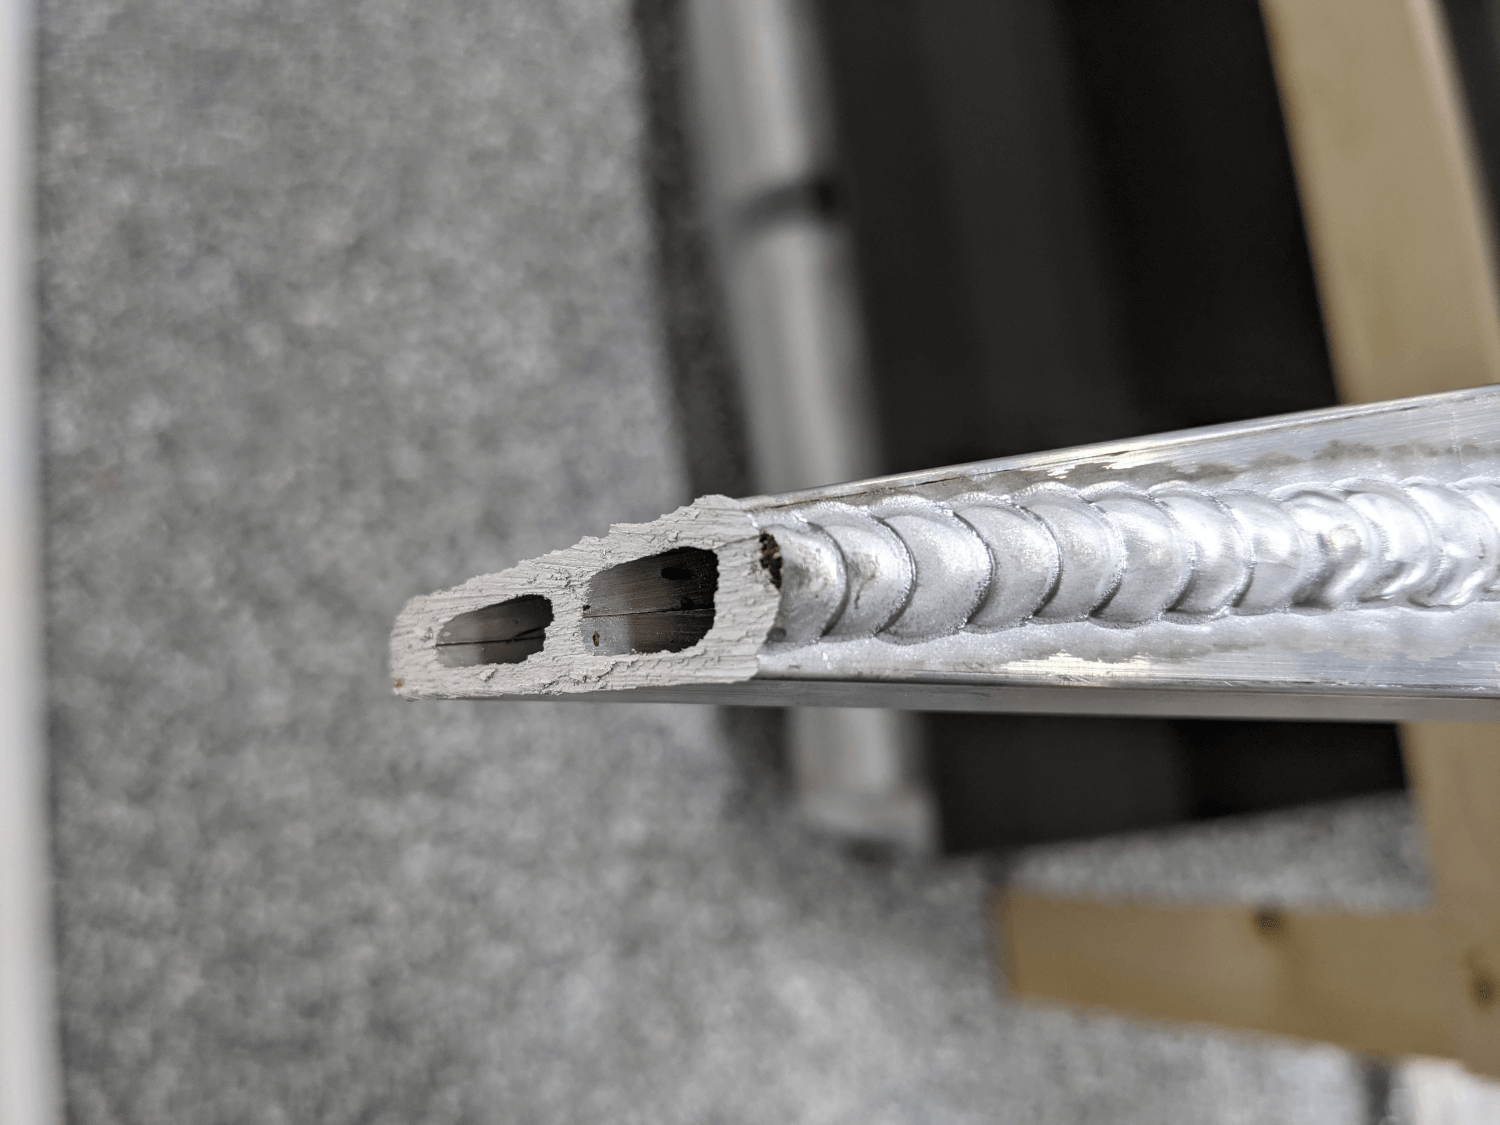 Spar tip as received
I asked the factory about this as well when I contacted them and was told to “polish” the end with some sandpaper to remove the rough spots and the burrs. I used 320 grit sandpaper to do this since I wanted the finished product to be smooth and I didn’t want to risk taking off too much material too quickly. I also had to use a couple small, fine files to touch up the holes in the end of the spar. This took a while to do (especially since a couple of the scratches were pretty deep) but I ended up with a nice looking spar end that resembles the factory finished end pretty closely and does not have any rough spots or burrs.
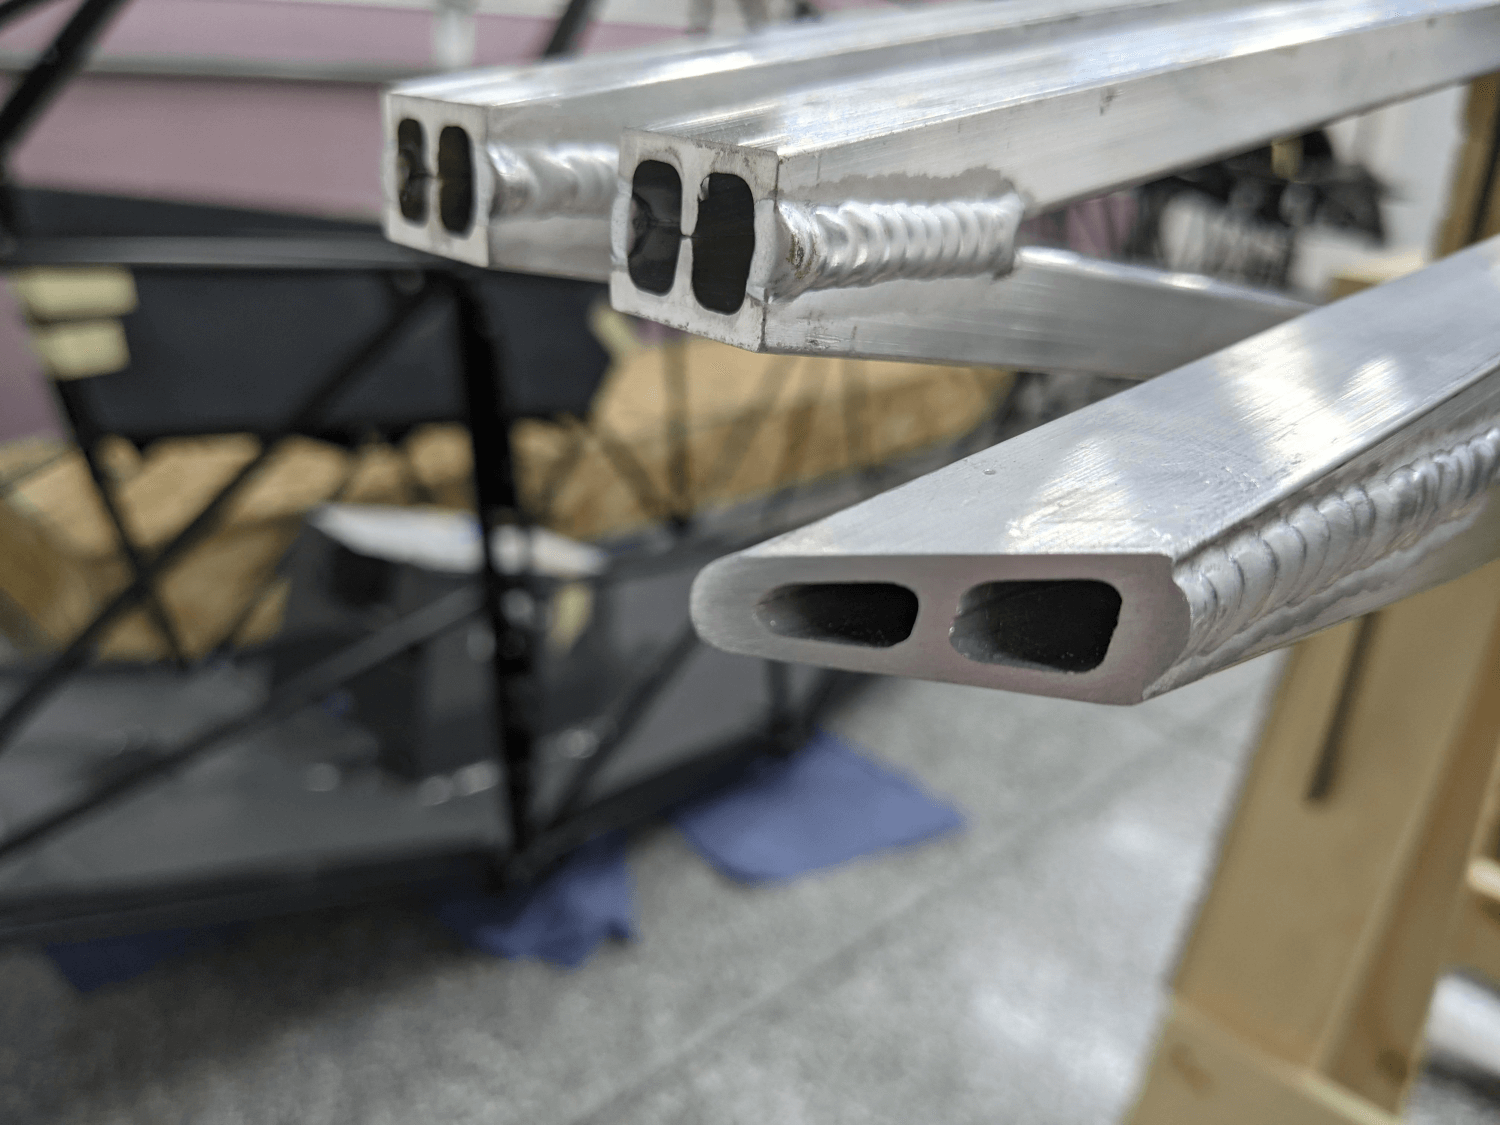 Finished spar tip
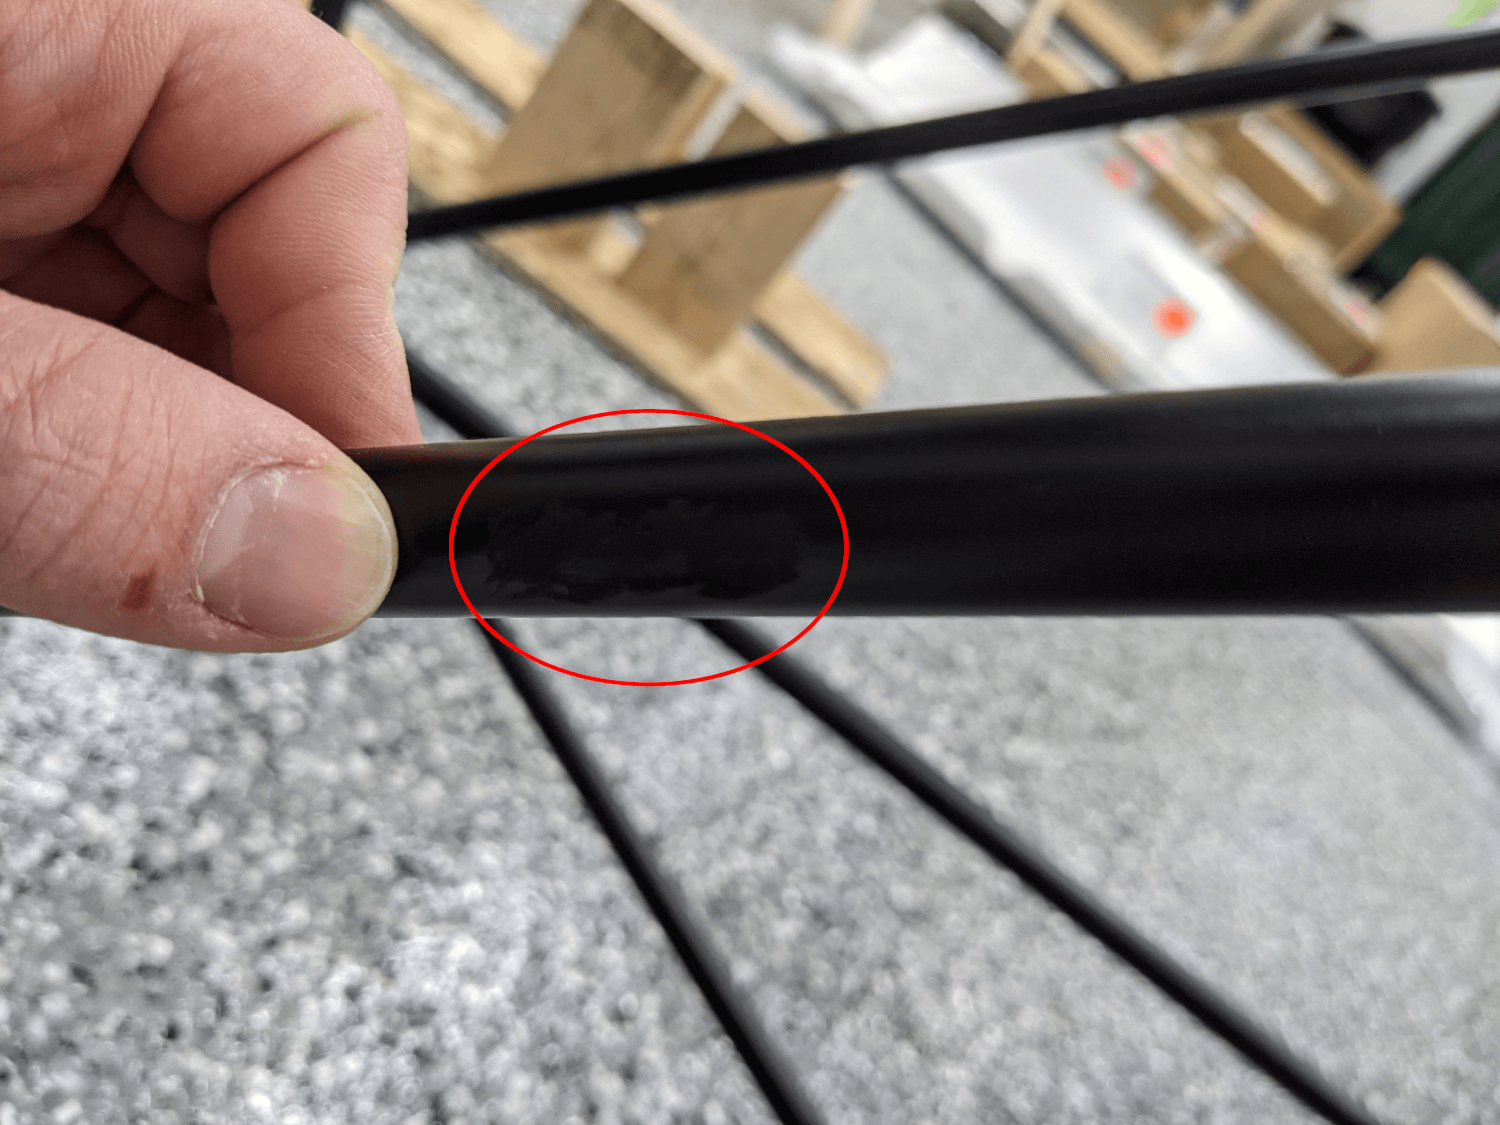
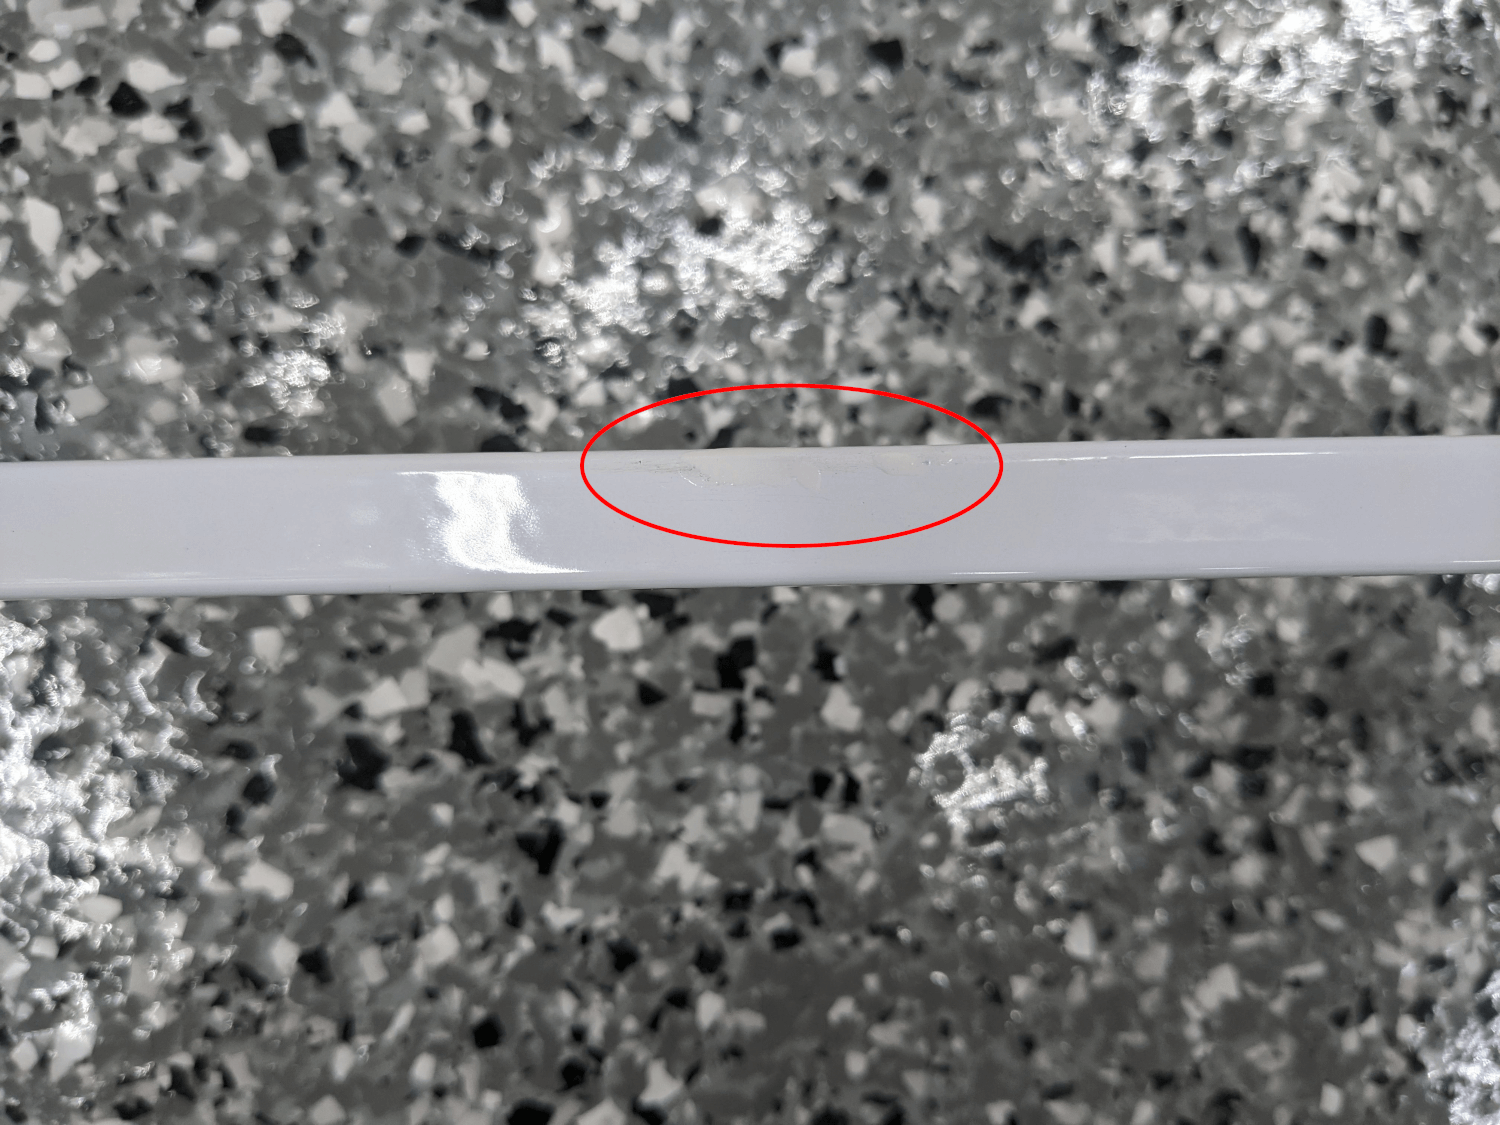
Wing Tip
While unpacking I also noticed that one of the wing tips had rubbed during shipping. Since the wing tips are carbon fiber this had eaten away a bit more of the material and created a divot that is definitely noticeable when you run your hand over it. If nothing else this will lead to a slightly less nice finish. I’m planning on contacting CubCrafters about this sometime during the week to see what their advice is.
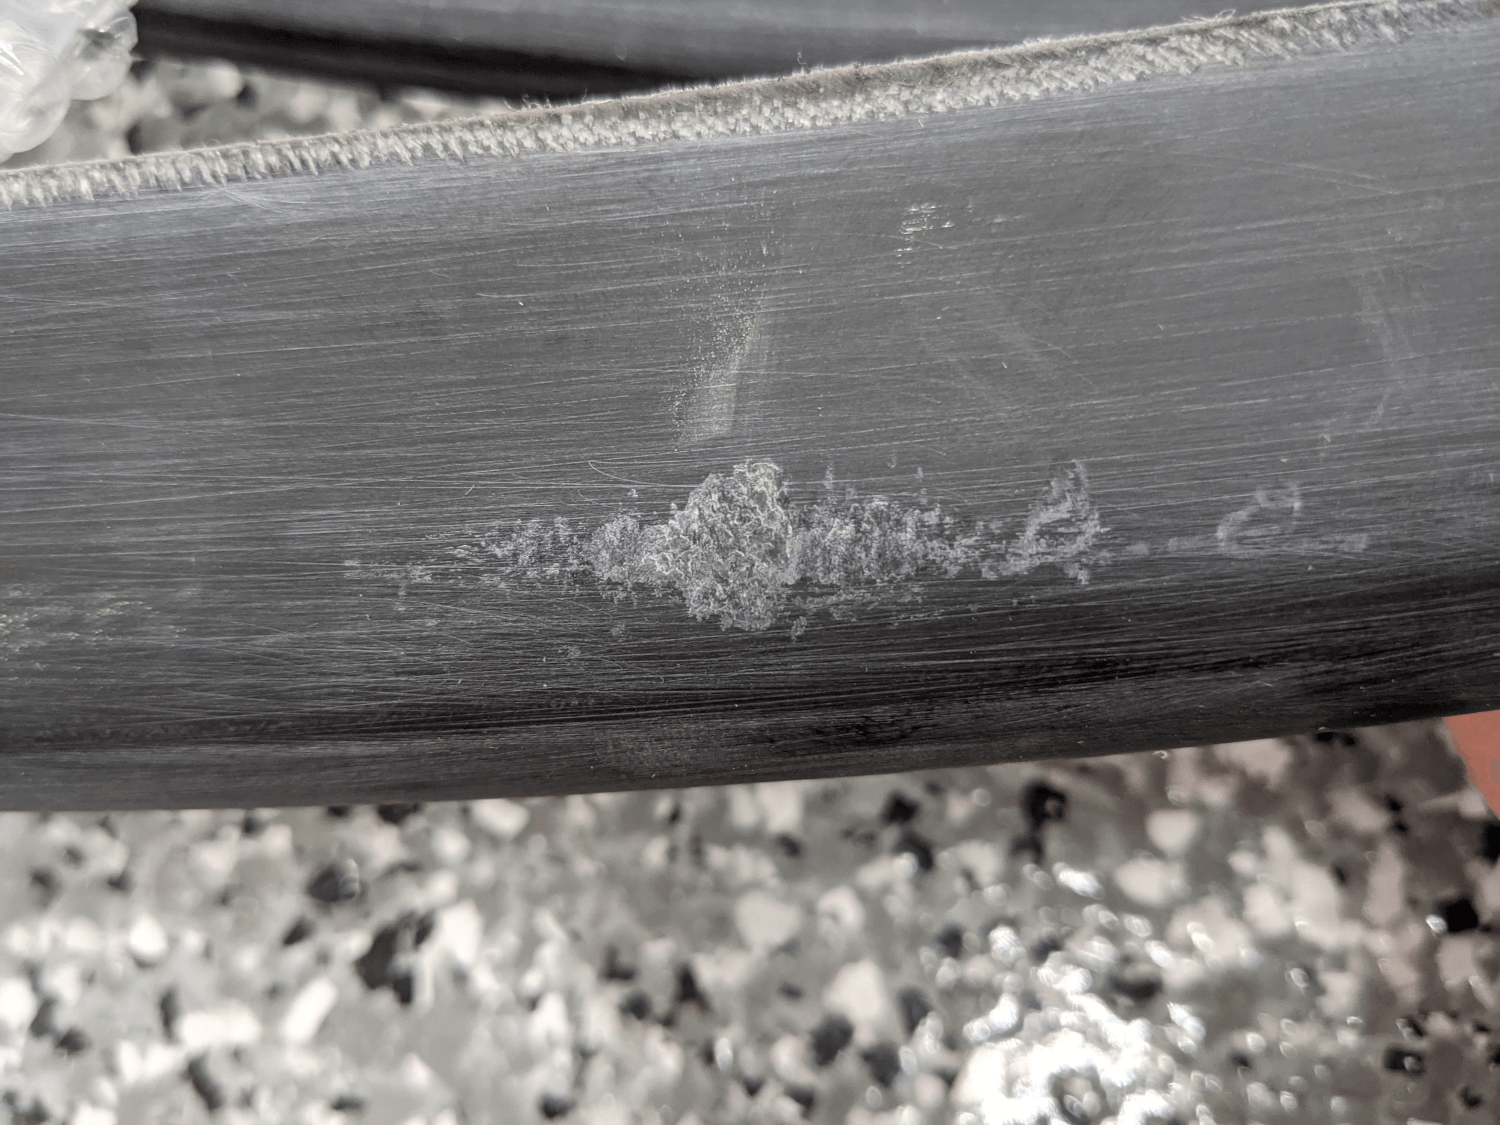 Wing tip rubbing