Another friend, Alex, came by today to help me with the rest of the outboard aileron false spar installation. This was a pretty straightforward repeat of the inner portion that just required some careful checking to make sure the gap between the outer hanger and the aileron remained correct.
To this end, we started by once again checking this distance and making sure that the false spar was clamped in position on both ends really well. We then removed the aileron and used the false spar fixture from the inboard section to ensure that the spacing from the false spar to the rear spar was correct at rib #9 (where the inboard and outboard sections overlap).
Luckily, this looked perfect so I went ahead and match drilled the holes there and inserted clecos. We then performed this same procedure for ribs 10 and 11 (11 needed to be pulled out slightly to touch the fixture but it was easy other than that).
While we probably could have just checked again to make sure that the outboard edge of the false spar was flush with the outboard edge of the outboard aileron hanger (the position we had clamped it in per the manual), we decided to pull the rivets for the holes we had just drilled and re-mount the aileron to verify once again that the gap between it and the hanger was correct.
 The false spar with the rivets pulled
With the aileron back on we were able to determine that it was indeed in the right place. I then match drilled the top and bottom holes from the aileron false spar into the outboard hanger. With clecos placed in these I was able to use the angle drill to drill the last two holes on the curved part of the hanger/false spar. These holes came out fine but I once again had some trouble with the bit walking so I think I need to practice with the angle drill on some scrap a bit more.
After that we removed the aileron and pulled the top and bottom rivets in the outboard aileron hanger. Craig currently has the offset hand puller which is the only thing preventing me from pulling the last two rivets there but that will at least be quick the next time I have it.
Finally, we returned to the 3 tail ribs that didn’t have main ribs attached to them and drilled/riveted them in place. This almost finished up section 231 of the manual. All I have left to do (other than the 3 rivets across the two aileron hangers) is finish installing the center aileron hanger bracket.
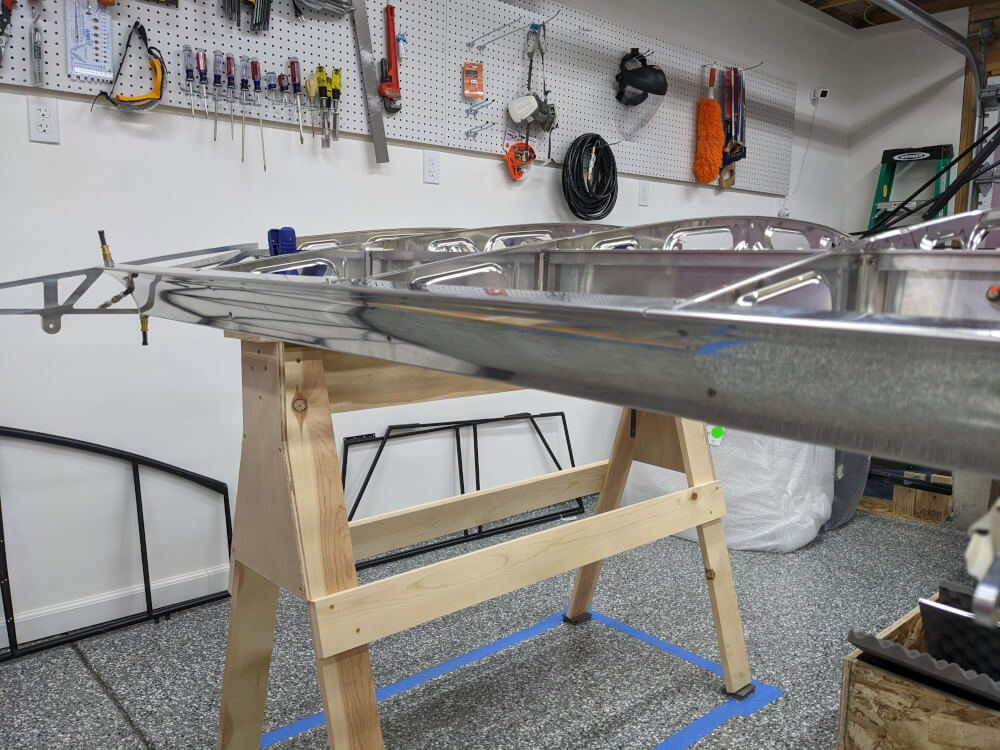
 The aileron in place with the mostly riveted false spar
Wing Manual (Extended Fuel), CCEX-004 Rev. 2.02, Pages 106-125 ↩