Today I finally got to make some progress on the plane that was not just unpacking related! I decided to start the build with the left wing since the wings are generally the recommended starting point and the left wing is what is depicted in the manual.
Spar Preparation
Deburring
I had previously laid out the spars on the sawhorses but still needed to finish preparing them for building before I could start attaching pieces. I started doing this by inspecting the entirety of each spar for any nicks, gouges, or scratches. Fortunately I didn’t find anything other than some minor scratches that I smoothed out with a maroon Scotch-Brite pad (7447).
I had also noticed some jagged edges and a somewhat large burr on the cut ends of the spar bulbs on the main spar. I emailed the factory asking what to do about these and they told me that it was okay to go ahead and smooth them out.
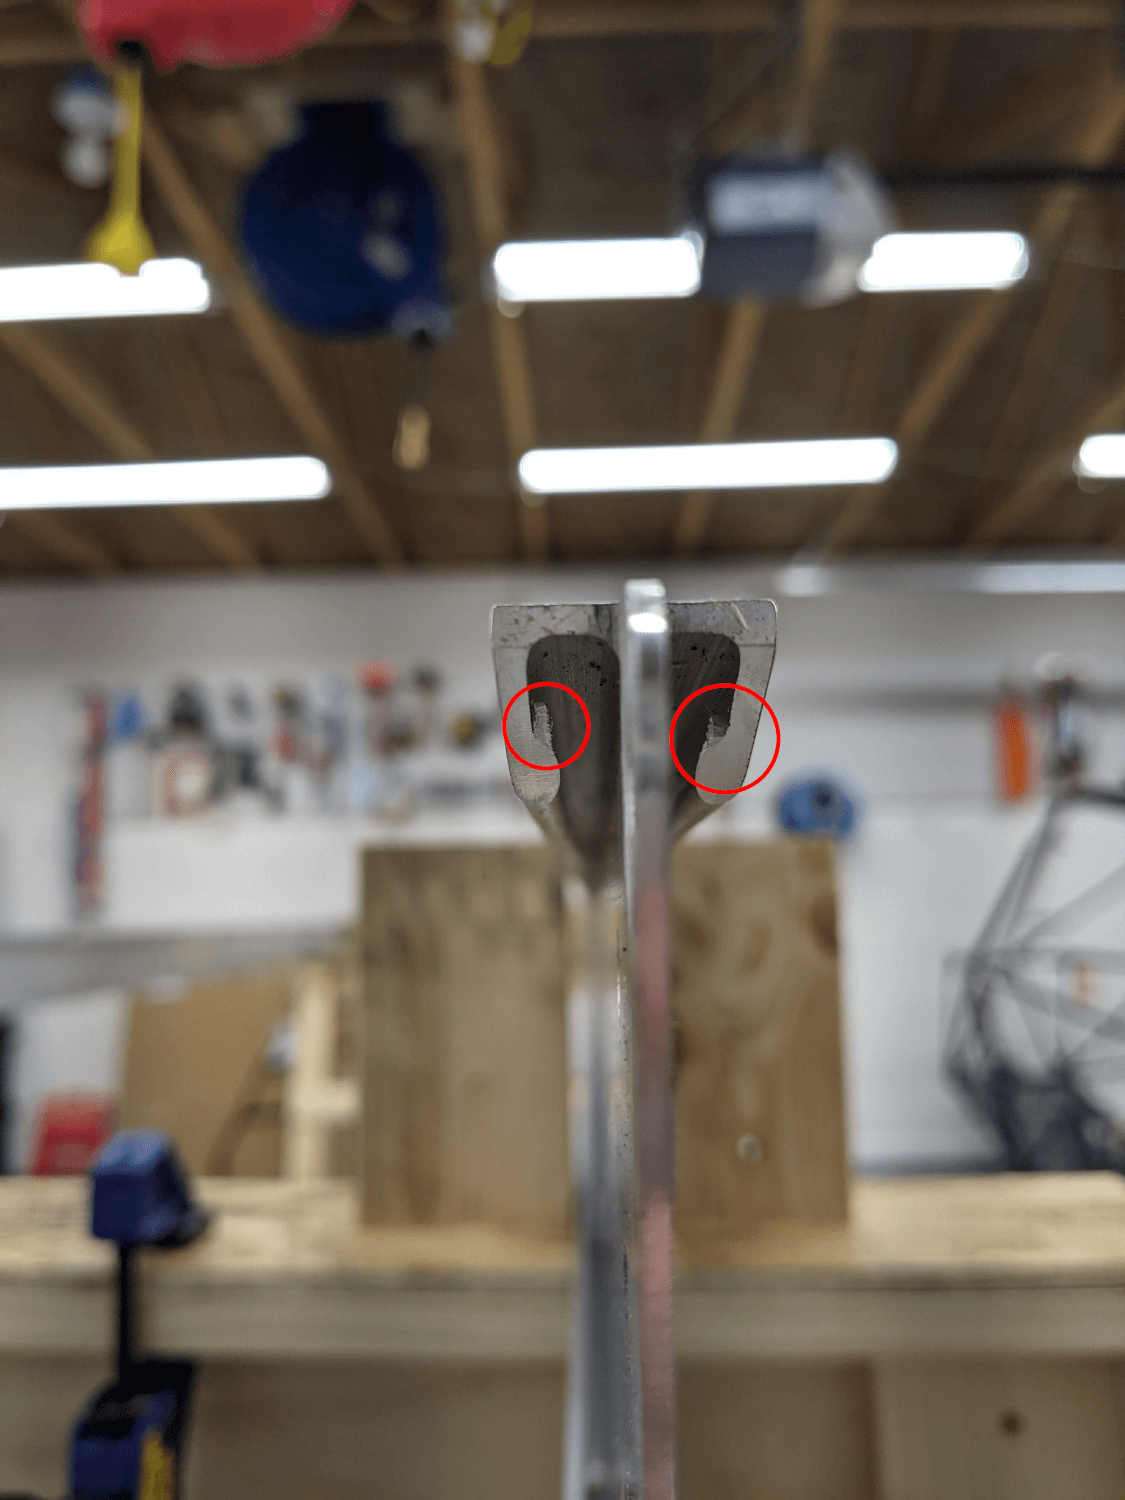 Burrs on the spar bulbs
I did this by gently pulling the burr out from under the spar cap with a dental pick so that I could break it off. I then used a small hand file and some 320 grit sandpaper to gently smooth out the rough edge. This worked really nicely and the end of the spar bulb is now really nicely finished.
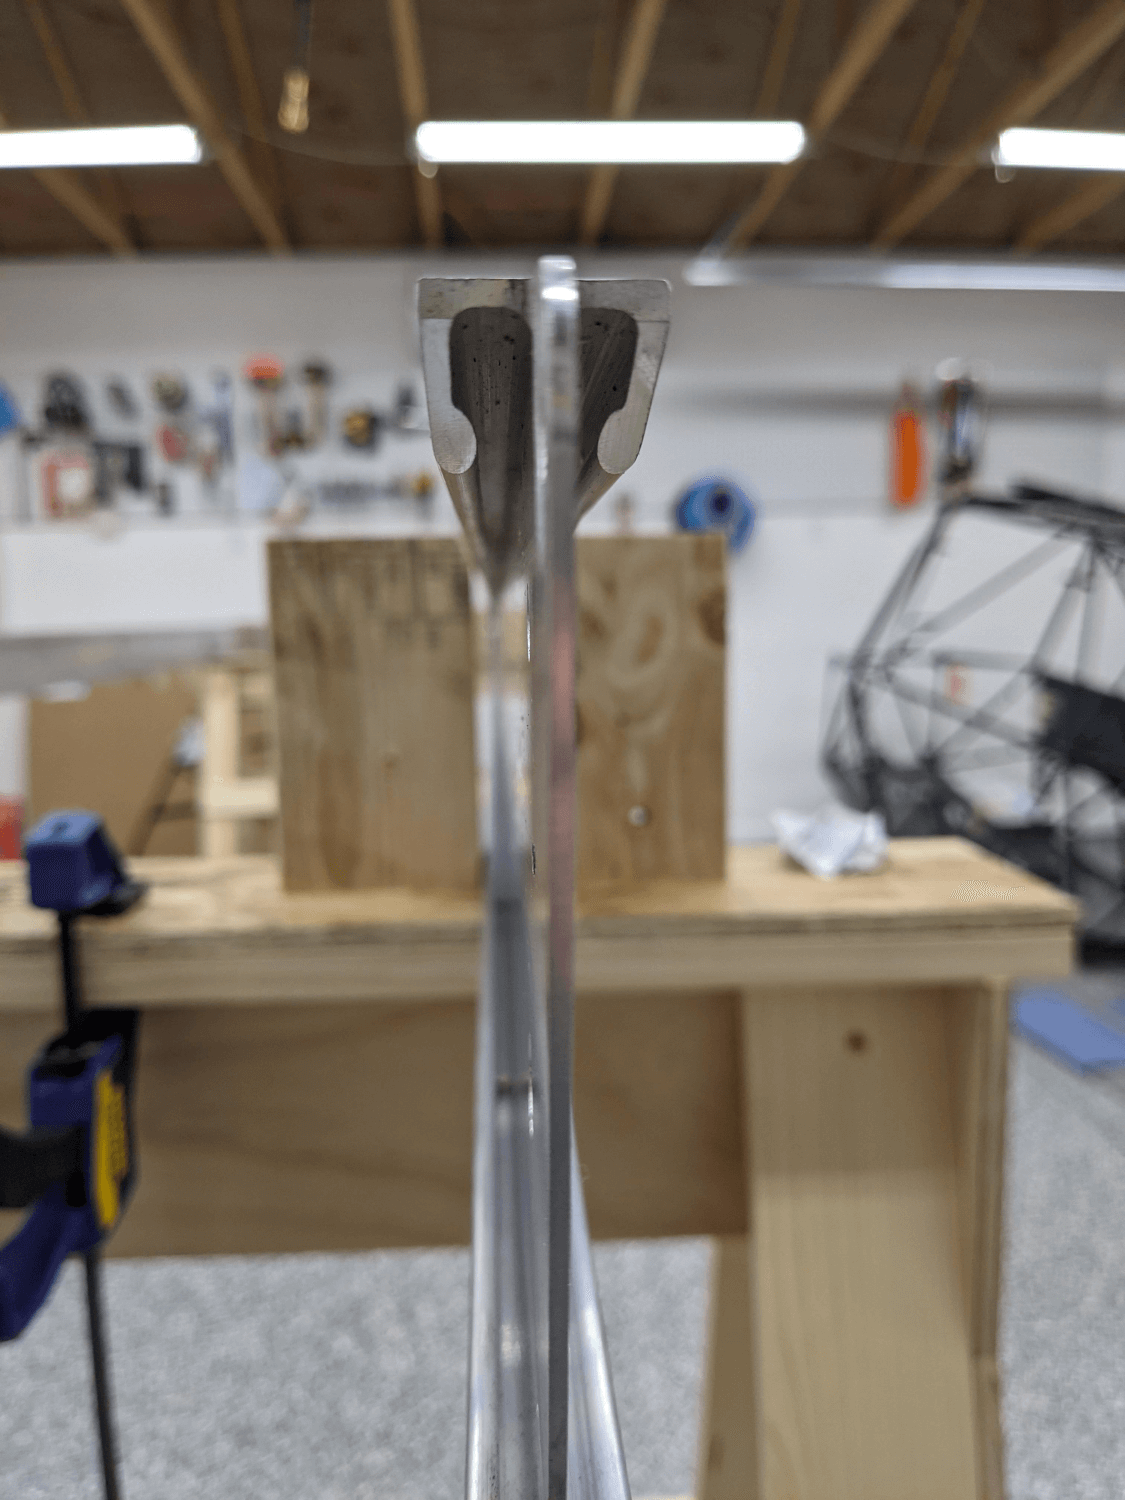 Finished spar bulb
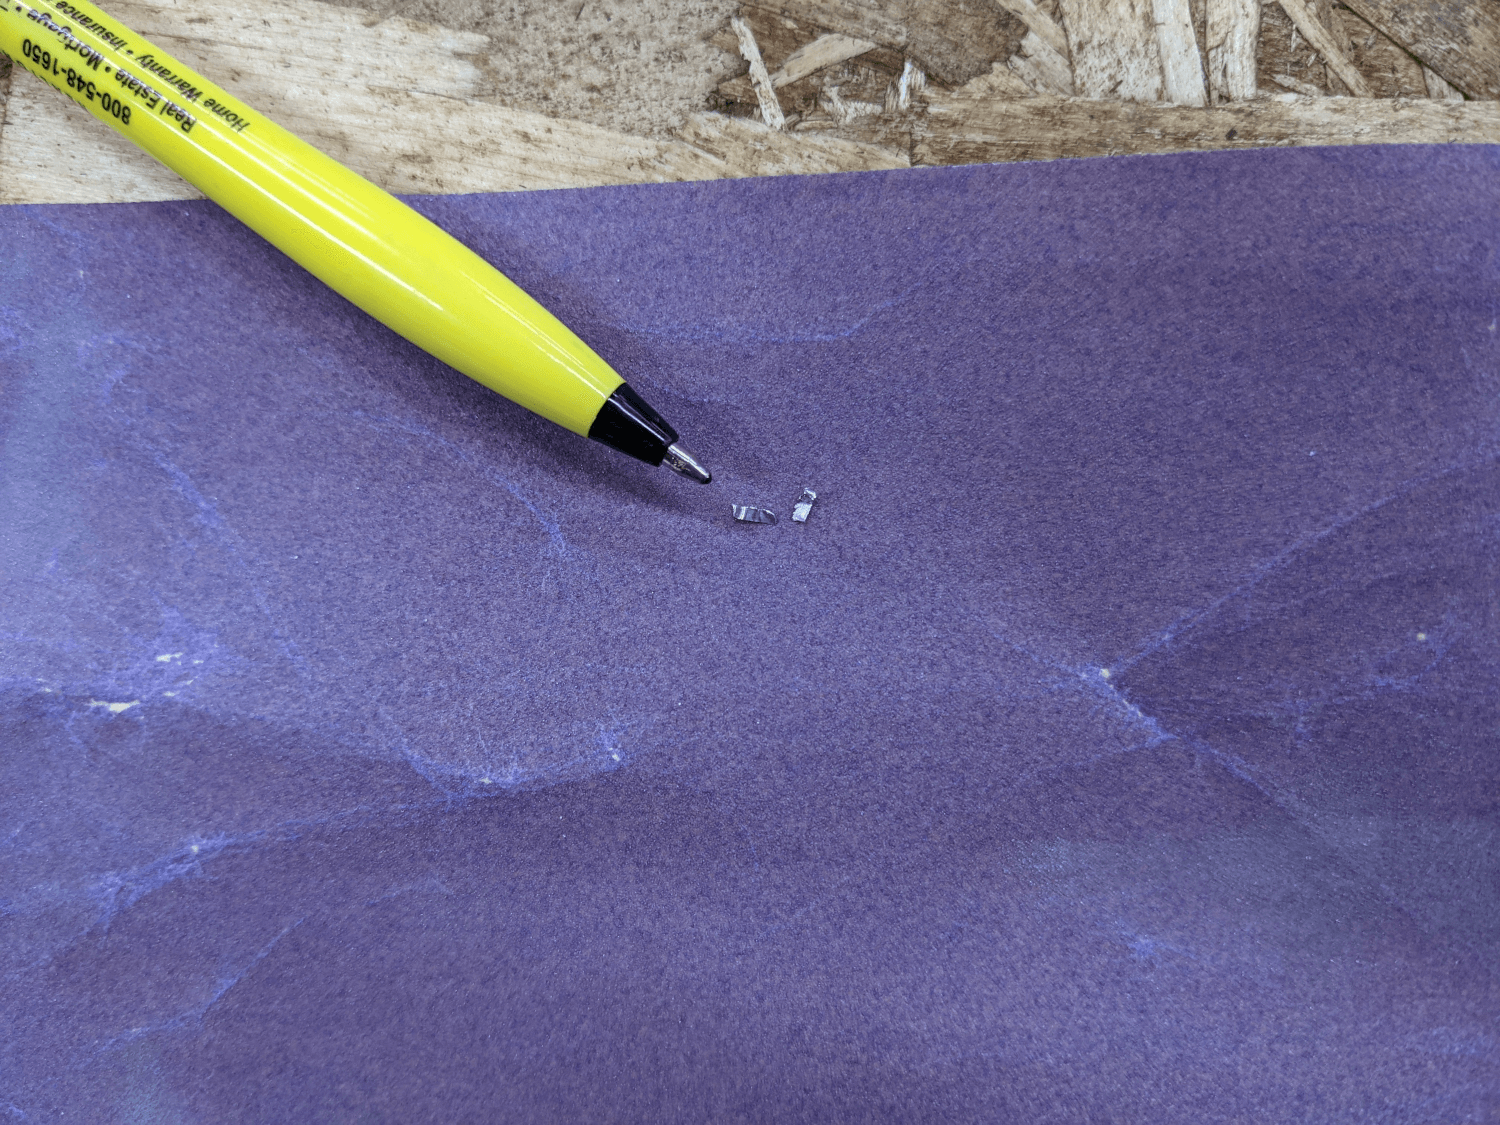 Removed burrs
Just to reiterate, all of the burrs and scratches needed to be smoothed out so that they don’t become stress risers and cause the aluminum to develop a crack at some point in the future.
Cleaning
After the scratches were all smoothed out and the burrs were removed, I needed to clean the spars. They had some markings in some sort of yellow paint from the factory that I wanted to remove and a good bit of dirt from manufacture and transport. I gave them a good wipe down with denatured alcohol and paper towels before blowing them off with the blow gun from my air compressor (especially under the spar caps where there were quite a few cardboard fragments from shipping).
Finally, I labeled each spar with the part number, left wing, and front/rear as appropriate. It should be pretty obvious from looking at the parts but this way it is unmistakable and the Sharpie I used won’t damage the spars in any way and should wipe off with some more denatured alcohol.
At this point the spars were ready and I could consider Section 1 of the wing manual1 complete.
Attachment of Blocks and Fittings
After the spars were prepared, I was finally ready to start attaching some parts to them! I carefully re-read the introductory sections of the manual and then read Section 2 of the manual 2 several times to make sure I was familiar with it.
I started by pulling all of the necessary parts and highlighting the part numbers on the drawings as I retrieved them. This wasn’t too bad since it was easy to find the box that contained them but I did get hung up looking for part numbers SC31002-001 for a while. I was pretty sure these were supposed to be SC31302-001 but I wasn’t positive until I remembered the intro section that specified that the drawings were always the source of truth. Sure enough, there was no part number SC31002-001 on the drawings (or on the packing slips for that matter) but the expected SC31302-001 parts were there. This was a good lesson going forward.
After that it was a simple matter of installing all of the blocks and fittings using copper (1/8”) clecos. The drawings and the textual description made it pretty obvious what orientation everything was supposed to be installed in and where it was supposed to be installed although I still triple checked that everything was right. This actual installation was the fastest part of the process by far.
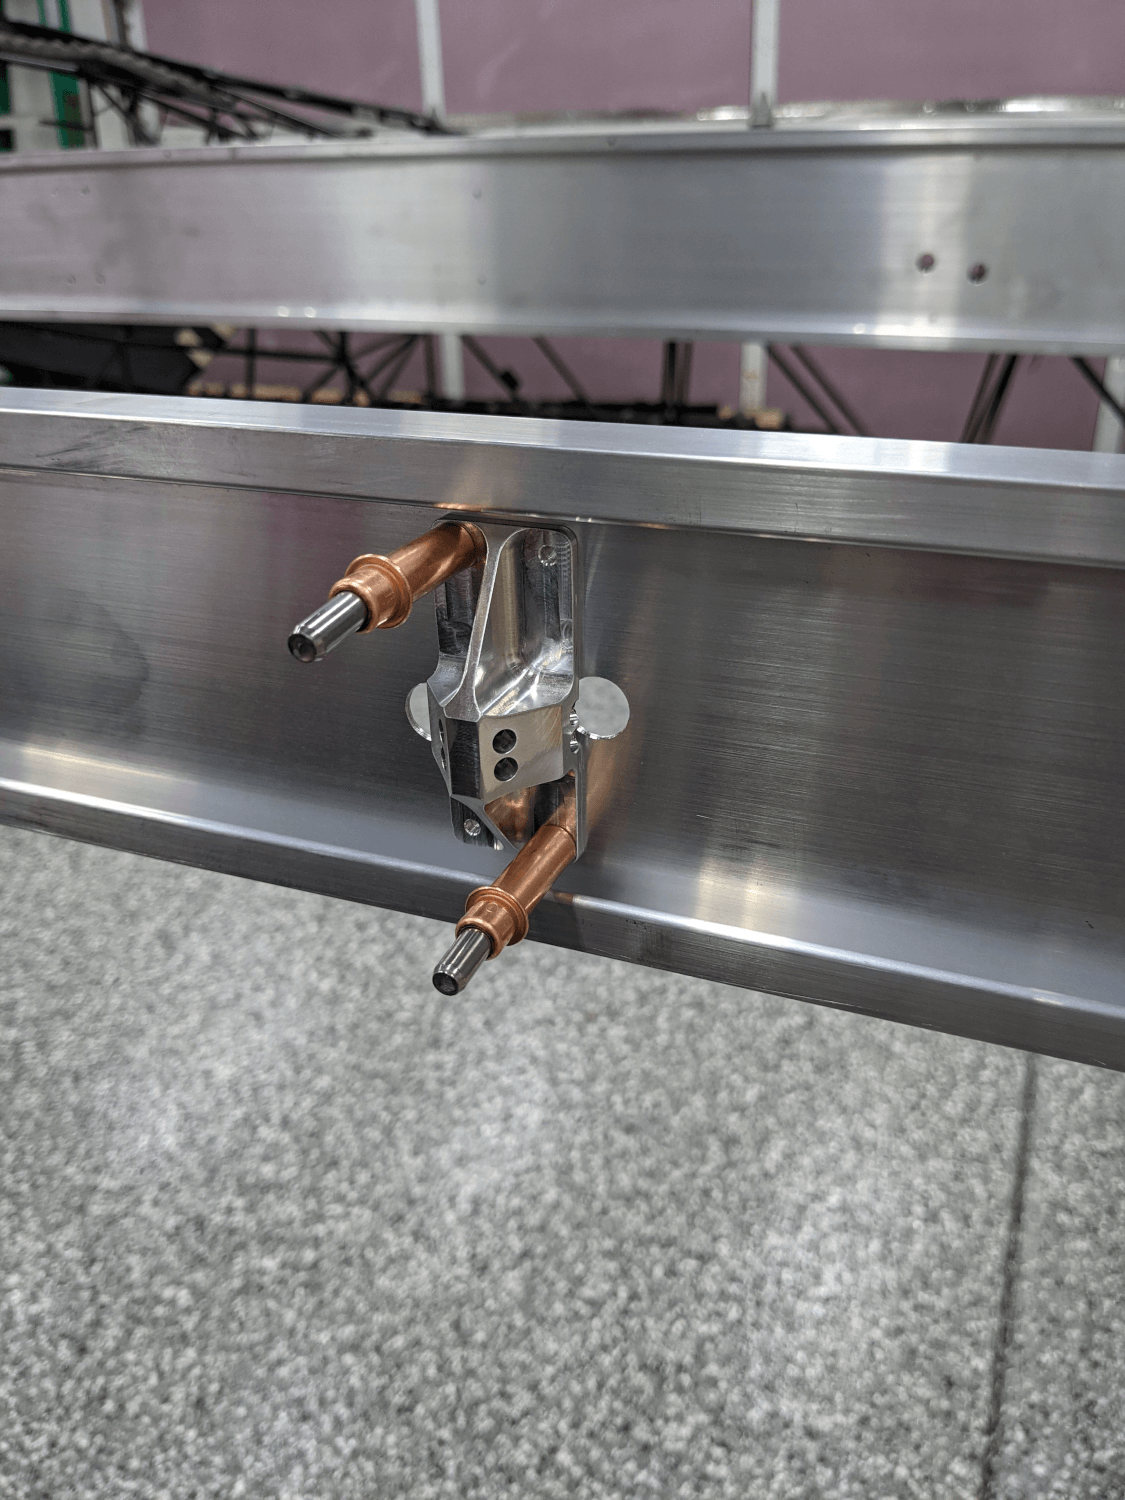 Attached fitting
Even after just completing this first step I can definitely understand why it would be faster to build both wings at the same time. You would definitely save a lot of time pulling the parts at the same time and only figuring out what you needed to do once. That being said, I’m hopeful that the second wing will still go more quickly than the first since I will have already done it once.