Today I worked on the landing light skin using mostly the same process as described in the previous entry. The main difference was that I needed to remember to prep the landing light housing and put it in place before starting on the skin. I should also mention that I needed to remove the outboard PVC from the leading edge before doing this step. This is because, given the layout of my shop, I only have enough room to remove the PVC from the inboard side and it would be difficult (if not impossible) to get these pieces around the landing light housing once it is in place.
With the PVC removed, prepping the housing involved first trimming the most inboard edge of so that it would fit in the opening in the skin. This was needed because, even with the skin shifted as far outboard as possible, the opening was much closer to the inboard rib than the outboard one. I fixed this by putting a line of masking tape along the edge of the housing, about 1/4” over in this case, and sanding until I removed material up to my line. I did this by hand sanding and checked the fit numerous times to be sure I needed to take more off but wanted a bit of admissability in case my measurement was slightly off or the rib moved while clamping and drilling. I ended up taking off pretty much all of this material but got a good fit with plenty of the side of the housing left.
After this was done, I scuffed up the bottom of the housing where it will be glued to the skin and the corresponding surface on the skin. I then cleaned both of these surfaces and taped the housing in place.
With the landing light housing taken care of, I began putting the clamps on this section of the wing. This was the same as before except for the fact that I couldn’t clamp the overlap with the next skin outboard using a normal leading edge skin clamp. Instead, I used spring clamps and cleco clamps to attach it to the more outboard skin since it was already in approximately the correct position. I started off with one clamp at the back that I adjusted as I tightened the other skin clamps but used a large number to try to eliminate as many gaps as I could before drilling.
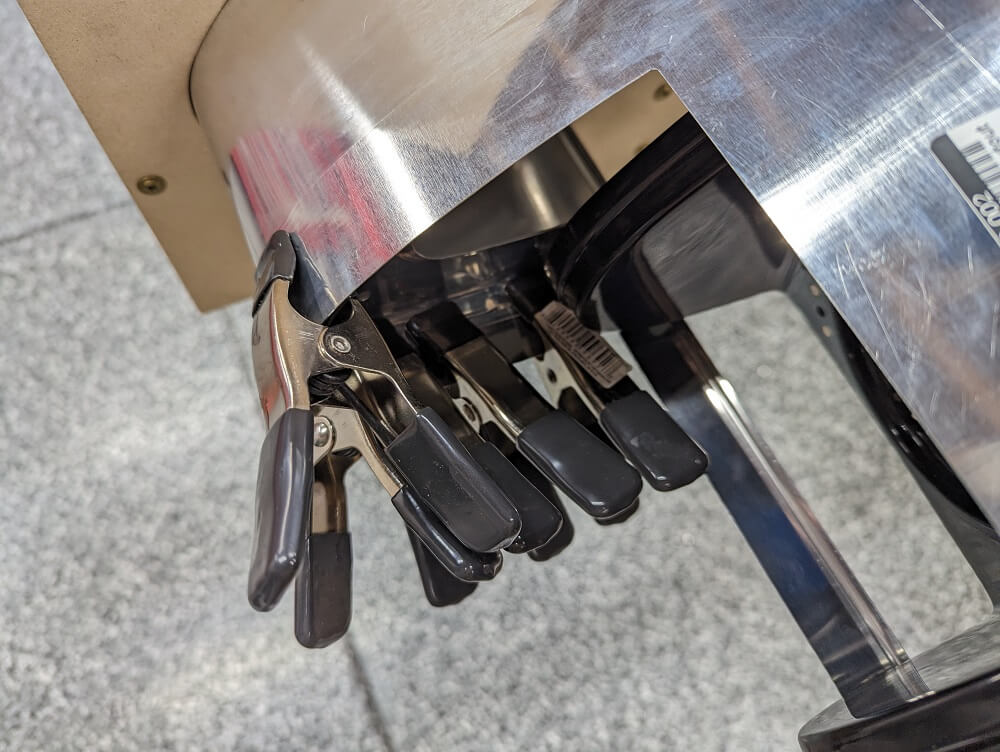 The landing light skin clamped to the more outboard skin around the landing light opening
The other thing I did differently here was push the rib on the inboard side of the landing light opening over to the edge of the cutout in the PVC as I tightened the clamp closest to it. This helped create a little more space for the housing. With all of the clamps tightened, I checked the fit of the landing light housing one last time before drilling as normal. Because of the extra work around the landing light, this was all I was able to do for today.