Today way a big day - the kit was finally delivered to my house! The shipping company, Pilot Freight, called me on Monday to set up a delivery time and could have done it as early as Tuesday but the forecast called for snow/rain. Since I didn’t want to have to worry about weather I asked them to deliver it today instead.
Since the kit came in a crate that was almost 20 feet long and 1,800 pounds I also needed a good way to get it out of the delivery truck. CubCrafters recommended getting a towing service with a flatbed tow truck to do this so I arranged for Kelly from ASAP Towing to come help.
Delivery
The kit was originally supposed to arrive sometime between 10:00am and 12:00pm but they ended up being a little early. In fact, I was still flying a Cessna 182 (N92151) with a student when the delivery company called me to tell me that they were on their way. Luckily I was able to text Martha and she called the towing company so they could get headed our way.
The delivery company showed up with the kit before the tow truck got here so we ended up having to wait around for about 25 minutes. Once he (Kelly) got here he wasted no time backing up the flat bed tow truck to the box truck the crate was in. The delivery driver was able to lower the rear of the box truck and the tow truck had a wheel lift that raised it up so the beds were the same height.
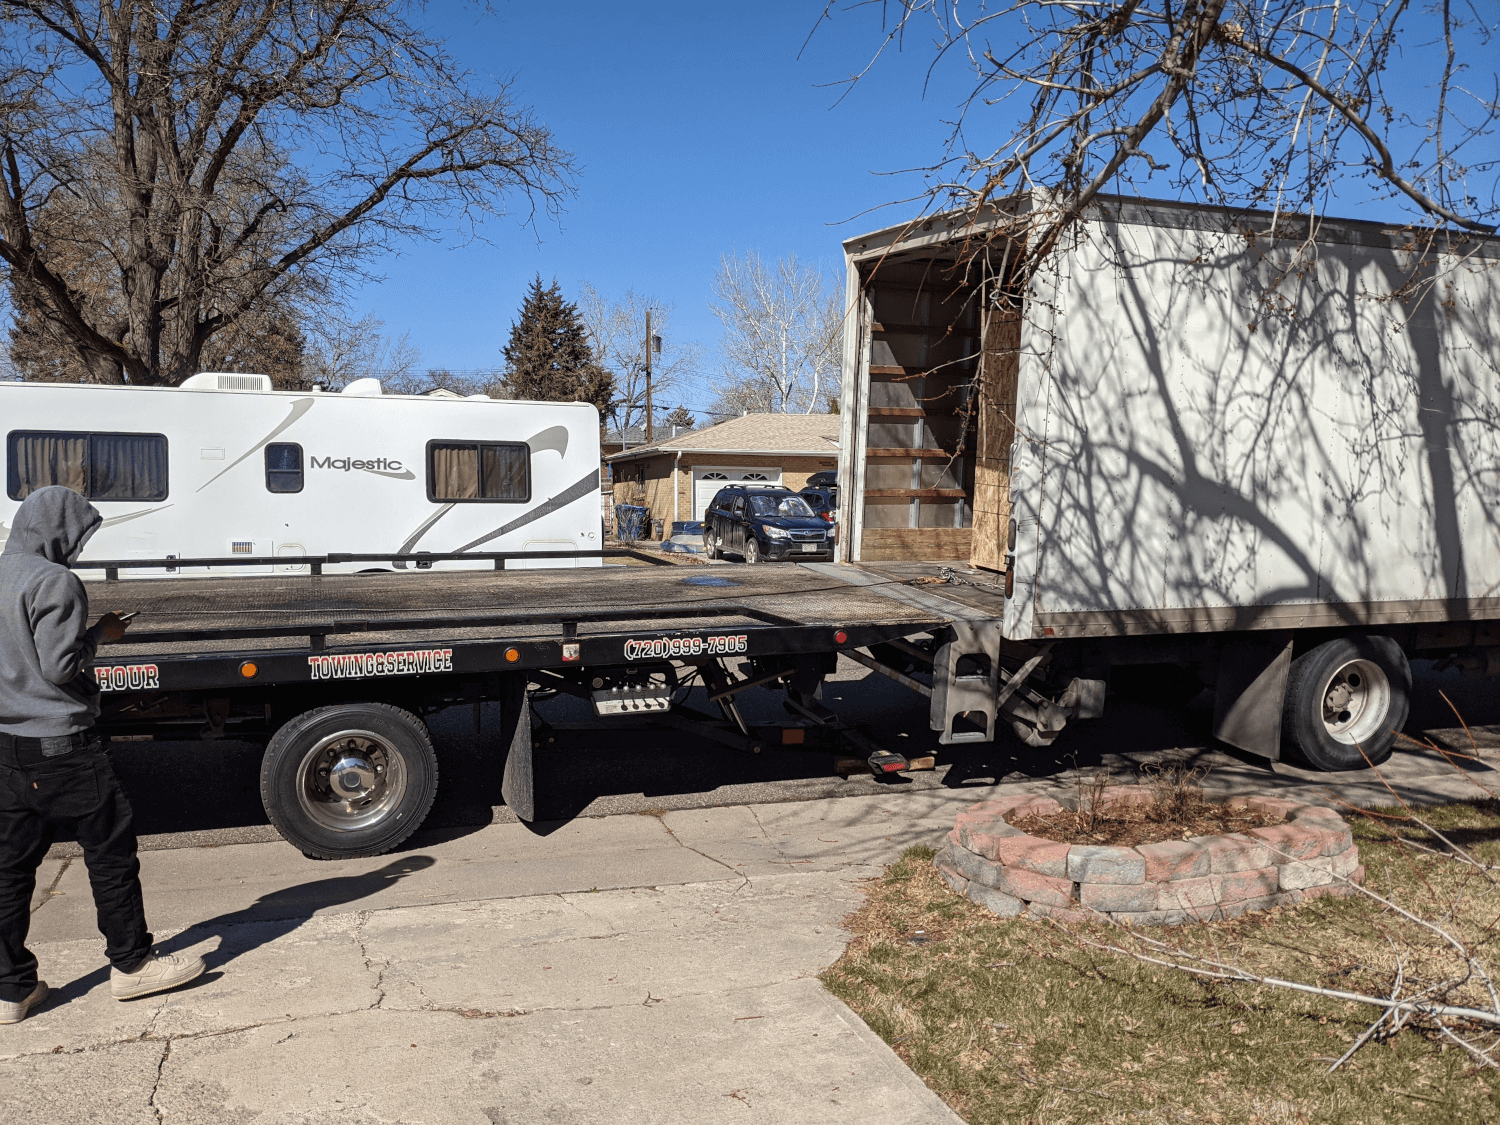 Tow truck ready to pull the crate out
After that Kelly wrapped a long strap through the bottom of the crate and used the tow truck winch to pull it onto the flat bed. The crate wanted to turn some as it was being pulled so one of the delivery drivers repeatedly pushed the end out to keep it straight.
Once the kit was on the tow truck Kelly backed it down the driveway and extended the bed backwards. He then set one end of the crate down on the ground and proceeded to slide the truck bed back forward and out from under the crate. After getting the bed as far forward as he could he would tip it up at a steep angle to lift the back wheels of his truck off the ground. He then extended the bed to push the truck itself forward so that he could repeat the process and get the crate even farther off the truck. He ended up being able to put the last end of the crate down extremely gently. He made it look easy - it was very obvious he had done this a time or two! The video below illustrates this process much more clearly than my explanation.
The only casualties from this whole process were a scrape in the street from the wheel lift of the tow truck (he accidentally forgot to raise it before pulling forward away from the box truck) and some scrapes in the driveway from the truck bed. Definitely nothing major! The cost for the tow truck was $325 (plus tip) which was absolutely worth it! The whole process took probably 15 minutes and went way more smoothly than I could have hoped!
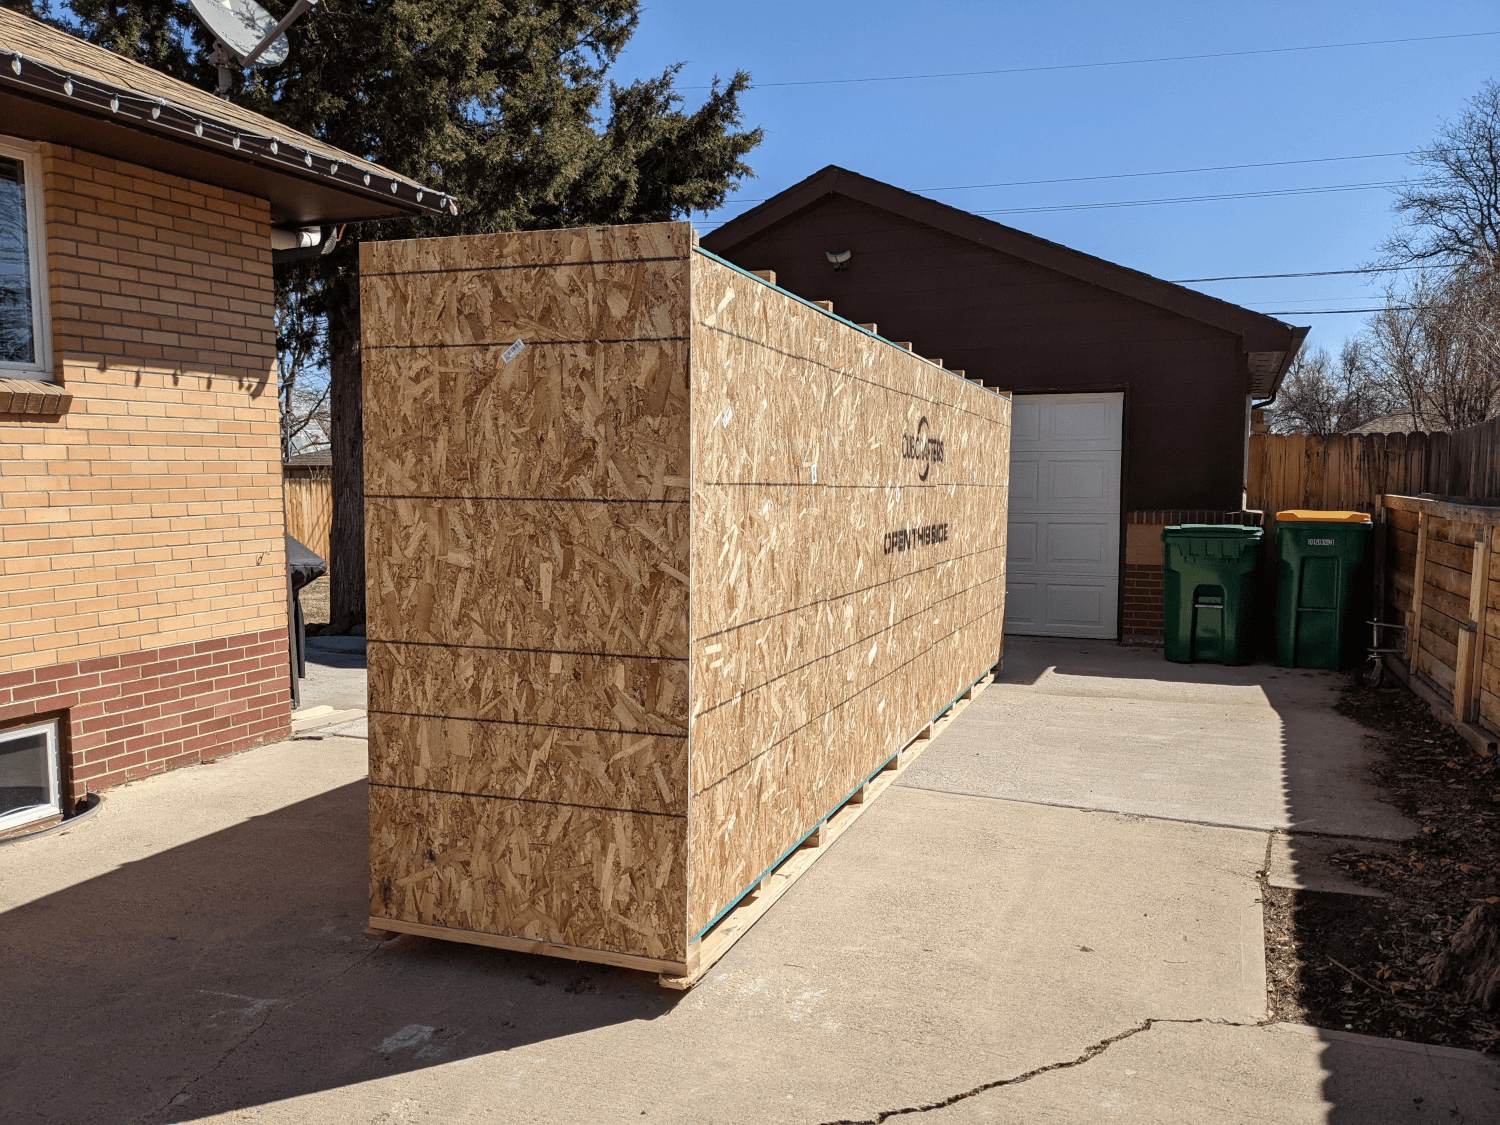 Crate in the driveway
Unpacking
Once the crate was delivered I began opening it up so that I could unpack the contents. There were several side panels held on with a number of screws. Removing them opened up the whole side of the container and made access pretty easy for everything but the really long components.
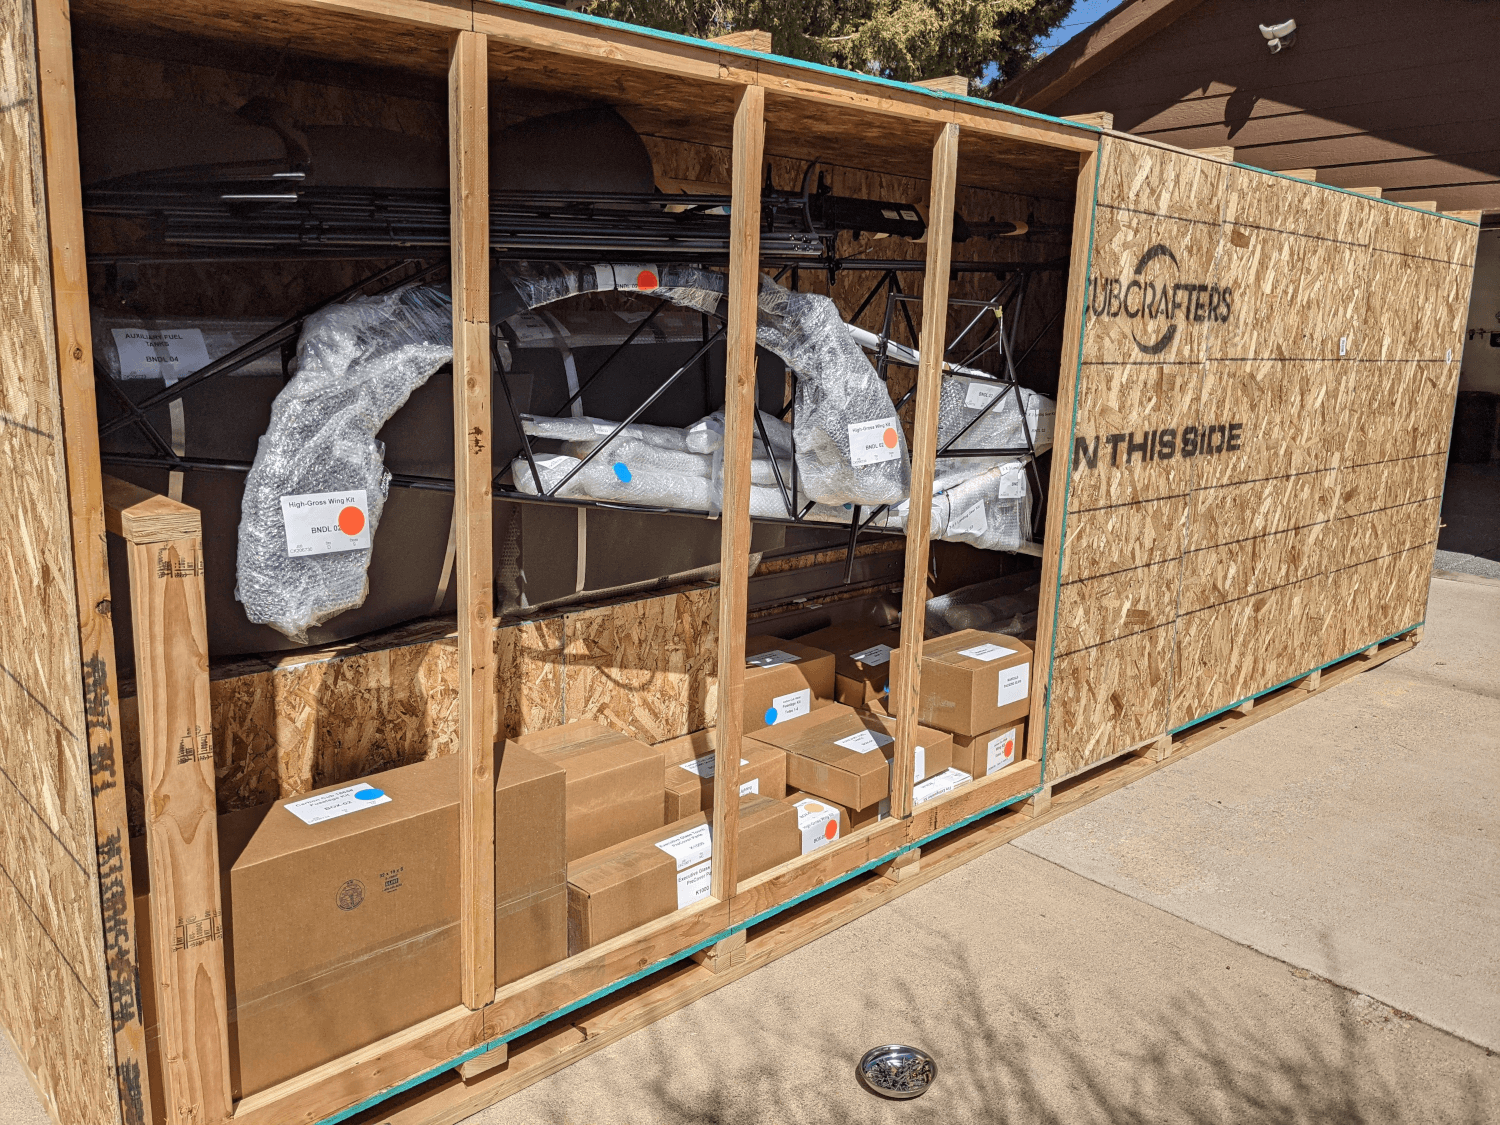 Partially open crate
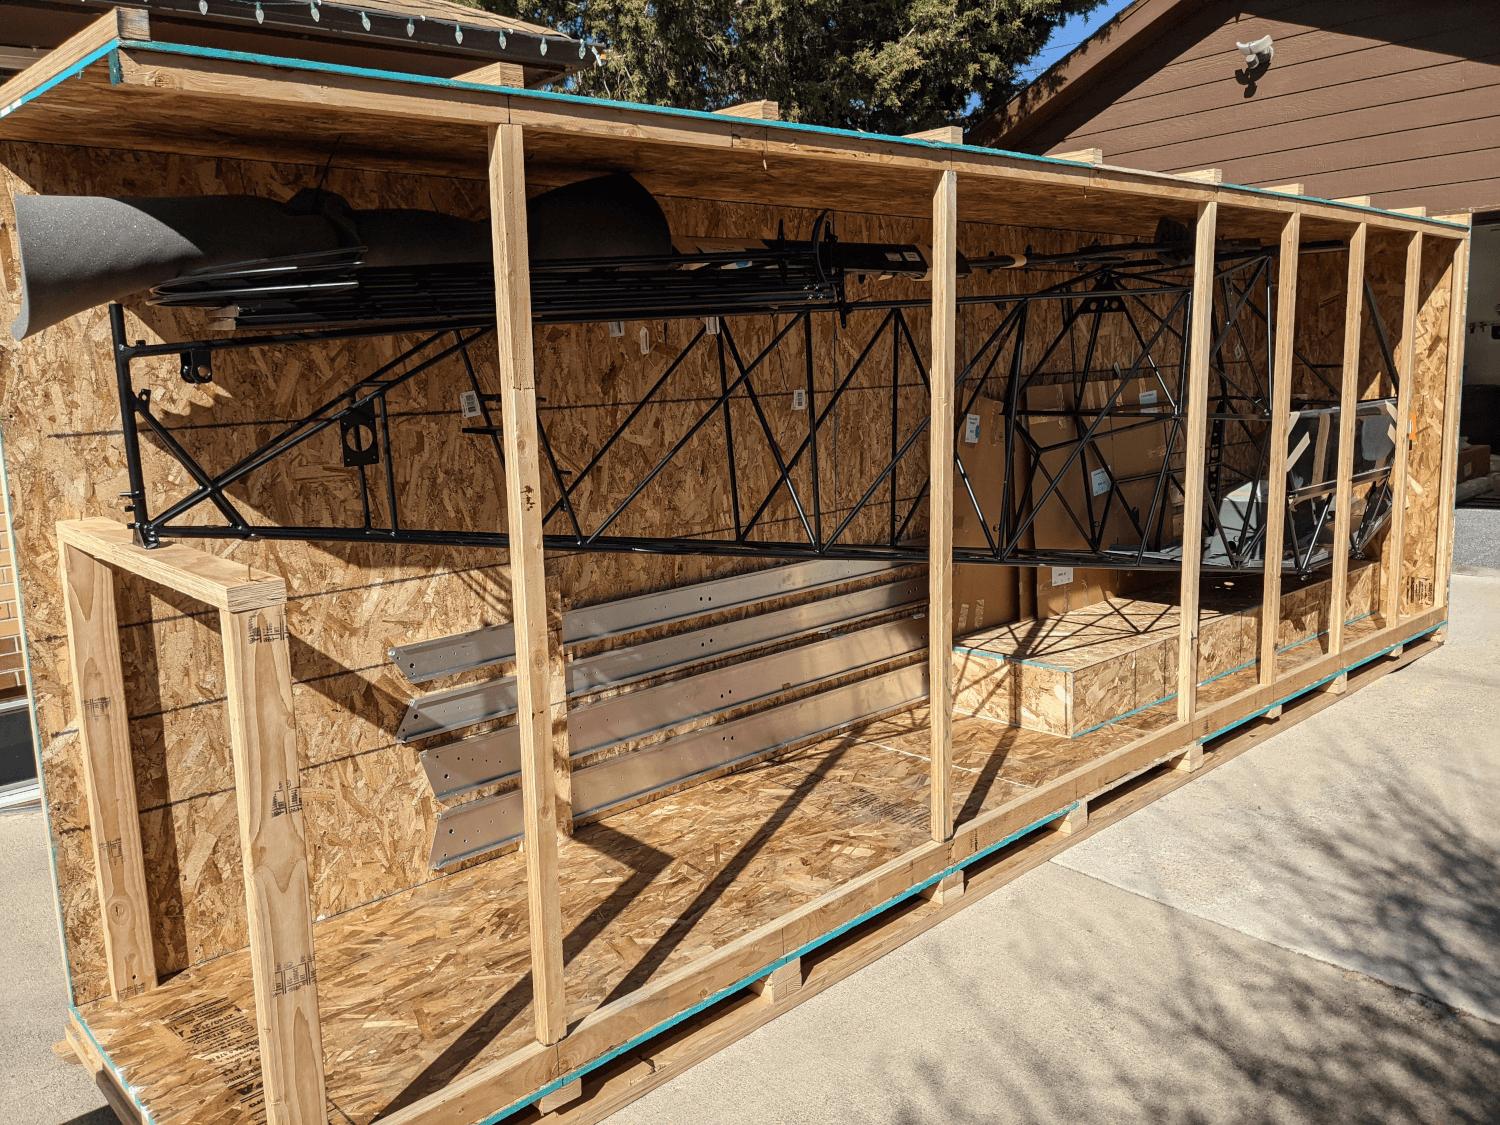
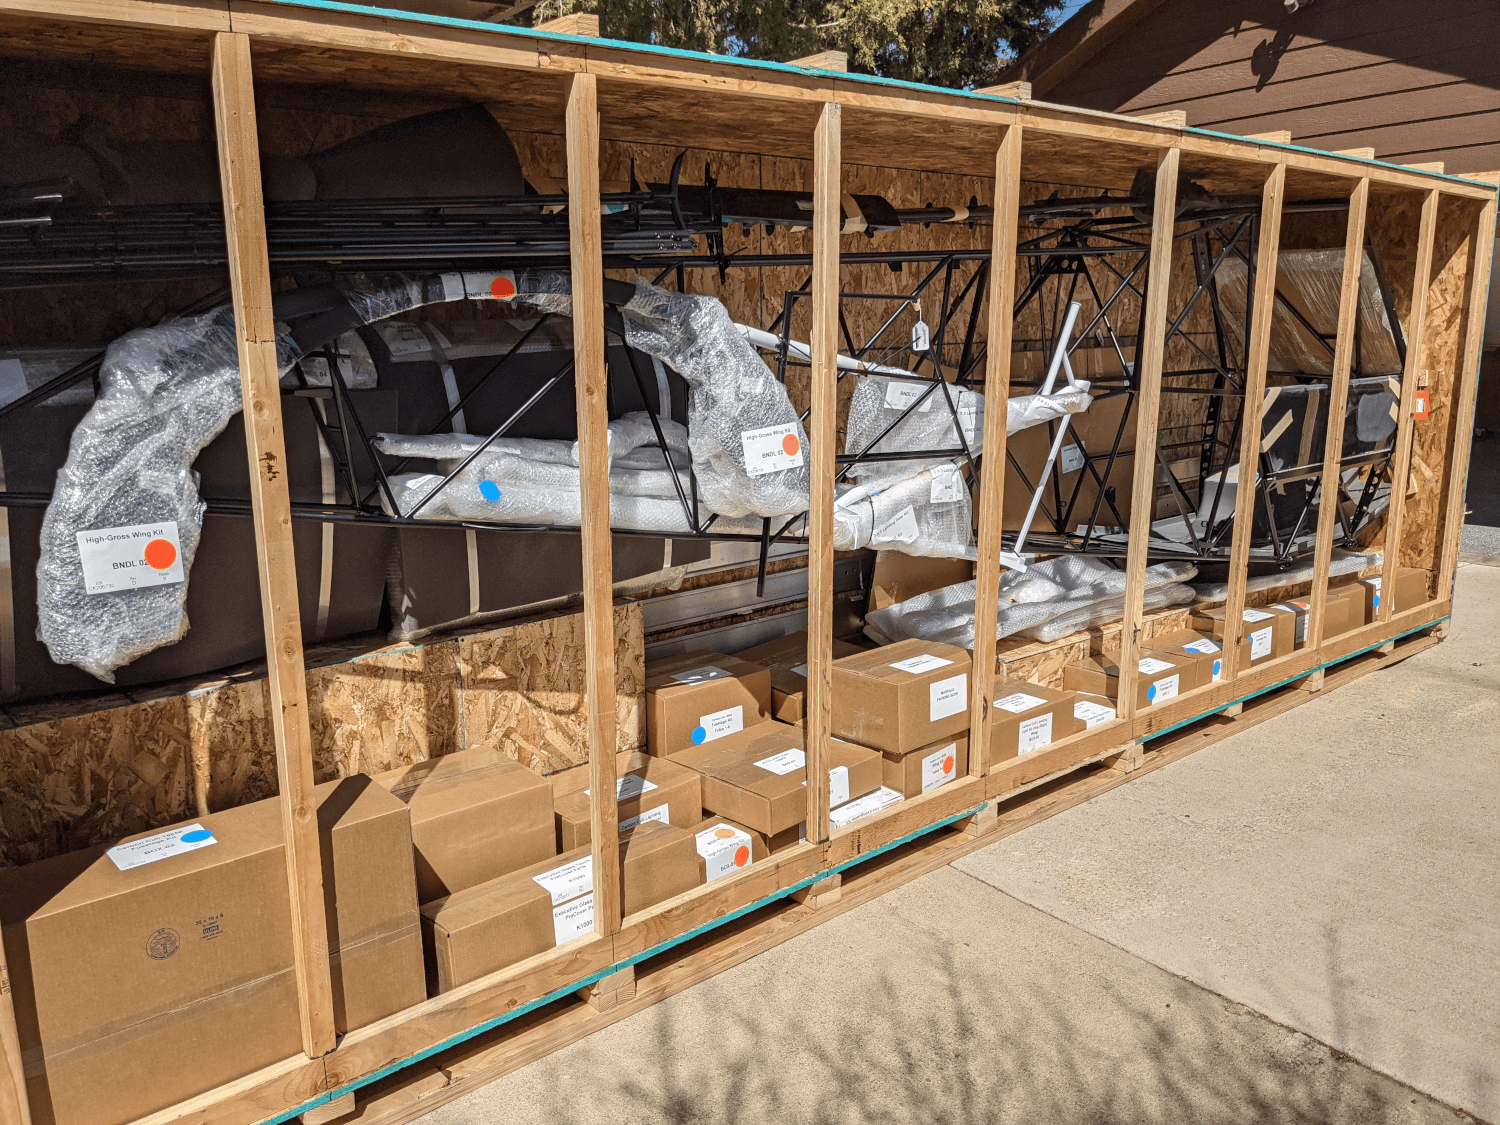 Fully open crate
In order to make unloading the kit easier, I did remove a couple of the side supports to make larger openings for removing components. I also removed the rear of the crate so that the fuselage (and later the spars) could be walked out the back. The fuselage was screwed down to a wooden support in the back and the front was attached through the crate end using 4 bolts. The top two bolts were extremely difficult to remove for some reason and I had to work a couple drops of oil into the threads to make it easier. Martha was a huge help with removing the bolts and removing the fuselage and spars from the crate!
 End of the crate removed in preparation for moving the fuselage
The kit was packaged really well with many of the smaller components in labeled boxes and small pieces of cork in-between larger pieces to prevent them from rubbing. Everything looked like it came in good condition except for a couple spots on the fuselage where the landing gear rubbed during shipping. This looks mostly superficial (just took off the powder coat where it will be covered by fabric anyway) but I emailed CubCrafters to double check. The end of one of the rear spars is also a little less than perfectly finished (needs to be deburred and smoothed) so I asked about that as well.
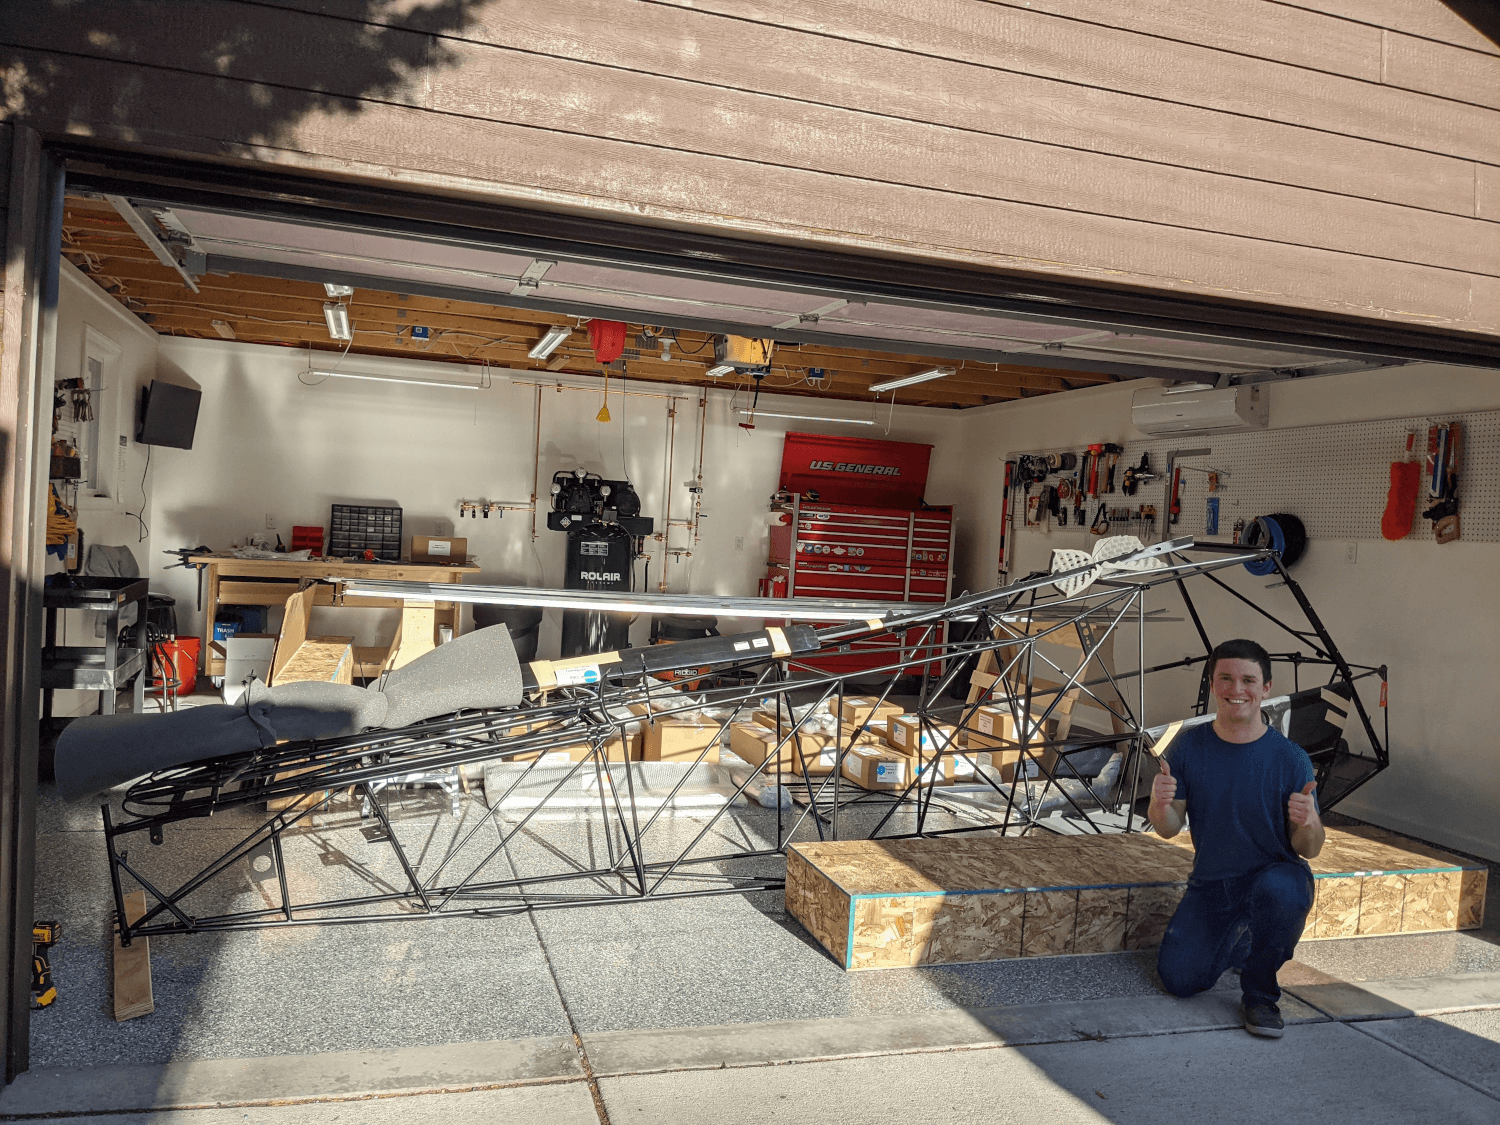 Kit in the garage
The crate is now completely empty and the kit pieces are tucked away in the garage! Up next is completing an inventory of the parts and moving those that I’m not going to work on yet out to the shed for storage. I also need to disassemble the rest of the crate and so something with the lumber. Below is a timelapse from the garage perspective of the kit being unloaded.