Craig came by again today and helped me install the wingtip bow on my left wing. First, we clamped the tip bow in place so that the front edge was flash against the nose rib (which is what we had trimmed it for previously) and verified the alignment as per section 561 of the manual. With this done, we drilled and cleco’d the leading edge side into the leading edge skin, then removed the clecos and set it aside.
Next, we drilled the holes for the diagonal cross brace as per section 552 of the manual. Importantly, we match drilled the end on the machined rib first, since it has a much smaller window of where it is supposed to be positioned. Then, we made sure to verify the machined rib’s position (slightly out of square, per section 561 of the manual) and match drilled the spar side based on where the hole in the spar and the brace had to go. We cleco’d both ends, but didn’t install rivets. Critically, we also drilled the holes for the other 3 rivets in the machined rib at this time, since their positions are fairly constrained and it is much easier to do this when the machined rib is fully visible, rather than trying to do it through the tip bow too.
After that, we re-positioned the tip bow and installed the clecos in the leading edge. We checked its alignment several more times before using a hole finder to match drill a hole into the tip bow that lined up with the hole in the machined rib for the brace (make sure the hole finder is placed through both the rib and the brace). With that done, we installed a cleco in the hole and used the same hole finder to drill the bottom rear hole too. We repeated this procedure for the top rear, then the top front, installing clecos as we went.
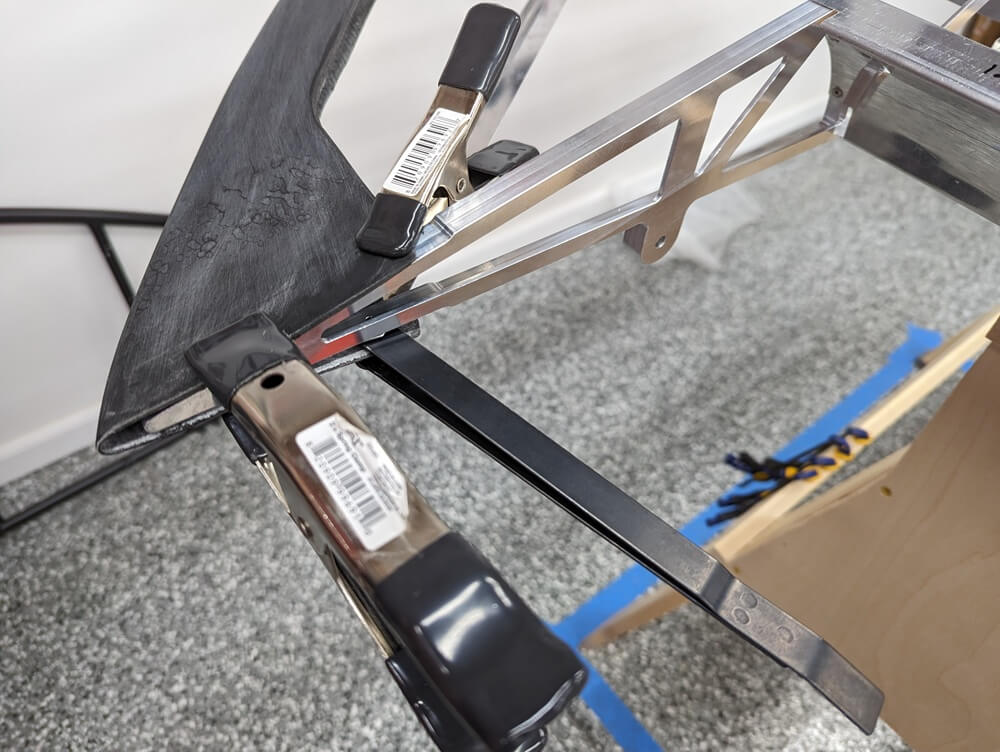 The setup for match drilling the tip bow trailing edge using the hole finder
Once the tip bow was match drilled to the machined tail rib, we clamped it to the outboard rib where they overlapped before match drilling and cleco’ing the final holes, as described in section 561.
Finally, we removed all of the clecos and the tip bow, cleaned all of the parts thoroughly, and then glued the tip bow in place per section 561. We installed all of the rivets immediately, starting on the leading edge, then the trailing edge, then the outboard rib. Last but not least, we added the extra methacrylate to fill the gaps, as indicated in the manual.
This completed section 55. Final trimming of the tip bow must be completed before section 56 is done.