Installing Aileron/Flap Hanger Clips
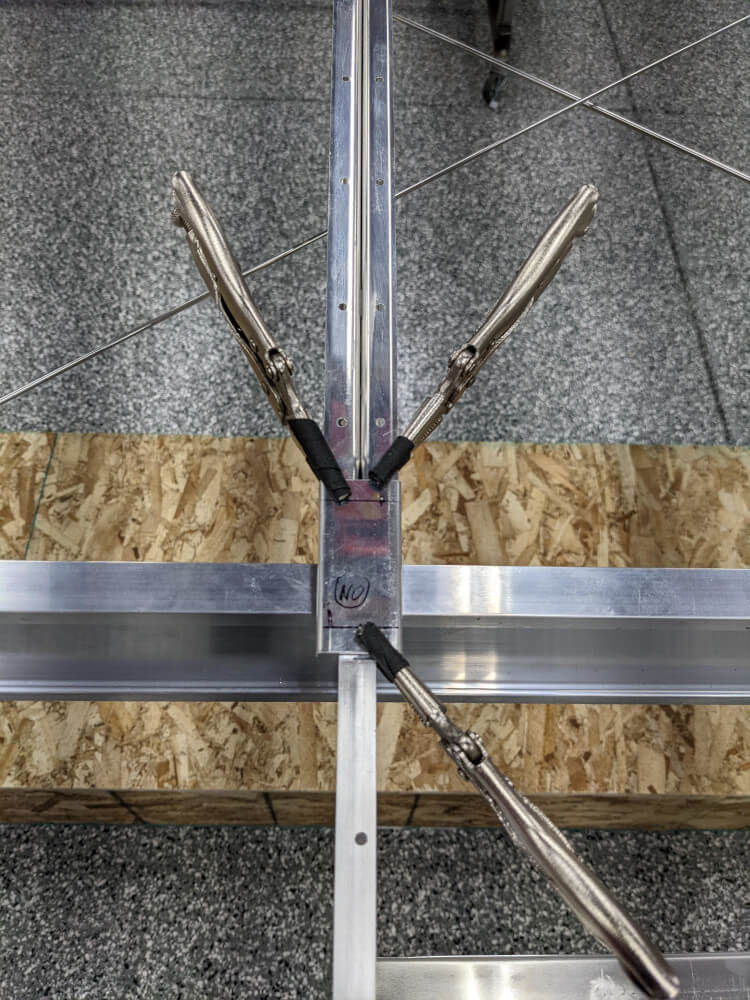
Today I started by installing the clips on the flap/aileron hanger and #5 rib. I clamped each clip in place on the machined tail rib/hanger using long nose locking pliers so that the mark for the rivet in the tail rib was 0.44” forward of the lip (start of the cutout for the clip) as specified in section 241 of the manual. With this done, I also clamped the clip to both sides of the center rib with locking pliers.
 A clip for the #5 rib clamped, punched, and ready to drill
With the clips fully placed, I used my automatic center punch to create a small punch mark where I wanted to drill the first hole from the clip through the center rib and then drilled it with a #55 drill bit. This small drill bit caught in the punch mark better than a large one would and also had less of a tendency to walk in the first place. Once this hole was drilled, I enlarged it with a #40 bit and then put a cleco in the hole. I repeated this process for the other 3 rivet locations from the clip into the center rib.
 The top clip for the #5 rib drilled but not riveted
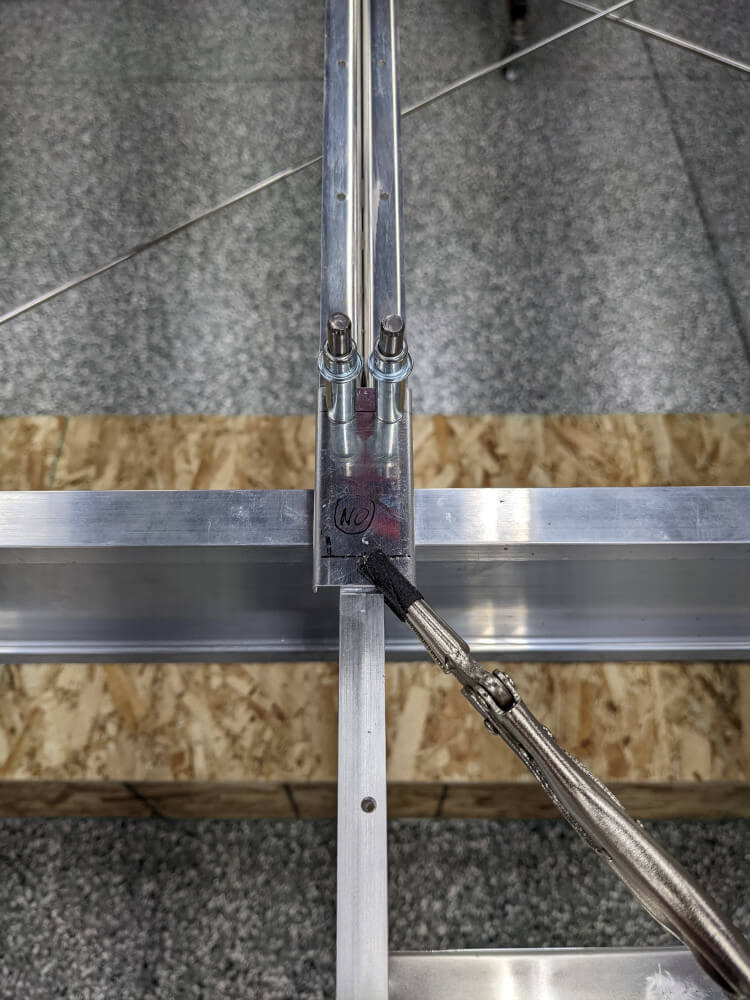
Next, I double checked the mark for the hole into the machined tail rib on the bottom clip to make sure that it was actually centered on the clip. I also used my calipers to look at the distance from the edge of the clip to the hole position on the top of the machined rib so that I could ensure it would be an appropriate distance from each edge. Once all of this was verified, I drilled the hole with a #55 bit, followed by a #40 bit, and then a #30 bit.
The next step at this point would be to countersink the hole and then install a CherryMax rivet. Unfortunately, I’m still having problems getting my countersink cutter fully installed into the countersink cage so I wasn’t able to do this. Instead, I just installed a cleco in the hole and move on to installing the rivets in the center rib holes I just drilled.
To install rivets in those holes, I replaced the clecos with long-nose locking pliers since the clecos got in the way of the squeezer. I then dimpled all of the holes and squeezed the solid rivets, just as I did for the other tail ribs.
 The bottom clip for the #5 rib riveted in, except for the CherryMax
Installing Nose Ribs
At this point, it was getting a little late so I didn’t want to get started on the clips for the #12 rib/aileron hanger so instead I started working on installing the nose ribs per section 252. I discovered that I could install the bottom rivets with just my ground down rivet puller but that I needed the angled nose on the puller to install the top rivets. I installed a couple of the top rivets to test the technique but focused on installing the bottom rivets. I got most of them installed but the rivet in the third nose rib (full rib #2) didn’t install correctly. I was able to drill the head off this rivet but didn’t get the stem knocked out yet since I didn’t have a good way to hold the spar while also holding the punch and mallet. I’ll have to do that next time so that I can finish up the stainless steel nose rib rivets. I also didn’t install any rivets in rib #8 (since the solid rivets need to be installed first), the nose rib just outboard of rib #8, or the second rib (since I want to install the third first so it’s easier to get to and drill out). This at least gave me a start on this section but I definitely have more to do.
 The first nose rib installed