This is once again a relatively short building session and small update since I worked on the plane at night after a long work day. The most exciting thing I think I accomplished was finishing the landing light housing and therefore section 511 of the manual. I wasn’t able to find any good #40 backup washers (I have some for #30 holes though) so, as Craig had done on his wing, I made my own out of a spare piece of scrap metal from the plane (a discarded wingtip brace). In order to do this, I drilled a #40 hole and then cut around it with a pair of sheet metal nibblers to get the approximate shape I wanted. Then, I used a file and sandpaper to try to make it somewhat round and eliminate any sharp corners. After that, I cleco’d it to the back of the landing light housing, put tape on both sides to hold it in place, removed the cleco, and confirmed that it was still aligned with the hole. Finally, I pulled the rivet (successfully this time) and removed the tape. This finished the landing light housing.
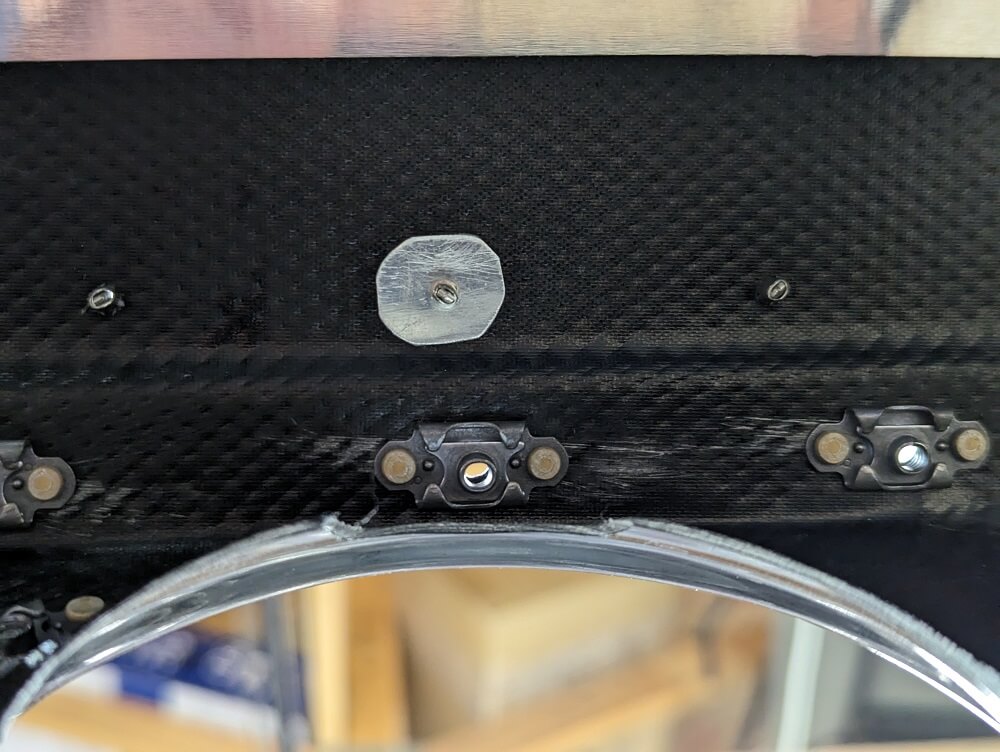 The backup washer I made installed on the back of the landing light housing
With that out of the way, I began drilling the holes for the rear, inboard fuel tank nutplate per section 572. I made sure to measure carefully, although this nutplate has the most margin of all of them, and then piloted the hole with a #55 bit so I could check the position from underneath. I was satisfied with the location so I increased the size to a #40 and then tried to use a 3/16 sheet metal bit Craig found to enlarge the hole to near #10. This bit is like a mini step bit so the idea is that it will drill this hole more cleanly. Unfortunately, it still caught for me and I had to persuade the bit through like I had done previously. Apparently this bit worked well for Craig though so maybe I’ll have an easier time on the rest of the nutplate holes.
After the center hole was drilled at a 3/16 size, I then enlarged it further to a #10 with the help of a reamer. This made a nice clean hole that was the right size. Finally, I drilled the most rearward hole for affixing the nutplate to the skin (1 of 2 #40 holes per nutplate) using the nutplate jig. When I flipped it around, however, it hit the “lip” of the tank extension skin that was sticking up preventing it from sitting flat. There are a few potential ways around this (grinding down the jig or using a nutplate as the jig like I did on the previous wing) but I didn’t want to attempt them at this point so I called it a night.
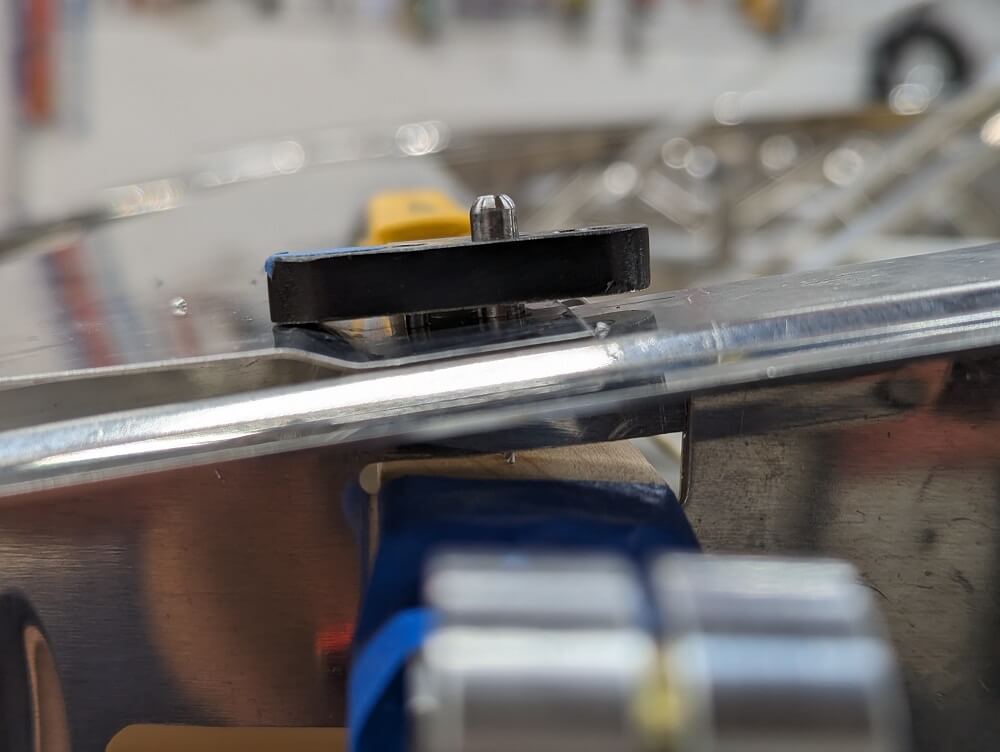 The nutplate jig can’t sit flat when drilling the second #40 hole