Another day, another false spar. This time at the aileron portion of the wing per section 231.
This false spar comes in two sections so that the overlap can be adjusted to create a false spar of the appropriate length to set the angle of the outboard aileron hanger (in and out) appropriately. One of the first steps (after ensuring once again that the flap/aileron hanger is square and the distance from it to the center hanger is correct) is to fit the two pieces of the false spar together. The manual makes mention of squeezing the inboard side of the outboard false spar section (and vice versa for the inboard section) so that they can slide together; however, that did not make since with the parts I received. Instead, based on the predrilled holes, it looked like the outboard section slid into the inboard section with the exception of one tab on the top of the outboard section that stayed on the outside. I did find mention of this in Dave Embry’s build tips that confirmed that the parts had changed and that what I had figured out was correct.
With that done, I was able to finagle the false spar onto the wing and into roughly the correct position. CubCrafters provided some fixtures that attach to the aileron mounting holes and hold the false spar temporarily in place. It didn’t want to go anywhere, even without these fixtures, but I went ahead and used them anyway on the inboard and outboard hangers (the center one didn’t want to fit quite right even though the distance was correct).
At this point, my friends Zack and Kacey came over so that Zack could help with the install (the manual mentions that you will definitely need a second person). We lined the false spar up so that the inboard edge was perfectly flush with the inboard edge of the flap/aileron hanger (as directed in the manual). We clamped it in place there and then proceeded as directed in the manual to use a special fixture (held by Zack) to set the distance and angle of the false spar to the rear spar while the tail ribs were drilled and cleco’d (by me). We drilled and cleco’d the top holes on ribs 6 and 7 and then proceeded to drill the holes in the aileron/flap hanger per the manual.
The hole here on the very bottom went fine but one of the holes in the curved part caused a bit of trouble. The drill walked a bit as I started it and it made the hole in the sheet metal/false spar a bit oblong. Fortunately, the hole through the hanger itself was fine and still had enough edge clearance. The head of a stainless steel rivet also seems to cover the edge of the oblong section (just barely) which is also lucky. I went ahead and checked with Mark Keneston from CubCrafters as well as another local builder, Steve, who both thought that it would be okay. This also seems preferable to enlarging the hole further to use an oversized rivet.
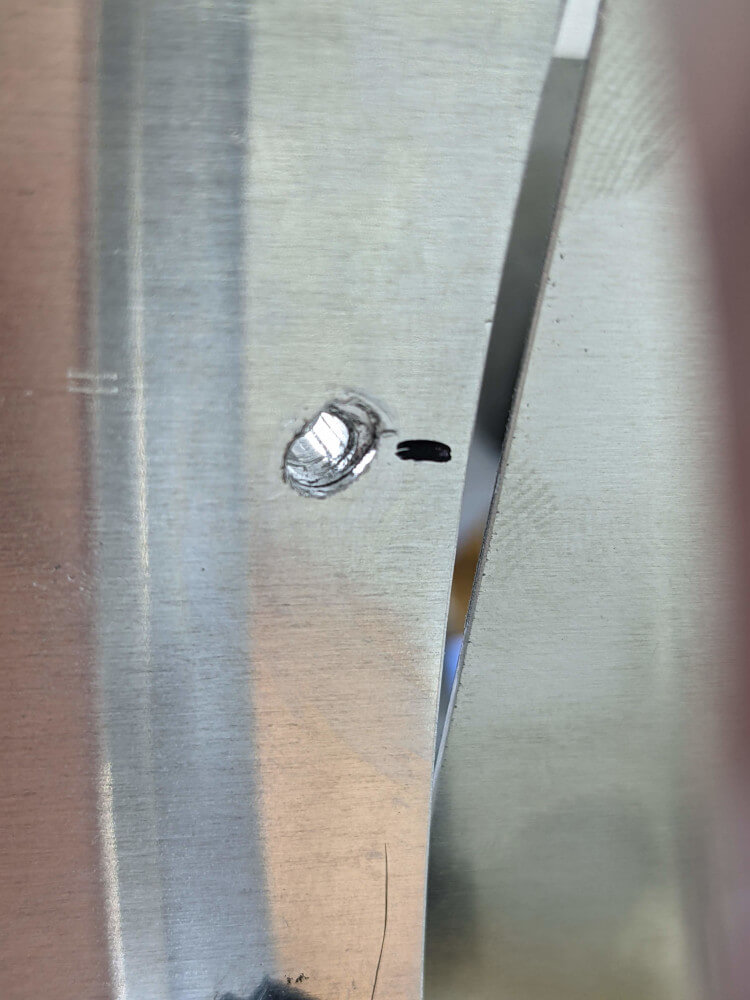 The hole that was made a bit oblong by a walking drill bit
 The hole with a rivet test fitted
I was able to move on since I knew that this would at least work, even though it isn’t ideal. That being said, I think I’m going to try to get a large flange (head) rivet with otherwise the same specs that will more fully cover the hole and provide better grip in this case.
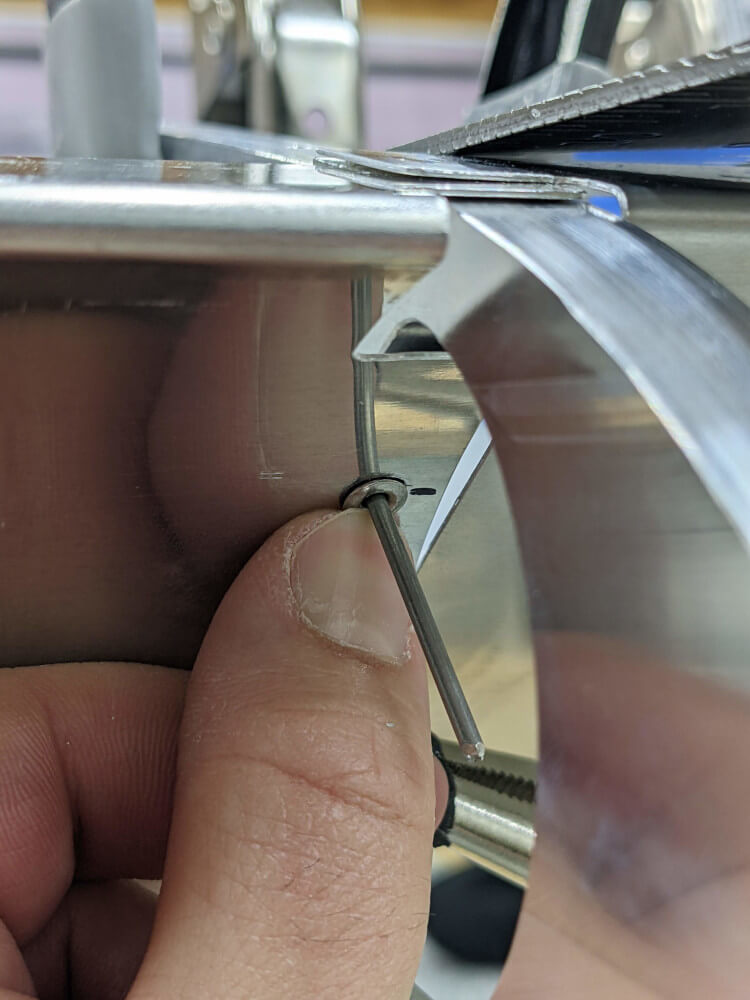
The other hole to be drilled in the curved section of the flap/aileron hanger also gave me some trouble since I couldn’t figure out how to get a drill on it square to the piece I will be drilling. Even with the 45 degree head on an air angle drill and a very short bit the side of the piece seems to get in the way. A 90 degree head didn’t seem to work any better.
 The hard to drill hole
 The angle drill held out at a slight angle by the side of the hanger
In order to make the most of the time when I had a helper and since the two holes drilled and cleco’d on the aileron/flap hanger were enough to secure its position, we went ahead and moved on to drill the rest of the holes in ribs 6, 7, and 8 as instructed in the manual. At this point, the rivets were ready to be pulled so that we could temporarily install the aileron and move on to the outboard section of the false spar.
Zack and Kacey had to leave at this point so I went ahead and drilled the top hole on the aileron/flap hanger and deburred all of the holes on my own. I decided to hold off on the final hole in the aileron/flap hanger until I could get some help from Craig (who had successfully drilled that hole on his build) and figured that I would wait for that hole to be drilled before pulling the rivets as well.
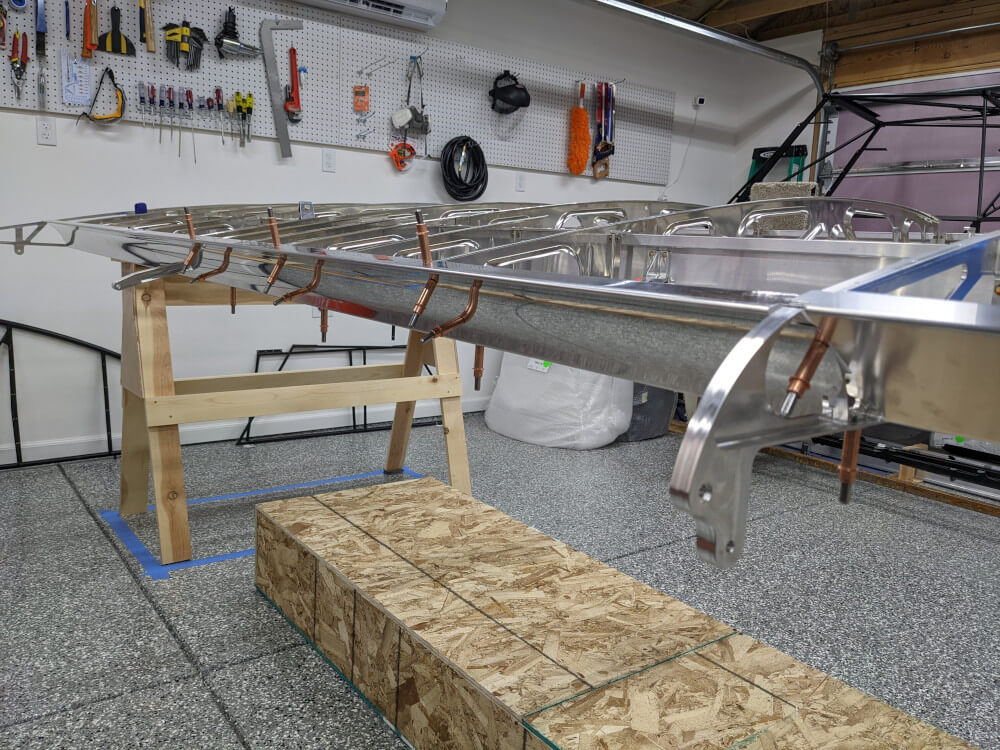 The inboard flap false spar, mostly installed
Thanks for the help, Kacey and Zack!
Wing Manual (Extended Fuel), CCEX-004 Rev. 2.02, Pages 106-125 ↩