We ran out of time to get too much work done tonight but Craig did stop by to help Martha and I put the fuselage on the rotators. Per his suggestion we put the fuselage on a set of sawhorses to get it close to the right height and then held the front (firewall) side up and installed the bolts between it and the rotator. Then we performed the same procedure for the rear of the fuselage.
The only two wrinkles here were that the back of the fuselage is extremely close to the rotator and that the 1/4” bolts I got for the rear mounting didn’t seem to fit through the holes. I temporarily solved the first problem by using a stack of washers to shim the tail up and give it a bit more clearance. I also used some of the cork pieces that the kit was shipped with to prevent any rubbing. After looking at the geometry some more I think the clearance will be improved by raising the tail rotator a little higher (or lowering the front rotator).
As far as the bolts go, the 1/4” bolts I had didn’t seem to fit so I quickly ran to HomeDepot and got some #12s to use instead. These certainly work but are definitely a bit loose. Craig was later able to get 1/4” bolts to fit on his tail (though he said they were tight) so I think I may not have actually had 1/4” bolts or I need to play with it a bit more.
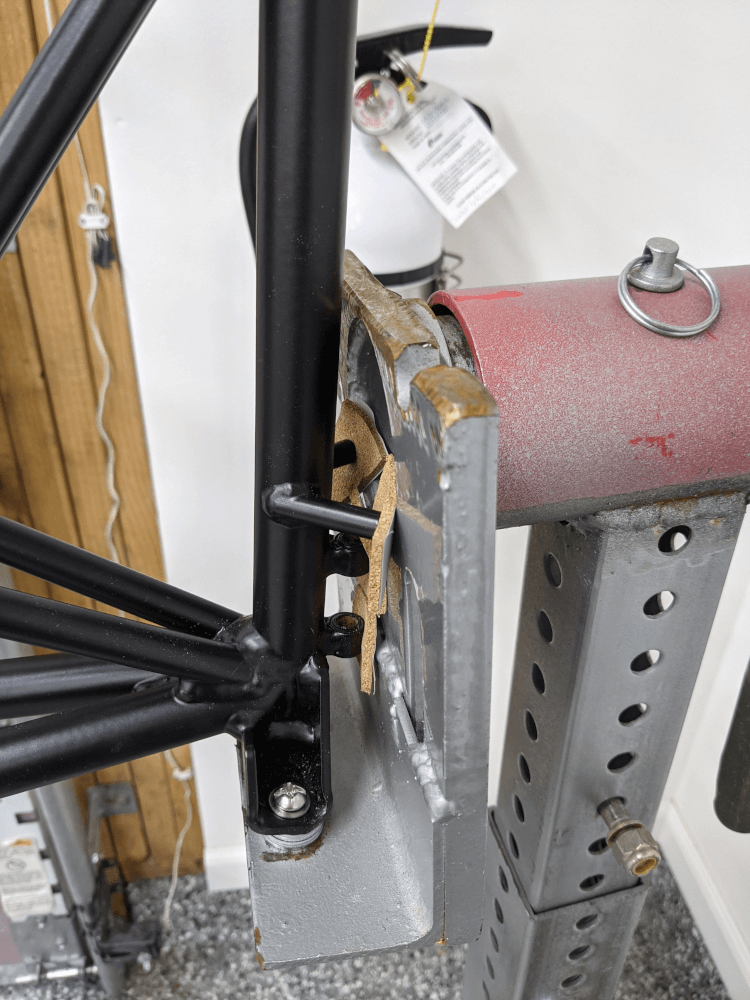 Tail mounted to the rotator
All that being said, the fuselage is now off the ground and should be easier to work with. It also let us get the wing rack (for the completed wings) into the garage and created a lot more room. I have a bit more organizing to do in the shop when I get a chance and then I can get back to the compression tube rivets.
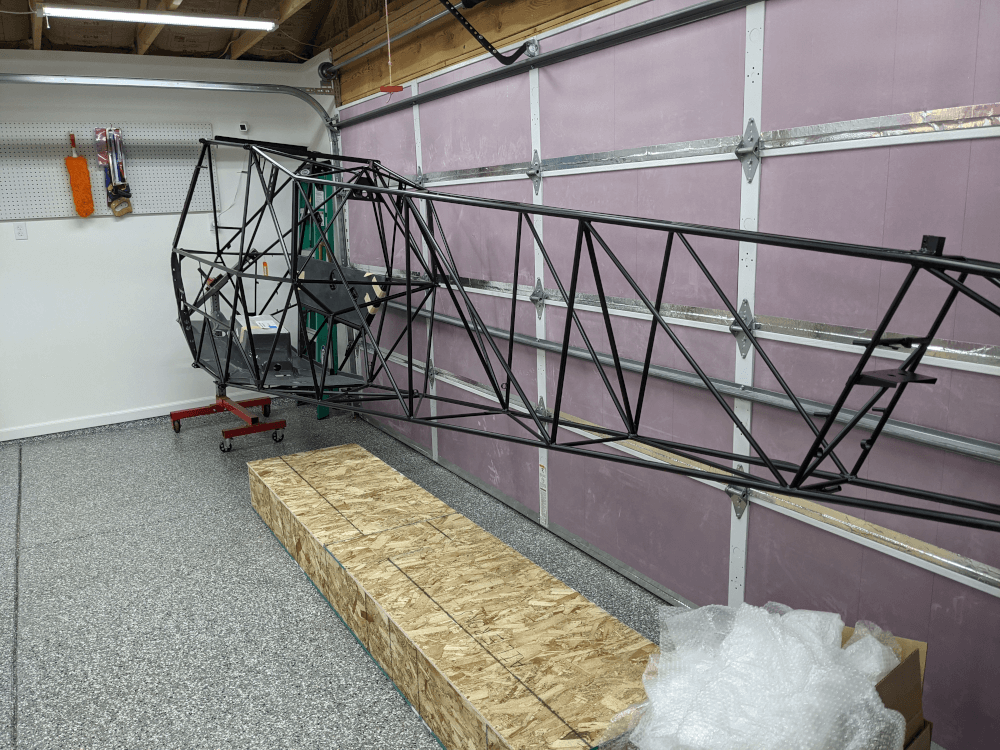 Fuselage on the rotators