Reaming Followup
Update on the hinge block reaming from the previous entry: after much back and forth with CubCrafters and other builders it was determined that the reaming of the 5/16” holes was acceptable.
I initially spoke with Pete from CubCrafters and he referred me to Mark for advice. I sent him a video of a bolt in a single hinge block (the video the GIF in the previous entry was from) and based on that he thought that it looked like there was too much play. He reiterated his advice to take the reaming slowly, make sure to use Boelube, pull the reamer through exactly once without stopping, and try to keep it as square as possible.
Thinking that both hinge blocks needed to be replaced anyway, I tried to implement his advice by practicing reaming the remaining holes in one of the hinge blocks. I also purchased and installed a bench vise in case the fixture I was using introduced any slop. Even while being extremely careful I was unable to produce a tight tolerance hole with the 5/16” reamer. To me it seemed like the problem was that the reamer shank was significantly smaller than the starting hole and the fact that chamfer of the reamer intersected the chamfer of the hole. These factors combined made it extremely easy for the reamer to pivot (see the crude drawing of what I’m talking about below).
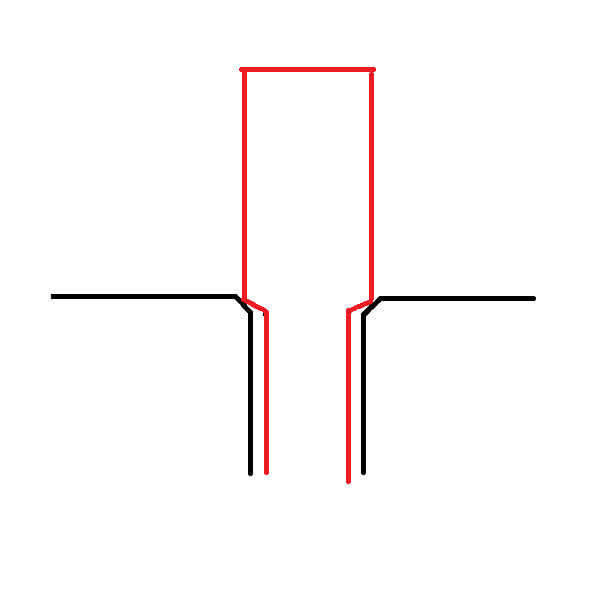 Drawing of the reamer in the hole to ream
This led me to believe that I needed a fixture to hold the reamer straight so I posted to a CarbonCub builder’s group asking how to build one and for general advice (the fact that the reamer is pulled through means it would destroy any normal fixture and would require something unique). I didn’t receive any responses telling me how to build a fixture but I did receive a lot of suggestions that amounted to telling me to do the reaming the same way I already had. This made me think that what I had done was possible correct.
At this point I test fit a bolt through both blocks at once and there was very little play. I sent this new video to Mark who told me that it now looked fine. I also received a similar reaction in the builder’s group. This meant that my original hinge blocks had been fine but that I now must replace the block I had practiced reaming on since the holes were not reamed as an assembly. This means a single block replacement (P/N SC31502-001 for $82.46) instead of two and that I now am confident in the procedure and expected outcome.
Hinge Block Install
Once I knew my procedure was right, I reamed the end holes on one of the remaining hinge blocks I had (it’s the same part that is used on the right wing so I could use one of the last two and then get a replacement later). I then reamed the end holes in the spar and placed the hinge blocks on it using the end bolts to line it up.
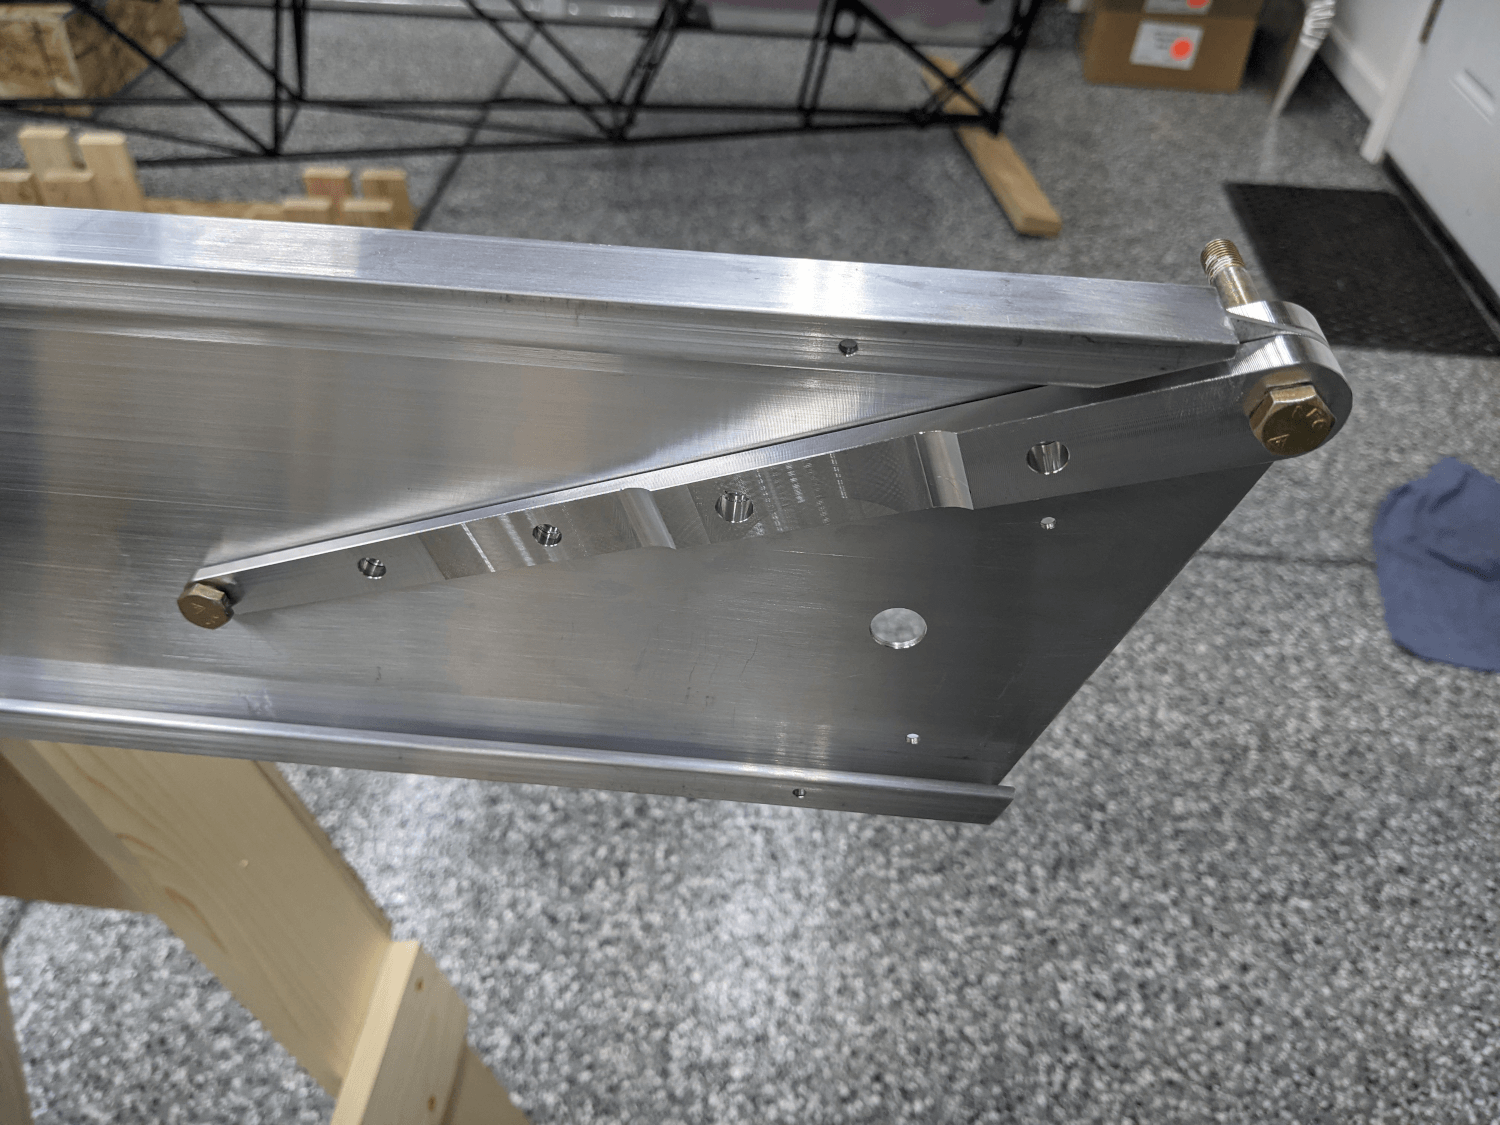 Hinge blocks lined up on the spar and ready to ream the remaining holes
I inserted the 1/4” reamer in the second hole from the bottom which took some finagling. I eventually had to disassemble the assembly and put it back together with the reamer in place. Once I did that I reamed the hole, deburred/cleaned it, and installed a bolt with the associated hardware. The only exception is that I installed a castle nut instead of the prescribed hardware from the drawing (figure W4 on page 45). This was per the manual’s instructions1 so that the nuts can be removed (without destroying them) at a later step and the tank straps can be installed.
I continued this process and worked my way up towards the other end of the block reaming holes and installing hardware as I went (nuts just snug). I did need to make use of some lithium grease (STA-LUBE #SL3151) a few times to get bolts to slide into their holes.
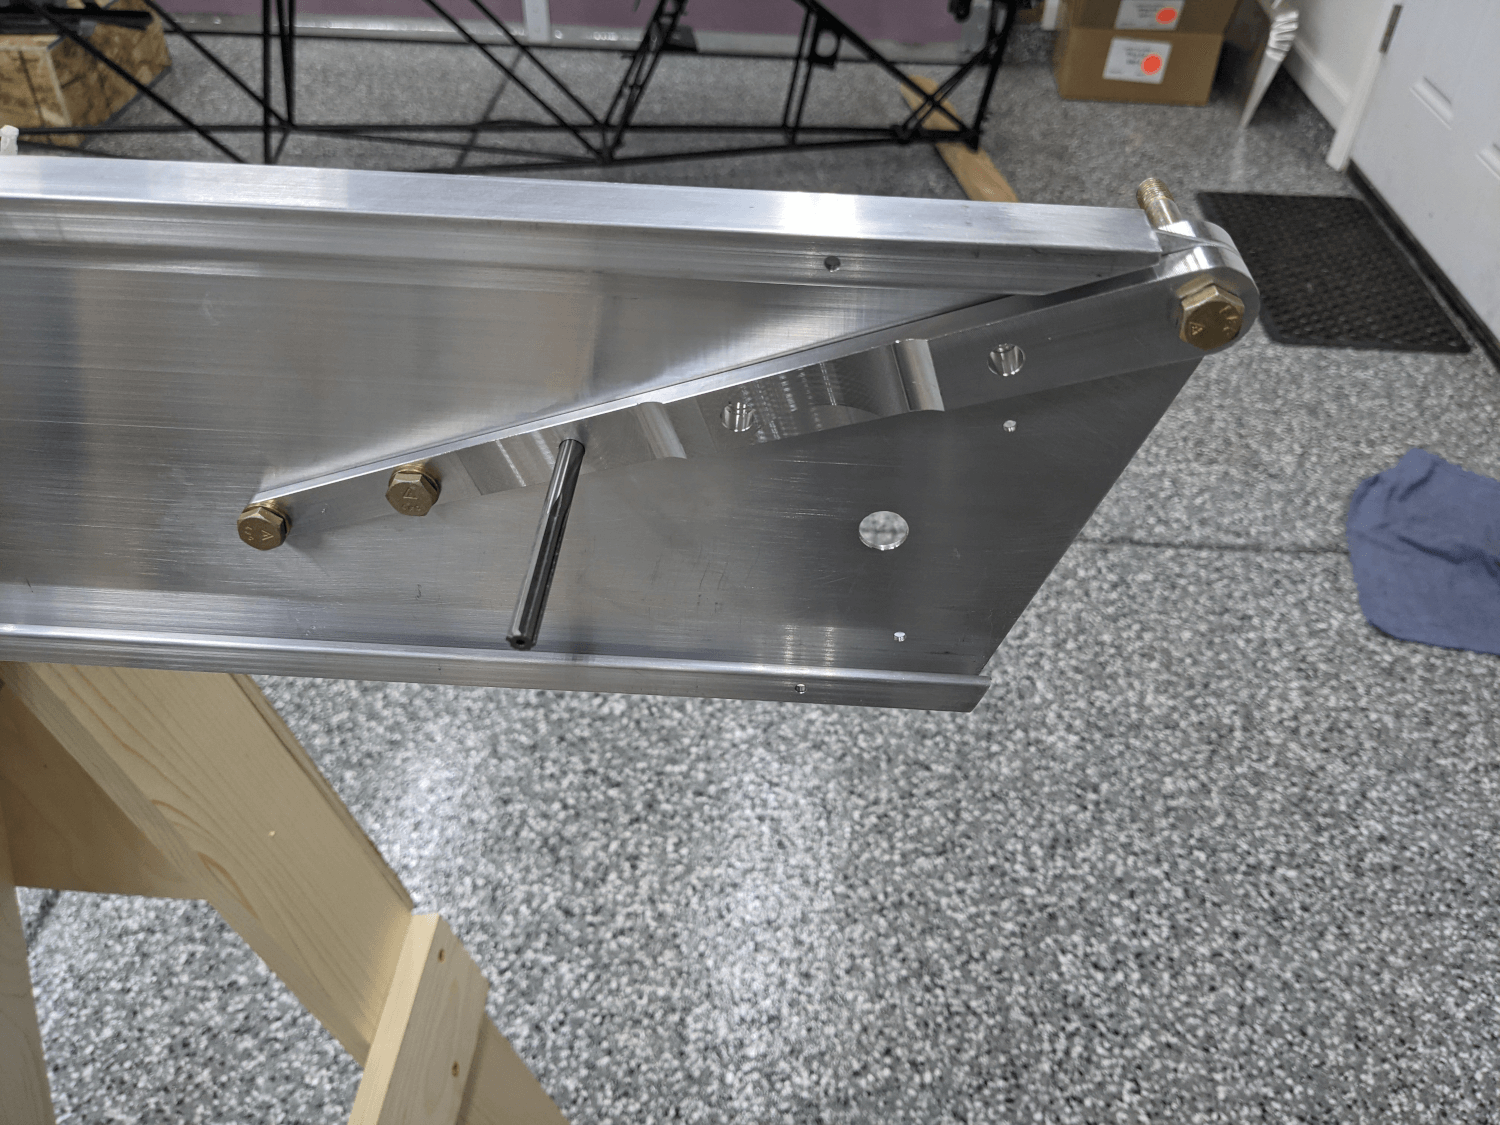 Reaming a hinge block hole
Once all of the holes were reamed and hardware installed I was still able to remove and insert the final bolt (in the #1 hole) but it was very tight.
After all of this was done I torqued the bolts to the appropriate values per the manual and marked them with torque seal. This both marks that the bolts have been torqued and lets you see if they start coming loose (the seal breaks). I did not torque the castle nuts since they will be removed anyway but I did mark them with sharpie to indicate that they need to be addressed (and hopefully make it obvious to myself).
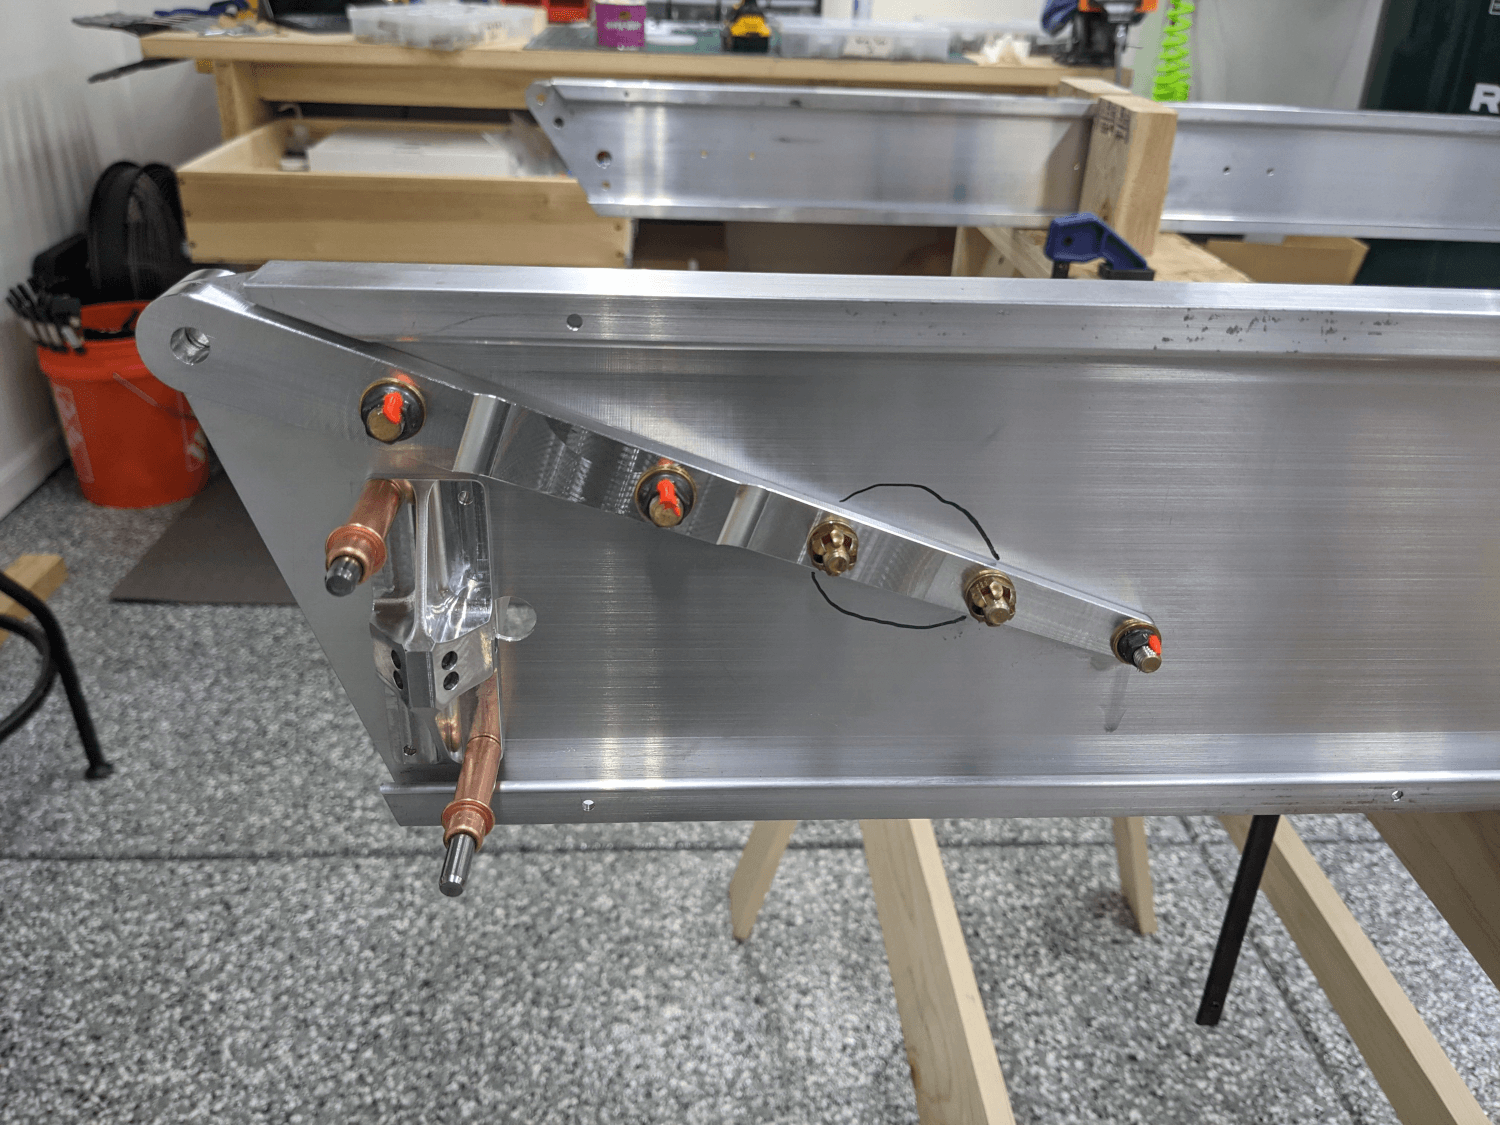
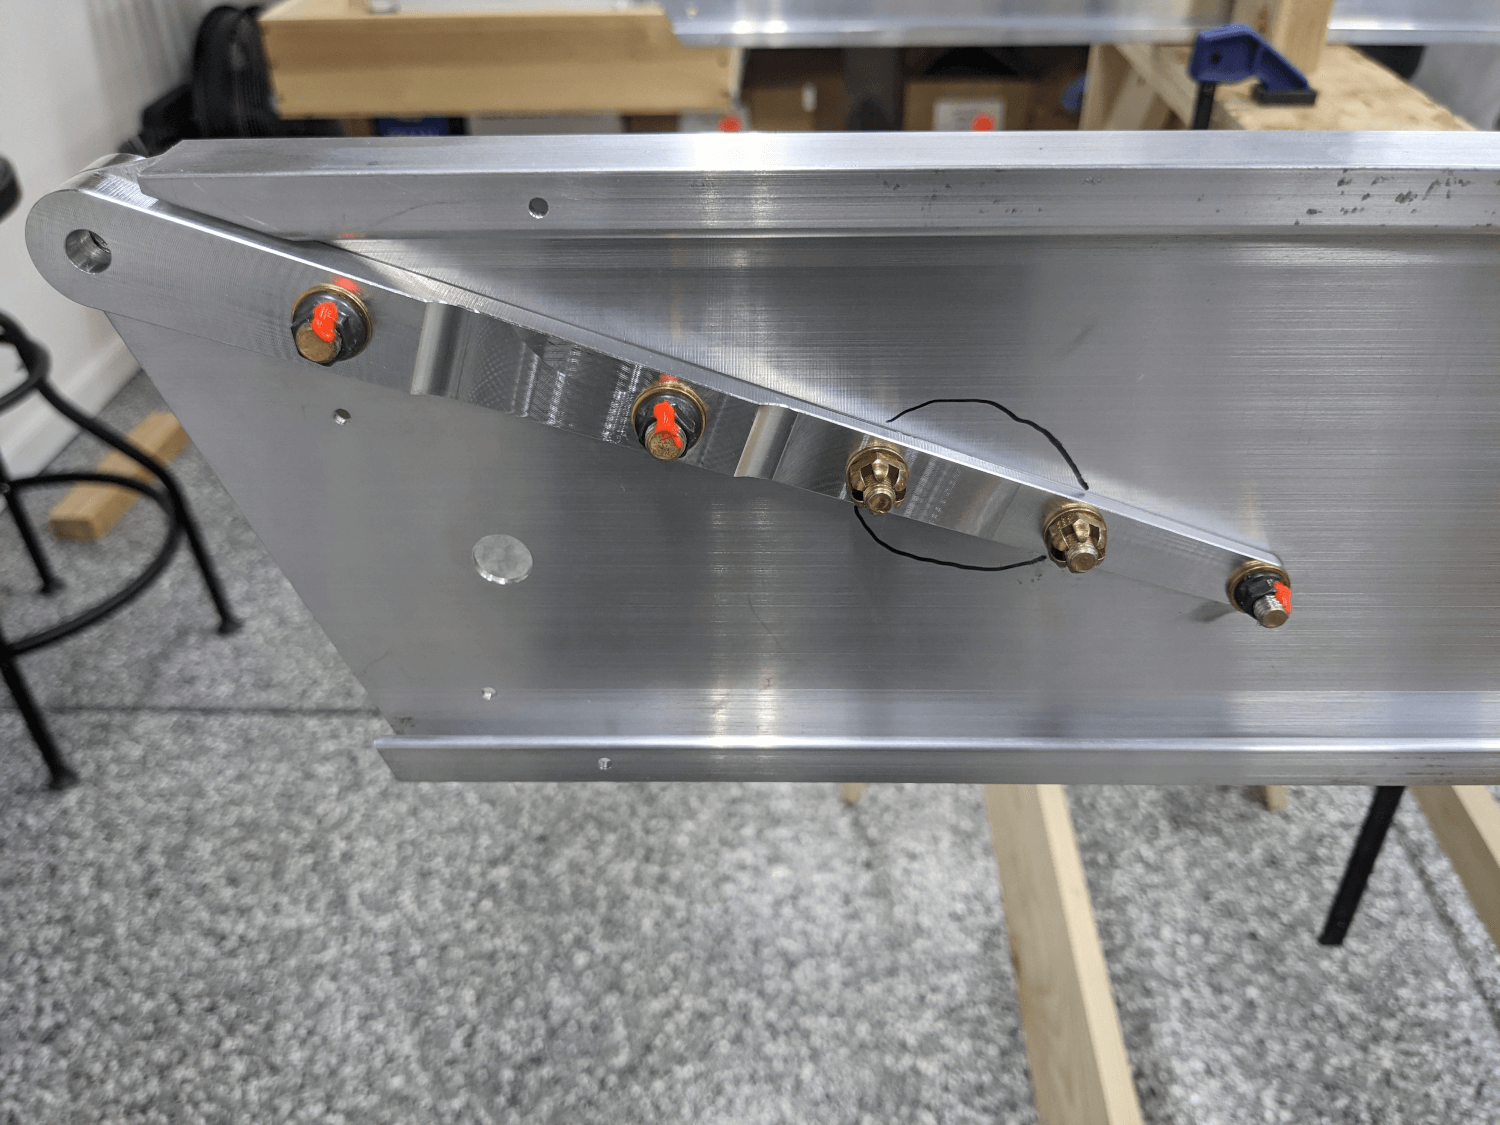 Torqued and marked bolts
Finally, I installed the last block and fitting from figure W2 on the front spar (P/N SC31041-001 and SC31024-001) using clecos. These were not installed previously because they would have interfered with reaming.
 Installed fittings
Wing Manual (Extended Fuel), CCEX-004 Rev. 2.02, Pages 40-44 ↩