I haven’t gotten a lot done on my build the past couple weeks because I was working with Craig to get his plane caught up with mine and then get it a little farther ahead (all the way through installing the rear spar reinforcement and the rear pulley bracket). Now that we got his a little farther ahead it’s time to get mine caught up.
We had already positioned the front pulley bracket and drilled the holes for it the last time we worked on my plane. Today we decided to start by finishing section 181, the installation of the front pulley bracket, by installing all of the CherryMax rivets. As shown in a picture in the last build post, some of the rivets could not be inserted all of the way before we start to pull them because the contact the spar bulb. We had this same problem on Craig’s wing and, through experimentation, discovered that the pull okay if you pull the rivet slightly with the hand puller and then push down hard. This process is repeated until the rivet head sits flat and then can be pulled the rest of the way with the pneumatic puller.
All 5 rivets in the front pulley bracket pulled just fine on Craig’s wing using this method. Unfortunately, the first rivet on mine did not. The head got all the way flay against the piece but the stem broke off way too low. We decided to go ahead and pull the rest of the rivets before trying to remove this bad one. The rest of the rivets went fine.
After that, I carefully drilled the head off of the CherryMax rivet and worked to shave down the little bits of rivet sticking up above the hole so that it could be driven out with a punch successfully. I then tried to punch the rivet out of the hole as one would typically do when removing rivets. Unfortunately, what neither Craig nor I realized was that the rivet was still sticking down really far on the back side because the stem had broken off so low. When I tried to drive the rivet out I had accidentally driven the rivet into the spar bulb and scraped it a bit.
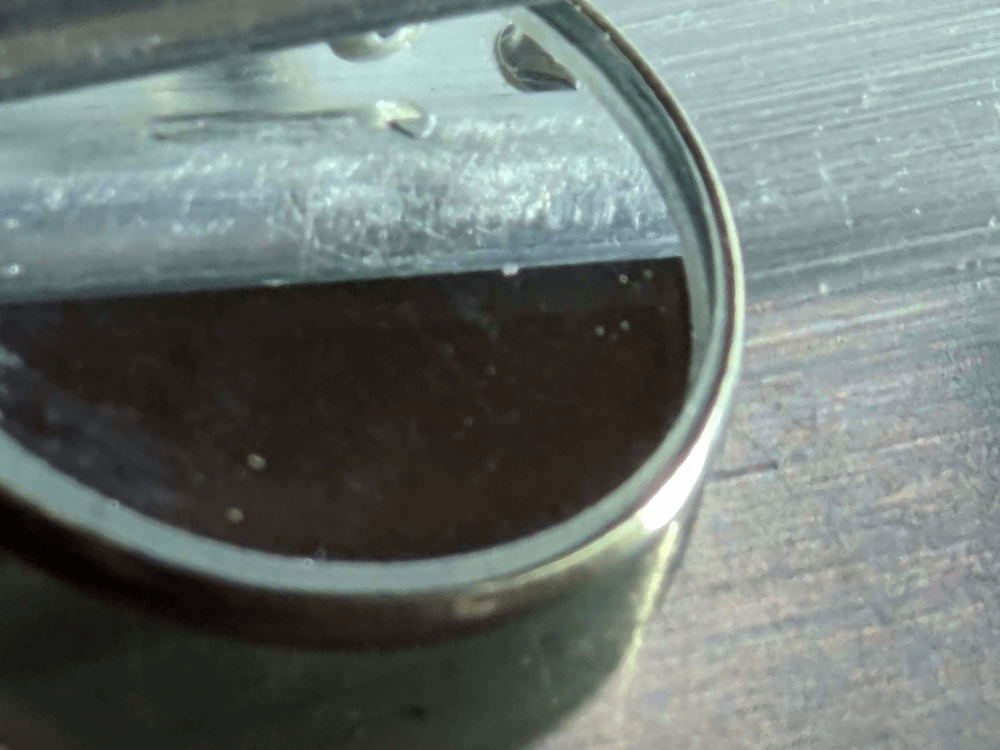
 The rivet pushed into the spar bulb
Once we realized what had happened, we were able to use a set of Knipex plier wrenches and some wood on both sides to push the rivet back up to where it started and off the bulb. It was fortunately just a very shallow scrape in the metal but I do definitely want to confirm this is ok with CubCrafters before preceding.
 The scrape caused by the rivet after the rivet was pushed back up
This also leaves the difficult problem of removing the rivet without causing more damage. Craig and I decided to think about this more over the next couple of days and try some of our ideas once we know for sure that the spar is still safe to use.
Wing Manual (Extended Fuel), CCEX-004 Rev. 2.02, Page 91 ↩