False Rib
Before starting the flap false spar, I realized that the false rib Craig and I installed earlier had a bit of a twist in it and that it was therefore not quite flat compared to the bottom of the spars/the bottom of the other ribs. I’m still not exactly sure how this could have happened since the rivets were put in place before the glue had time to start setting. I asked Mark at CubCrafters about this and he thought that it would be noticeable through the fabric once it was riveted on and that it needed some correction.
 The false rib glued to the tail rib and rolled slightly
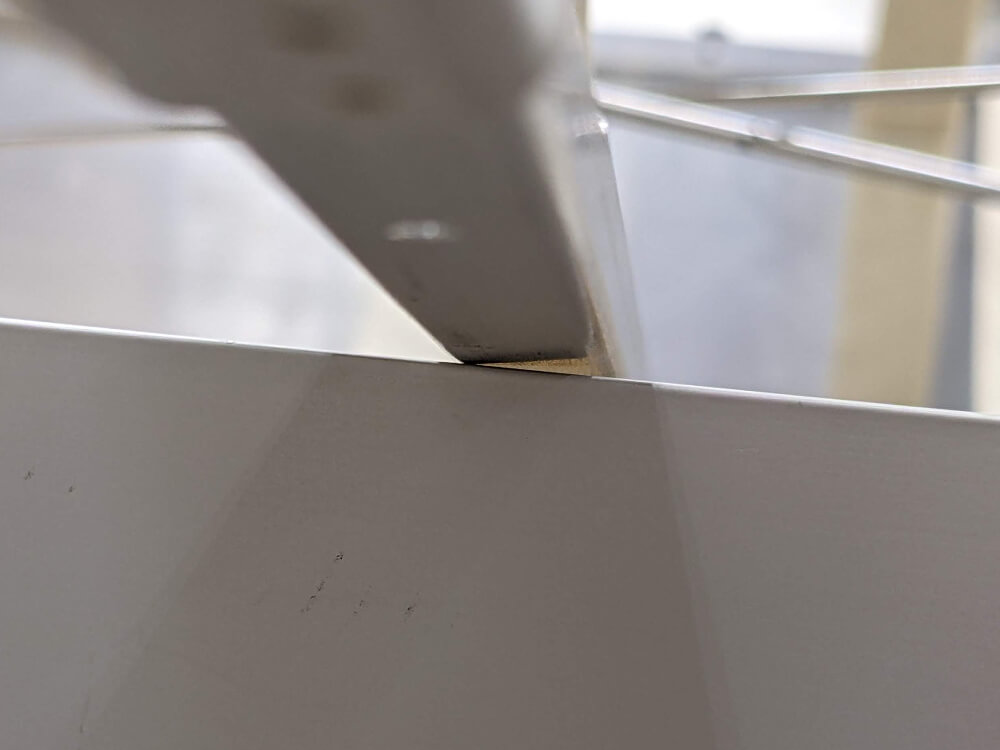 A straightedge across the bottom of the false rib showing that it isn’t flat
I also talked to Pete at CubCrafters and was told to try to twist it some so that it laid flat. I did this and was able to get it to look much better; however, the tail rib ended up twisted (top and bottom misaligned, bottom out of square with the spar, curved attachment tabs where it attaches to the spar). Pete and Mark both told me that they thought this would be fine once riveted to the false spar. It does seem like the strength here will be fine but the part that concerns me slightly is that the bottom of the tail rib had to be shifted inboard some in order to flatten the false rib. The entire false rib stayed straight but this makes it ever so slightly not square with the spar/not parallel to the other ribs. I think it’s a small enough angle (calculated at less than 0.5 degrees) that it won’t be very noticeable but I’m a little worried that it will be somewhat easy to tell once covered and that it will bother me.
The other, more practical, reason I’m a little bothered by this is that it shifted the false rib inboard by about 1/8” at the rear spar. It needs to sit in between the two halves of the fuel tank at this location and I’m not sure how much clearance it had there to begin with. Before I commit to this setup (and not replacing the false rib) I want to measure a bit more carefully in order to convince myself it won’t interfere with the fuel tank installation later.
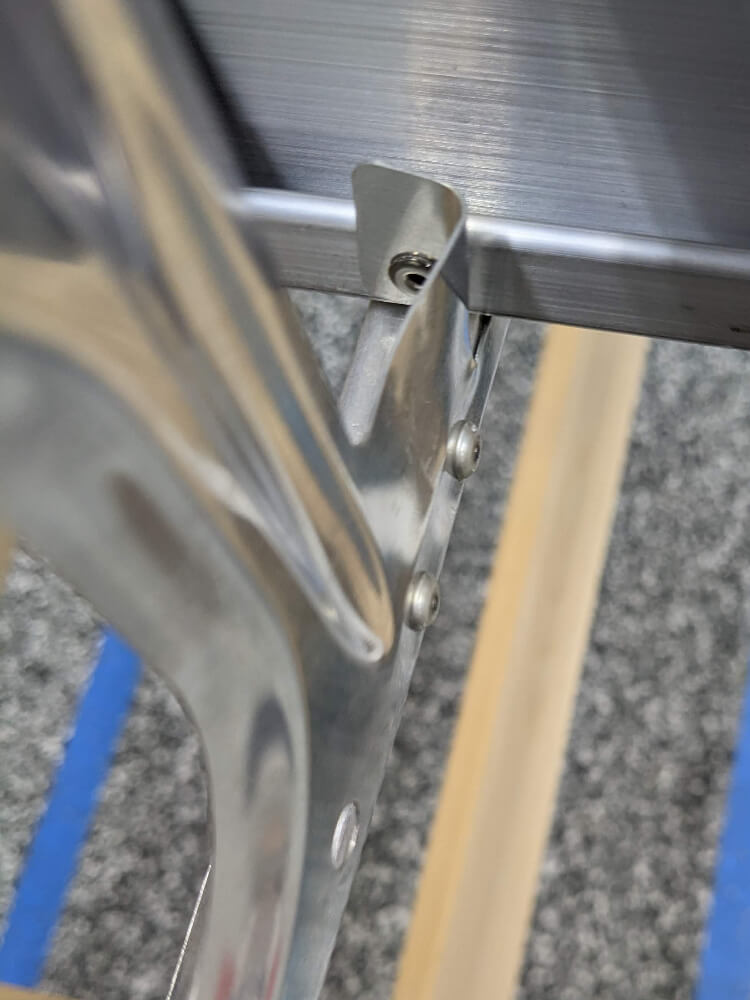 The tail rib twisted slightly to get the false rib to lay flat
Flap False Spar
Even though I’m not completely sure about the false rib and therefore the #2 tail rib, I decided to go ahead and start installing the flap false spar. I clamped it in place and made sure that all of the tail ribs were square to the spar before proceeding. I then started match drilling rivet holes, per the manual1, but skipped rib #2 for now (just leaving it clamped) in case I decide I need to replace it. I got through the top 3 rivets for each of the ribs other than the #2 rib but still need to go back and drill the bottoms. I also need to drill the holes for the 2 rivets into the machined tail rib (at rib #5) that are installed at this time. Once I make a final decision about rib #2 I can finish drilling these holes, debur, install the rivets, and finish section 371 of the manual.