My friend RJ came by today and we worked on the wiring harnesses a bit. Using the new heat gun, we were able to get the solder in the test solder sleeve from two days ago to flow, although it took a while in the heat to do so. We cut the test piece of wire, along with some extra, off of the spool and applied a solder sleeve to the other end to ensure we had the technique right. We also installed a test molex pin for the connector to make sure we had that part of the process right.
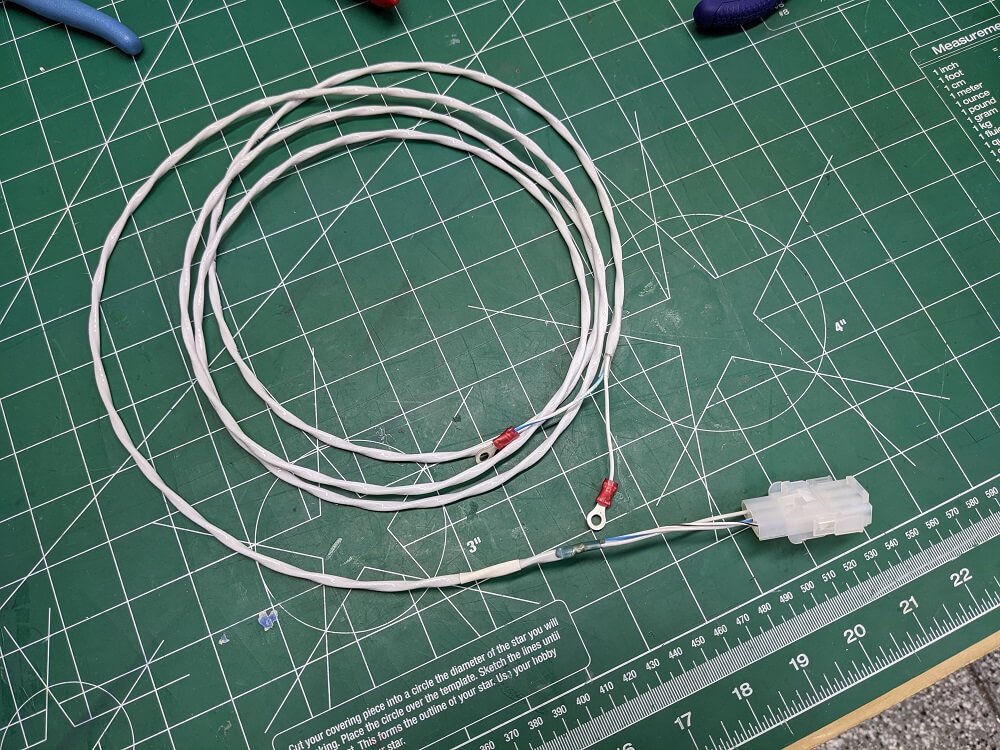
With the test piece done, we stripped the end of the 18ga wire, installed a solder sleeve, trimmed the pre-installed wire from the solder sleeve to the same length as the others, installed molex pins on all of the wires, and the installed the wires in the molex connector. This finished the first end of the wire. After that, we measured out the remaining length to be 6 inches longer than the kit-supplied wire in order to provide more working room for installing the landing light in the future (a service loop). We cut the wire here, and before stripping it, slid a heat-shrink label to the other end so it would be clear what the wire was for when looking at the wing root. We also slid on a piece of heat shrink to use at this end. With those steps done, we stripped the jacket and shield off the end of the wire and crimped ring terminals on the ends of the conductors. We then shrank the heat-shrink tubing and the heat-shrink label. This finished one of the landing light wiring harnesses.
 The finished landing light harness
Once it was done, we weighed the new harness and the old one to compare. The old one was just over 2oz and the new one is just under 3oz. This is, speaking conservatively, a 1oz difference. Since there is a second wire in the fuselage of a similar length and the setup is repeated for the other side, the overall weight difference for the landing light wires seems to be about 4oz or 0.25 pounds.