Machined Rib Clips
Today I finished installing the machined rib clips per section 291 of the manual. I started by drilling the hole for the side rivet in the top clip of the #12 rib. I marked the hole and created a starting point using a center punch while the clip was on the rib. I then removed it and drilled through just the clip using a #55 bit on the workbench. After that, I reinstalled it (using a cleco through one of the holes in the center rib and a clamp on the tail rib) and match drilled through the #55 hole using an angle drill with an offset head and a #50 bit. I then enlarged this hole using the same drill and a #40 bit and then finally a #30 bit.
After this was done, I center punched the location of the top hole, drilled it with a #55 bit, and then enlarged with the #40/#30 sequence as before. I then removed the part from the plane and deburred everything before reinstalling with clecos.
I repeated this process for the bottom clip, however, I forgot to clamp the clip to the machined rib when reinstalling after drilling the side hole on the bench with the #55 bit. This caused it to sag a bit as I match drilled the hole and enlarged it. The hole ended up in a position that works just fine, however, there was a noticeable gap between the clip and the machined rib on the bottom before drilling the hole for the bottom rivet. I went ahead and drilled the hole for this rivet and countersunk it. I installed the ride rivet first to make sure that it would line up correctly and then pushed hard with the rivet puller when installing this bottom rivet. This, along with the force of the rivet, bent the clip up slightly so that it contacts the machined rib. In this way all of the rivets are installed and the part fits. The rivet did end up slightly offset in the countersink in the clip and it is not as pretty as it should be but it will work.
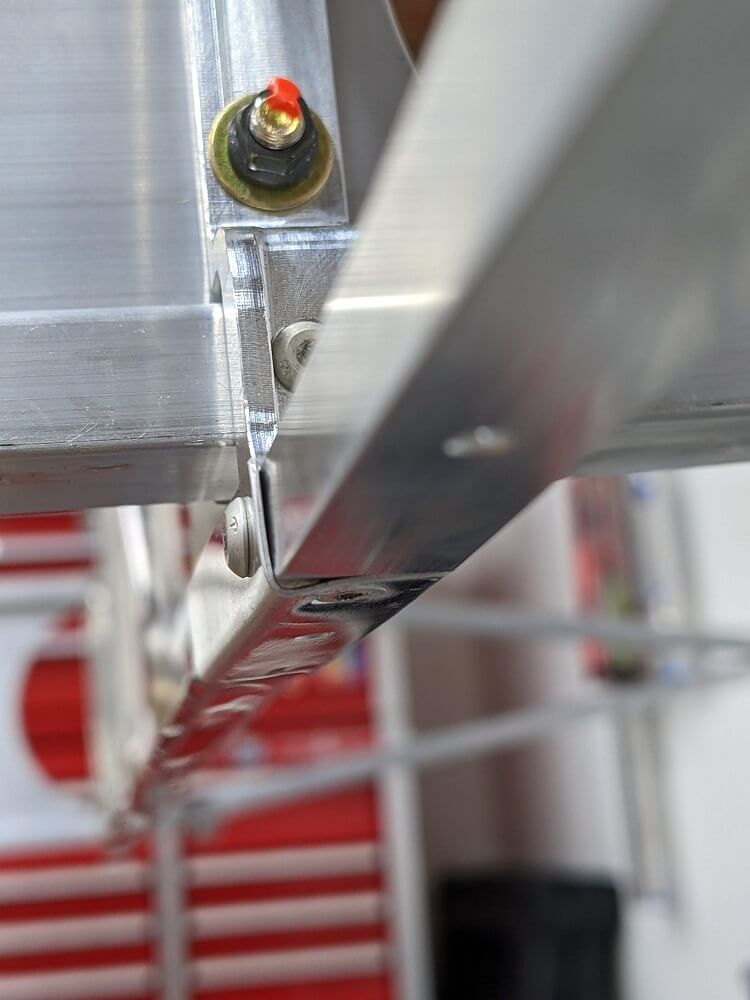 The bottom clip on rib #12
After this I went ahead and installed the rest of the rivets in the #12 rib clips. Finally, I countersunk the hole for the cherry rivet in the bottom clip on rib #5 and installed it per the manual. This finished this section of the manual.
Nose and Tail Ribs
After finishing with the machined rib clips, I began trimming the nose and tail ribs as specified in the manual sections 272 and 303. I cleco’d them to the spars as I went. This ended up taking most of the build-time today and, while I didn’t finish, I made significant progress.