Today my grandfather and I continued working on the leading edge skins for the left wing and finished the rest of the rivets in the 3 most outboard skins. We weren’t able to do any more than this because, as previously mentioned, we will need to wait on a replacement for the most inboard skin.
This all went smoothly and like the last wing. For each skin section, we installed the clamps, pulled the top row of rivets, drilled and pulled the middle row, and then drilled and pulled the bottom row (being careful to wait on the overlapping rib until the next skin section was clamped).
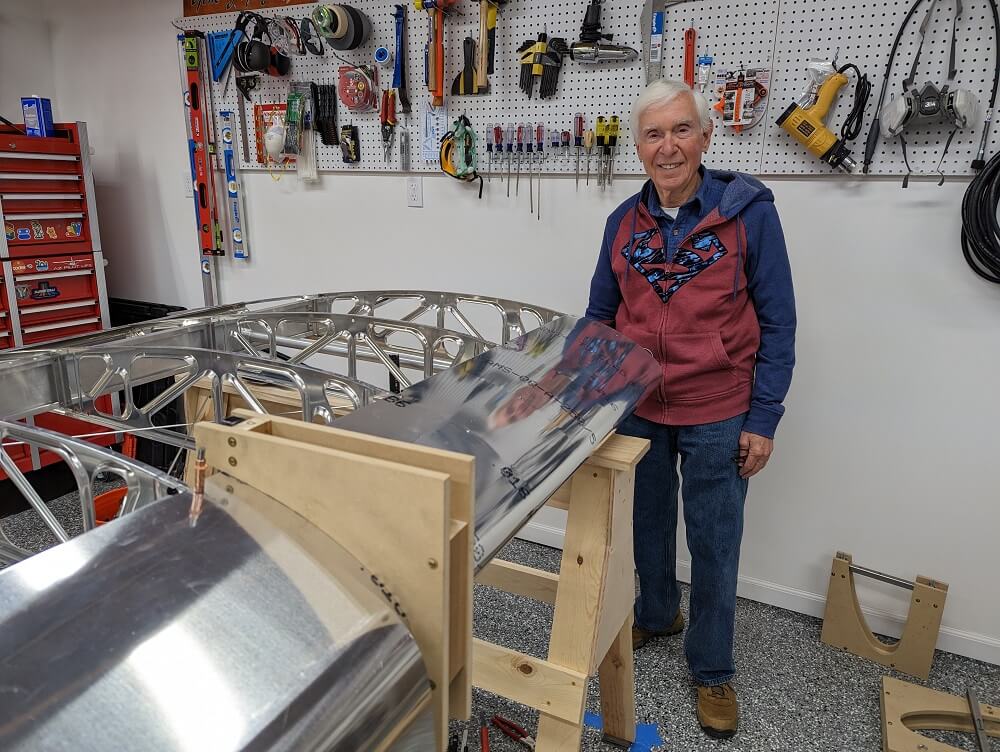 My grandfather with the first skin section we completed
The landing light housing is once again interesting since we were able to complete its skin section. Unlike on the last wing, the housing fit in the corresponding opening with enough wiggle room side-to-side that it didn’t need any sanding or trimming. We once again made sure to set it in place and scuff up the surfaces that will be mated with glue before proceeding with the skin installation. Then, in addition to the skin clamps, I installed as many spring clamps as I could fit along the outboard side of the opening (where it overlaps the next skin). I have to remove and reinstall these a few times but was able to almost eliminate the gap between the skins. Once all of the holes were drilled and riveted for this skin, the gap remained nice and small - much better than on the last wing. That being said, the bottom edge of the skin (that the housing will be glued to) is a bit wavier than the previous wing but I think that this will be solved when it is glued to the landing light housing itself.