Craig and Kate came by for a little while at the beginning the day today so that I could get Craig to look at a couple of things. Together we first looked at the final rivet I needed to install for the aileron false spar into the aileron/flap hanger. We both decided that the larger head rivet would work better and I went ahead and pulled that. It ended up coming out really nicely - it completely covers the oblong hole and sits nice and flat.
 The final aileron false spar rivet installed
Craig also verified that he thought the hole positions for the rivets into machined tail rib #12 looked good and he helped me drill the holes for the side rivets using the angle drill. In order to do that, I first removed the parts and center-punched the hole position. I then drilled a pilot hole there with a #55 bit.
After that was done and the part was re-installed, Craig used the angle drill with a #40 bit (and a drill stop) to drill the hole (I was still not very confident with the angle drill and didn’t feel like I had a good angle to use it). Once the #40 hole was drilled he followed it up with a #30 bit (and drill stop) to increase the hole to the final size.
I should also note that we started with the top clip and, while we thought the position would work just fine, we also thought it wouldn’t hurt if it were a little farther from the machined rib walls. This was something we were thinking about because one of Craig’s got a little too close for the shop head to form correctly which caused him lots of headaches. On the next clip, we erred just on the outside corner of the mark I made (away from the corner the rivet sits in on the part) which worked out slightly better. We also decided to start with these side rivets because we thought their position was more constrained and that the top rivet placement has a bit more wiggle room.
Craig left after these holes were drilled (thanks again for the help, Craig!) and I drilled the final holes with the same punch, #55, #40, #30 progression I had been using to prevent any drill bit wandering/slipping. I then used my microstop countersink cage and #30 countersink cutter to countersink these final two holes, per the manual. I did have to use a small amount of masking tape on the leading-edge side of the clip so that the cutter sat flat across it and the machined tail rib.
With the holes countersunk all that was left to do was pull the rivets. I started with the side rivet in the machined tail rib using the offset puller head, then the countersunk rivet using the normal puller head, and finally the 2 front rivets (using the offset head for the rivet closest to the spar). These all pulled just fine and the back sides of the rivets in the machined tail rib had plenty of clearance to pull correctly without the need for any tricks.
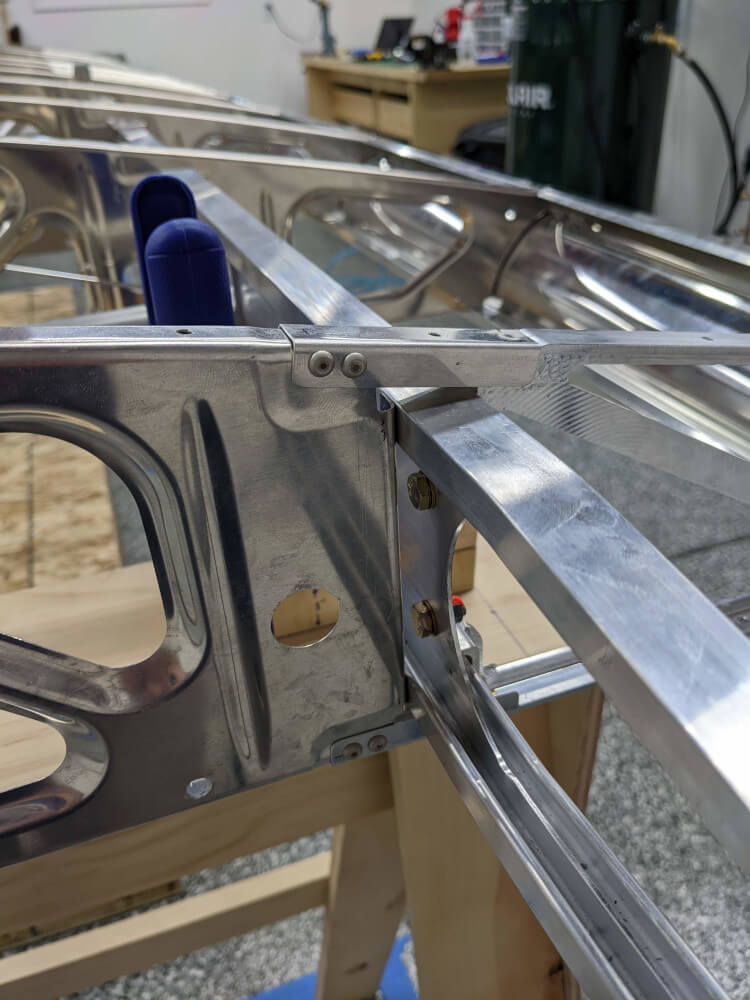 The clips fully installed and riveted on the #12 machined tail rib
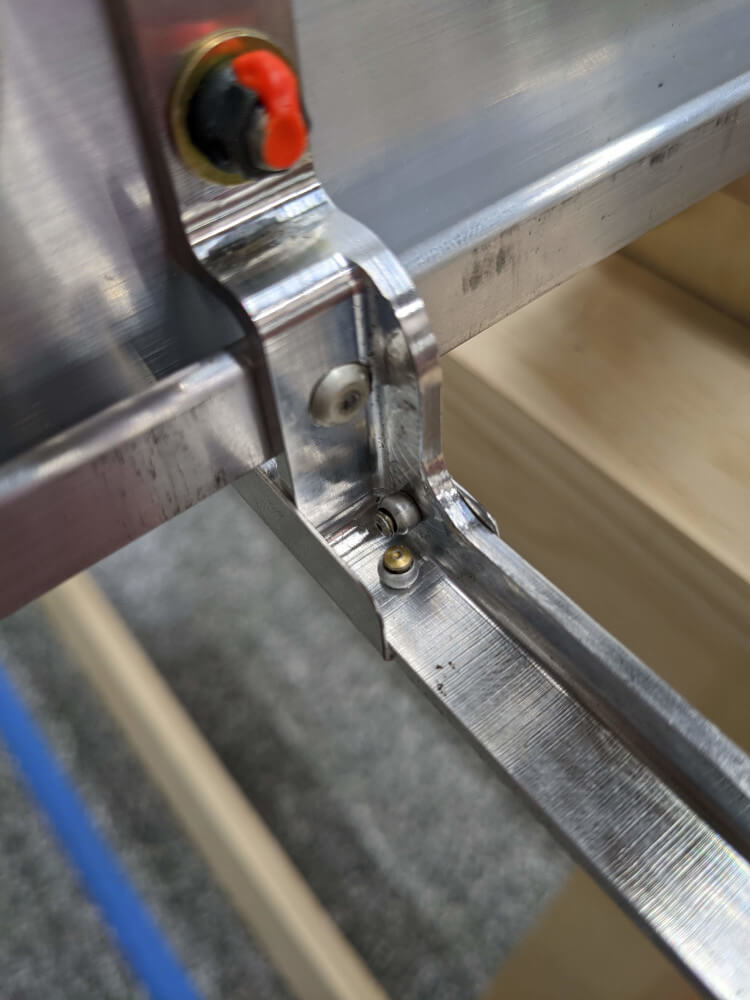 The shop head side of the rivets in the machined tail rib
Finally, in order to finish section 241 of the manual, I countersunk the final rivet hole in the bottom of the #5 machined tail rib and installed the rivet using the same procedure. One thing to note is that I had to use Craig’s countersink cage for this one since mine has a slightly larger diameter and sat up on the lip of the machined tail rib and therefore was not flat on the clip to be countersunk. This completely finished section 241.
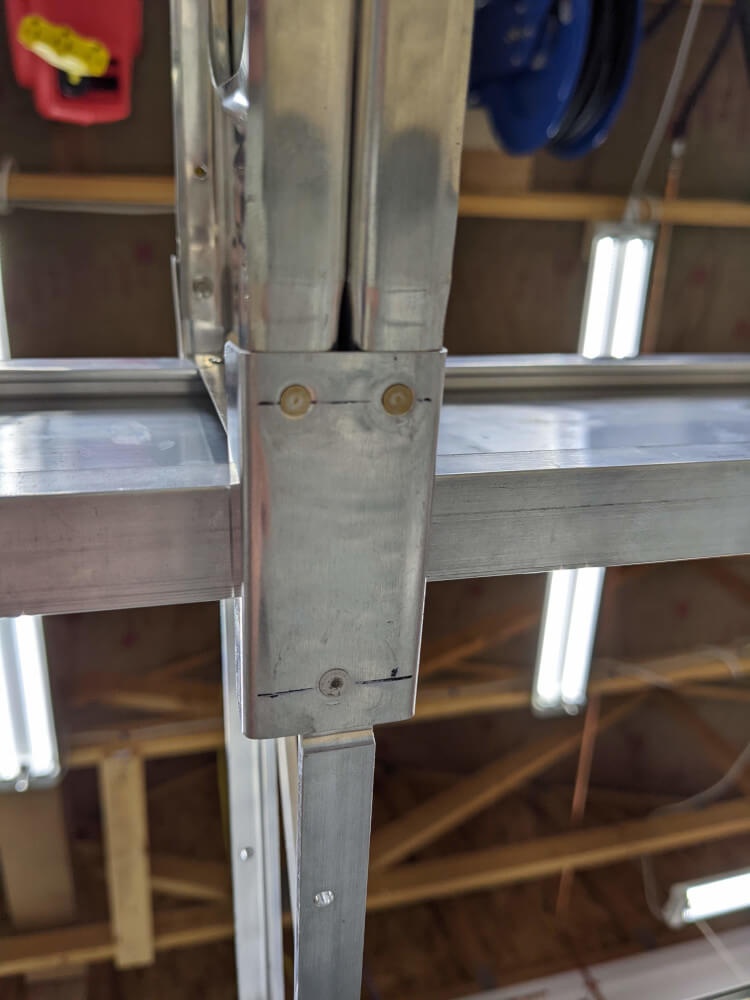 Clip installed fully on the underside of machined tail rib #5