False Rib
Now that section 25 and the nose ribs were done, I decided to skip section 26 of the manual (installing the wiring) because that can be done later and I still need to make new wiring harnesses for the landing lights I plan to use.
Instead, I moved on to section 271, installing the #2 false rib. This is a rectangular tube that runs from the nose rib to tail rib on the underside of the spars and provides a structure to mount the fabric to (a full rib is not used because the fuel tank crosses this rib location and needs to be able to fit).
While section 27 of the manual also includes installing some rib bracing, a new version of the manual was recently published that combines the EX-2 and EX-3 instructions. It also reorders a number of steps and splits these into two different steps. I’m trying to transition to only using the new version of the manual but still need to reference the old one until I can completely align/get caught up with the new ordering.
I decided to wait on installing the rib bracing because another step (installing a capstrip) affects the rib that is being braced and comes before that step in the new manual. Installing the false rib, on the other hand, is described in section 2 and has no other prerequisites.
The two manual versions have you place the false rib in slightly different positions although 4 of the holes you drill to rivet it in place (2 in the side of the nose rib and 2 in the side of the tail rib) are the same. The new version of the manual also has you install a 3rd rivet into the nose rib where there is an extra tab on the back. The old manual already had me trim that off so I left out that rivet. Otherwise, I followed the placement guidance in the new manual and drilled all 4 holes using the angle drill.
 The holes drilled in the nose rib to hold the false rib
The new manual also calls for the false rib to be glued in with methacrylate (2-part epoxy) in addition to being riveted. Since that is a time-sensitive operation (applying the glue, installing the rivets, and clamping before the glue has time to set) I decided to leave the false-rib cleco’d in and finalize the installation when I could get someone to help me.
Rib 5 Capstrip
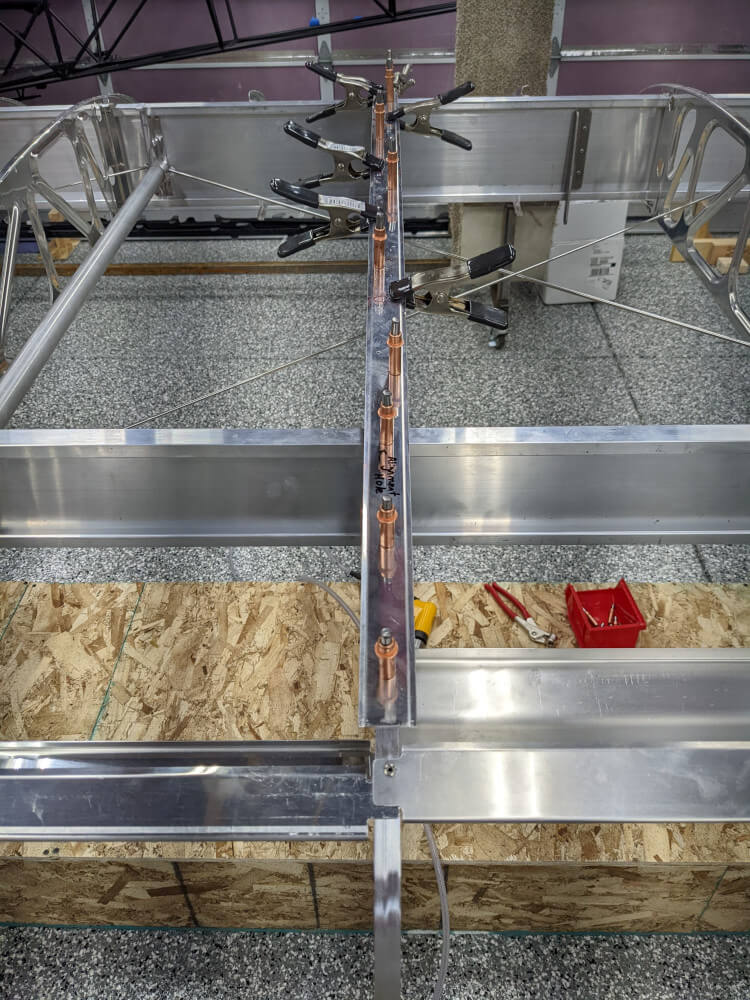
I next moved on to what was section 283 in the old manual (and section 314 in the new one), installing the capstrip on rib #5. This is a piece of metal that sits on top of rib #5 (one of the double ribs) and ties it to its machined tail rib/aileron & flap hanger as well as its nose rib.
The first step in this process was to drill a hole through the rib clip and machined rib 0.25” from the edge of the clip and centered on the machined rib. This is the same hole that was already drilled in the bottom clip to attach it to the machined rib, the placement is just more critical on this one because it is used to align the capstrip with the rib.
I clamped the capstrip to the machined rib, carefully marked the position of the hole, and checked it numerous times before I was ready to drill. The hole is supposed to be centered side-to-side on the machined tail rib but that leaves little margin for error in its position. I also drew a line down the center of the machined tail rib that I could use later when match-drilling so I could verify that the holes were centered.
After checking the position carefully, I drilled the hole through the clip/machined rib with a #55 bit and then enlarged it progressively with a #40 and then a #30. After that was done, I used it (and a hole I enlarged in the capstrip per the manual) to cleco the two pieces together. This aligned them correctly front-to-back.
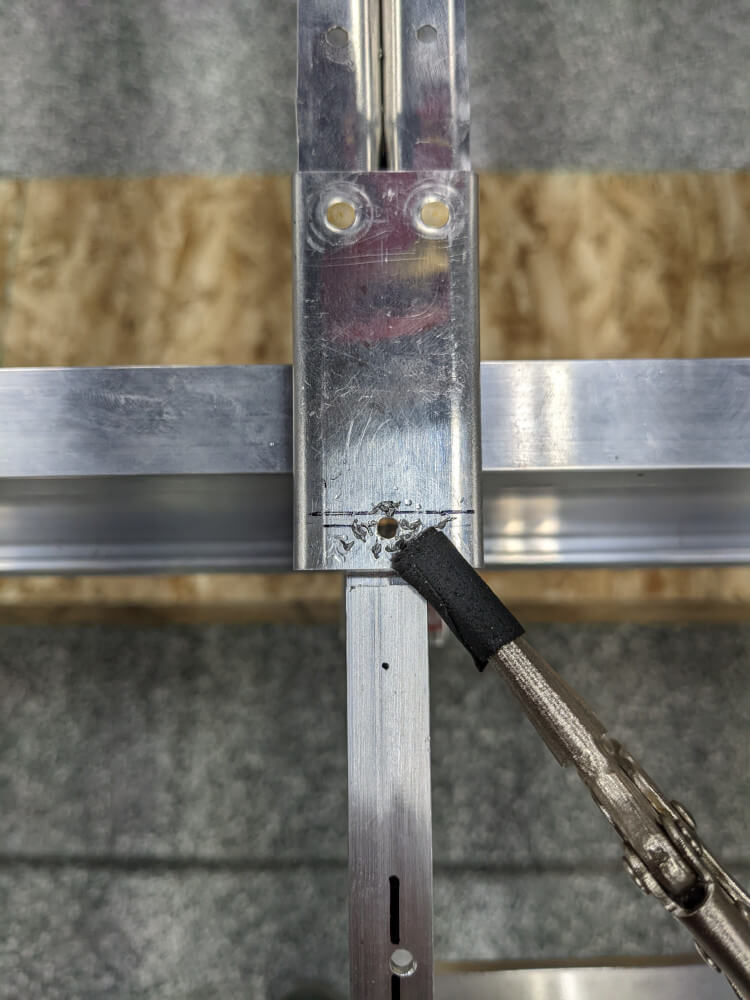 The hole drilled in the machined rib clip
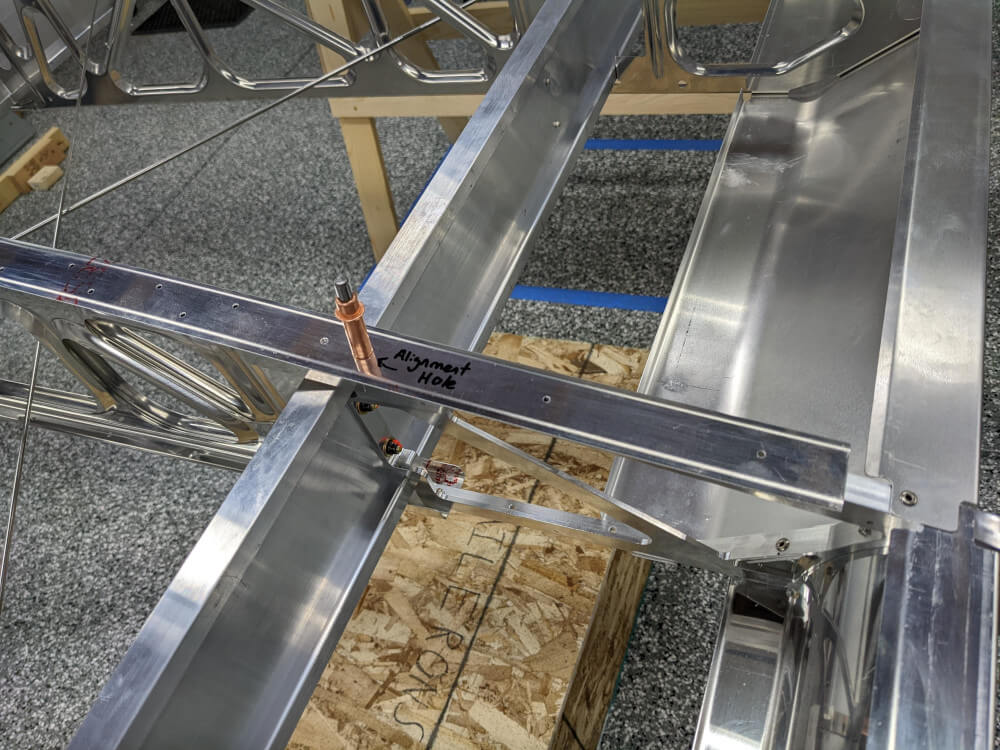 The capstrip cleco’d to the rib through the hole meant for alignment
With that done, I made sure the capstrip was centered the rest of the way down the machined tail rib (my line was centered on the holes to match-drill and the end of the capstrip was centered on the rib) and clamped it in place. I then match-drilled the two remaining holes with a #30 bit and installed clecos.
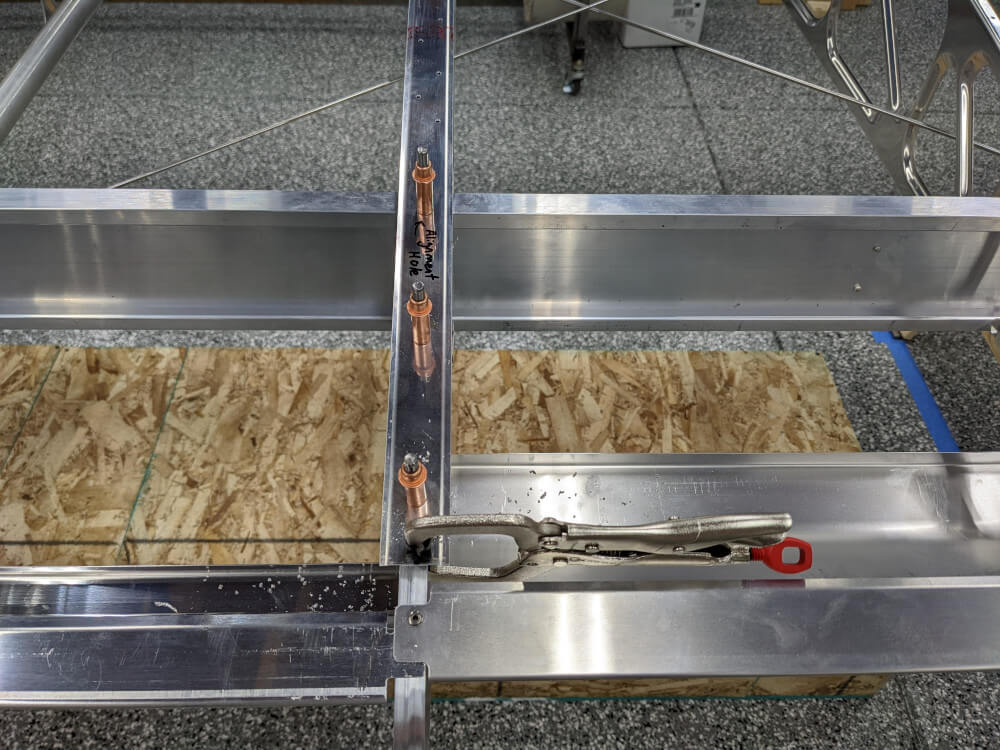 The remaining holes in the machined tail rib drilled and cleco’d (clamp still in place)
Finally, I used spring clamps to clamp the capstrip to the double rib and ensured that it was centered side-to-side the whole way. I then match drilled the holes in the center rib as described in the manual and cleco’d as I went. I also drilled the fabric rivet hole in the bottom clip that was called for already in the new manual.
 The rest of the holes for the capstrip drilled and cleco’d (with the spring clamps still in place)
These holes will still need to be dimpled and riveted but I ran out of time for the night at this point and will continue with this step next time I work on the plane.