I emailed CubCrafters yesterday and received a response from Mark addressing my questions. Today I mostly did some followup work based on those answers.
Drilling Out Tube Rivets
This is where I spent most of my time today. It turns out that the stem on a CherryMAX rivet can be pushed out the back side of the rivet using a punch if it wasn’t set correctly (since the locking collar hasn’t engaged). I was able to get the stem mostly removed using an automatic center punch and then finished removing it with a small diameter punch and a few light taps from a mallet. This was pretty easy to do for each rivet so I went ahead and did it to all of the incorrectly set rivets before moving on.
 CherryMAX with removed stem
Once the stems were out, I carefully drilled into the center of the head with a #30 drill bit until I was able to pry the head off. Some of the rivets began to spin before I got deep enough but I was eventually able to insert a punch into the hole I created and pry the rivet head loose. From there, I had to punch the rest of the rivet out of the hole. This was also fairly easy to do for most of the rivets although a few of them caused me some trouble here as well.
 Removed rivet
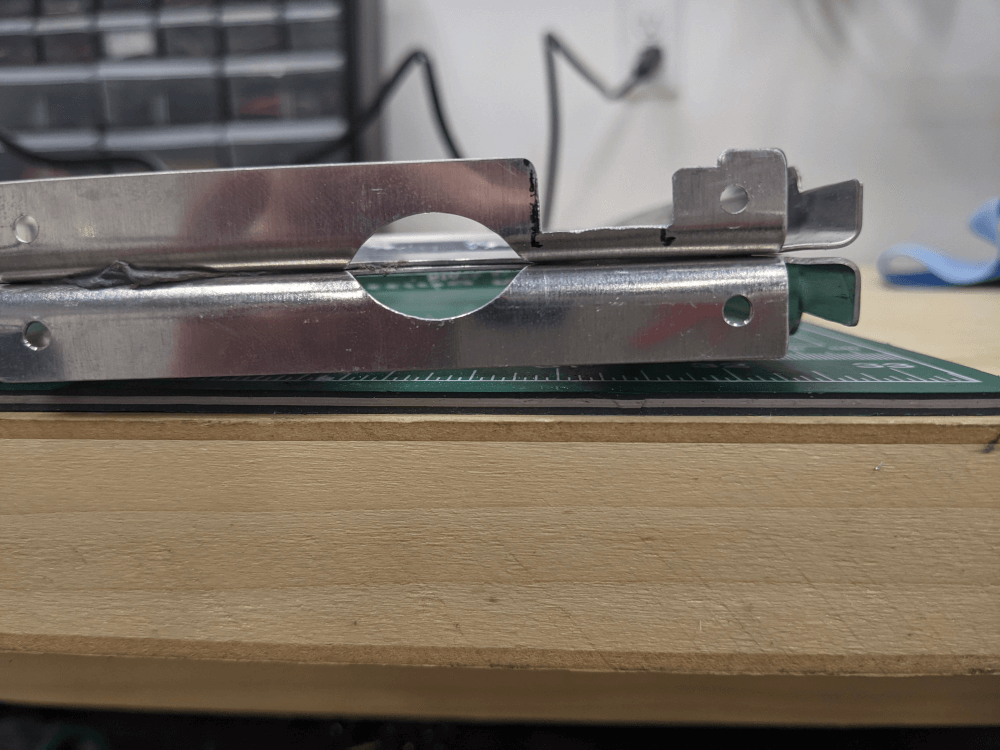
Once all of the bad rivets were removed, I tried to re-install them on the front spar side of the tubes. This would allow me to attach the tubes at one end and still dump the drilled rivets out of the tubes before riveting the other side. There were 3 bad rivets on this side (and one good one on the top of one tube) and I was able to pull the one on the top side correctly. Unfortunately, when I tried the bottom rivets they pulled incorrectly again and I had to drill them out a second time. My best guess as to why this happened is that, even though I was holding the gun straight, I wasn’t pushing the rivet head flush against the work piece while pulling so it was able to pivot a bit. I’ll likely play around with this a bit more before attempting these again. The tubes are at least ready to have the removed rivets dumped out and then be reinstalled.
Jury Strut Fittings
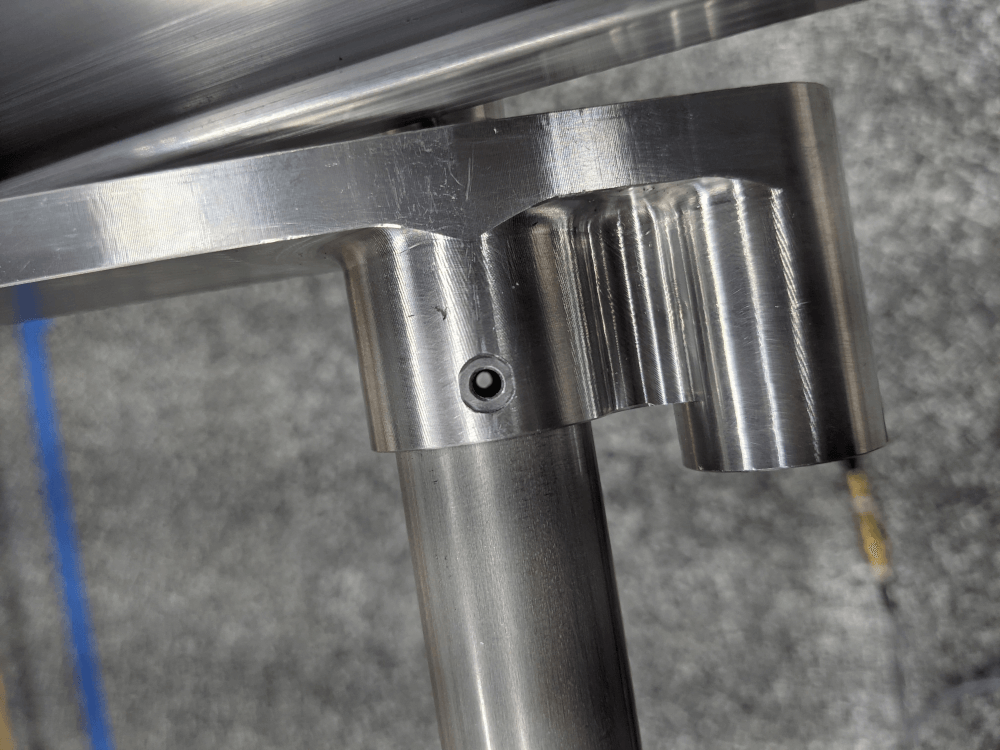
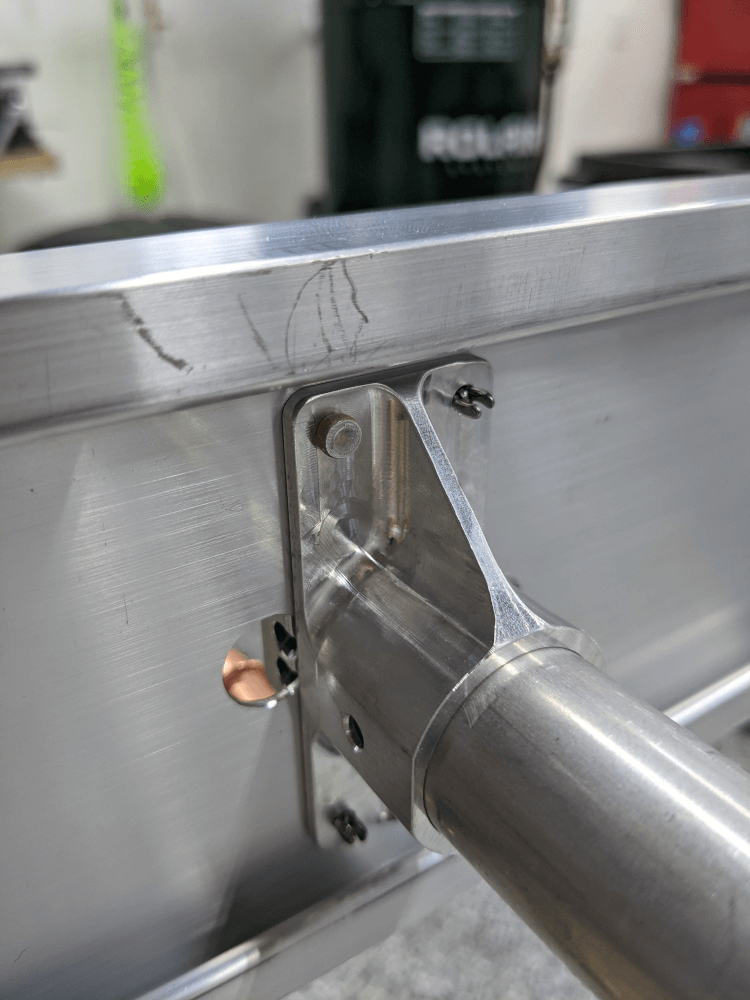
While I was dealing with CherryMAX rivets, I decided to go ahead and install the jury strut fittings per the manual1. It specifies using solid rivets for these fittings (although it allows a CherryMAX CR3213-4-4 for the center rivet on the front fitting) but I spoke with Pete earlier during my build and he advised that the factory was now using CherryMAX rivets for all of them. This is because the CherryMAXes have a higher shear strength than the solid rivets (due to the steel stem) and these rivets are mostly loaded in shear. I was able to confirm this with service bulletin SK-SB007 which says that the rivets should be replaced by CherryMAXes if the jury strut is loose or has any play. I therefore installed the front bracket with CR3213-4-4 rivets and the rear one with CR3213-4-3 rivets as instructed in the service bulletin. I installed them from the fitting side as Pete said that the factory found they pulled better this way. These rivets (like my practice rivets) pulled just fine.
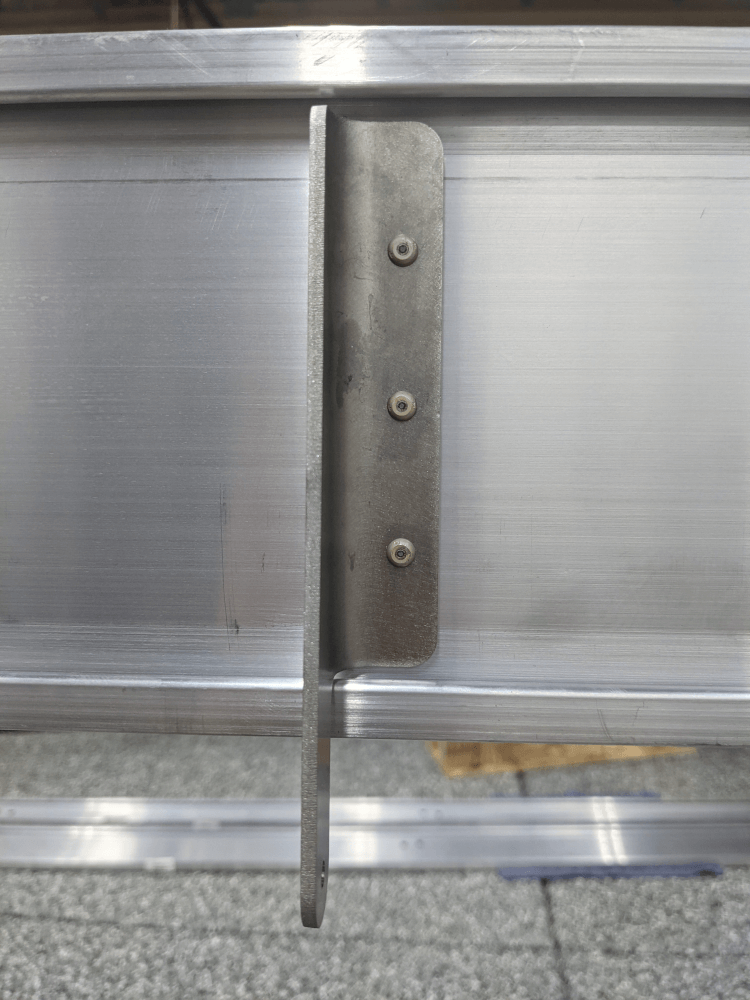 Installed front jury strut fitting
Solid Rivets for Blocks and Fittings
I also confirmed with Mark that the MS20470AD4-8 rivets were the correct ones to use for the other blocks and fittings and that the MS hardware is the same as the AN hardware called for. I set two of these in the inboard rear block/fitting assembly using a hand squeezer but stopped there since I discovered that the cleco’d holes are undersized a very small amount and need to be match drilled too. This makes sense upon re-reading the manual but was more than I had time to get into tonight.
 Squeezed rivet
Center Rib
Finally, I was able to confirm with Mark that the nibbling I did was fine. He did recommend, however, that I round the nibbled corners more in order to prevent cracking in the future (sharp corners can also act as stress risers). He recommended using a Dremel tool with a sanding drum for this. It worked well and I touched it up a bit more with some sandpaper and a small file too.
 Rounded corners on the nibbled rib
Wing Manual (Extended Fuel), CCEX-004 Rev. 2.02, Pages 57-59 ↩