I’m overdue for a build log entry/update so here’s what’s been going on the past couple weeks.
Compression Tubes
Most of my time has been spent in increments of 15-30 minutes looking at the rivets on the compression tubes. The process has generally gone something like:
- Contact CubCrafters support about the rivets.
- CubCrafters and I are confused about why the didn’t work.
- Receive a new technique to try or something new to look for.
- Drill out the rivets and try installing them again.
- Repeat.
In general we were iterating on the problem but each iteration didn’t feel worthy of a post entry because the time I spent working was so short. I have learned a lot during this process though and I think I’ve gotten much better at drilling out CherryMAX rivets. Some tips for doing this (when the rivet stem brakes off below flush) are:
- Use an automatic center punch to punch the stem farther below the head.
- Use a blind rivet removal tool to slowly (a little bit at a time) drill the head of the rivet. I tried just using a plain drill bit at first which was much more error prone and frustrating because the rivet would sometimes start spinning.
- Frequently try using a punch to pry off the rivet head. Eventually you should have enough drilled out that it comes off.
- Make sure that there aren’t any remaining broken edges of the rivet head sticking out on top of the hole. These will prevent the stem from pushing through the hole easily so they will need to be bent in carefully with a punch and light taps from a mallet.
- Lightly tap the stem out the back of the hole using a mallet and a punch.
I ended up trying a number of things including stepping up to the next length rivet (a -5). This pulled correctly but was much too long since it hung down and was not flush with the top of the work piece. I had to remove this rivet by first cutting a slot in the rivet head to break the locking collar and then drill out the rivet as I normally would. I fabricated a bit of a shield out of aluminum to protect the fitting while I did this and to try to hold the rivet in place and keep it from pushing back or spinning.
 Removing the bottom rivet
I also removed the properly set rivets on top of the tubes (per Pete’s suggestion) so that I could completely remove them and inspect the back of the holes. Martha helped me pull the tubes out and we discovered that there were some noticeable burrs on the back that I hadn’t been able to get by trying to deburr through the hole.
We worked together to remove these burs (with the benefit of being able to see what we were doing and reach in from the end of the tubes) and got them in what seems to be a pretty good spot. We then reassembled everything but one of the rivet holes is very tight and the rivet doesn’t quite fit so I think I’m going to have to run the drill through it one more time before we disassemble and deburr once more. Hopefully after that the rivets will pull correctly without a problem (fingers crossed).
 The burr on the back side of the tube
I should also mention that the two holes I have been drilling out and re-riveting have definitely gotten somewhat larger as I have gone through this process. I did order some oversized rivets just to be safe but the holes are not large enough to fit them. I also measured the holes with my digital calipers and the largest came out to 0.1315”. The limit for the 1/8” CherryMAX rivets is 0.1320” so I am just under that and good to go for the next try.
Rotators
The other thing that has happened recently is that I met another local builder, Steve, who had a set of rotators he was willing to sell. I met him at the local U.S. Aircraft Expo at the Rocky Mountain Metropolitan airport. Rick, the CubCrafters regional sales person I bought my kit from, was there with his FX3 showing it off so I went over to meet him in person, take a look at a finished CarbonCub again, and let Martha sit in one. Steve was there at the same time and we talked about our builds a bit. It turned out that he had a set of rotators that he would sell me and that he was already finished with them.
I had planned on buying a set of Bogert rotators from another gentleman but those would have been coming from out of state and would have required freight shipping (in addition to being more expensive to begin with). He was very understanding when I told him that I found a set locally instead and I went down to Steve’s hangar in Centennial today with Martha to pick them up.
We brought a 5x8 U-Haul trailer which fit everything perfectly and was easy to get loaded up. In the end Steve sold me a fuselage rotator, a wing rotator, and a wing rack (for storing the finished wings). He was also incredibly nice and we talked about the cub build for a while. He answered a number of my lingering questions and it was nice to see a cub that was still a project but also almost finished. We also commiserated about mistakes and fixing them which made me feel quite a bit better too (it helped me recognize that some mistakes were normal and that they can be fixed).
When we got the rotators back we were able to put the fuselage rotators in the garage and the wing rotators in the shed. The only thing that wouldn’t fit was the wing rack since we couldn’t get it through either door. For now it is sitting outside (covered by tarps) with the hope that we’ll be able to put it in the garage (through the garage door) tomorrow after we get some help mounting the fuselage to the rotator so we can get it out of the way.
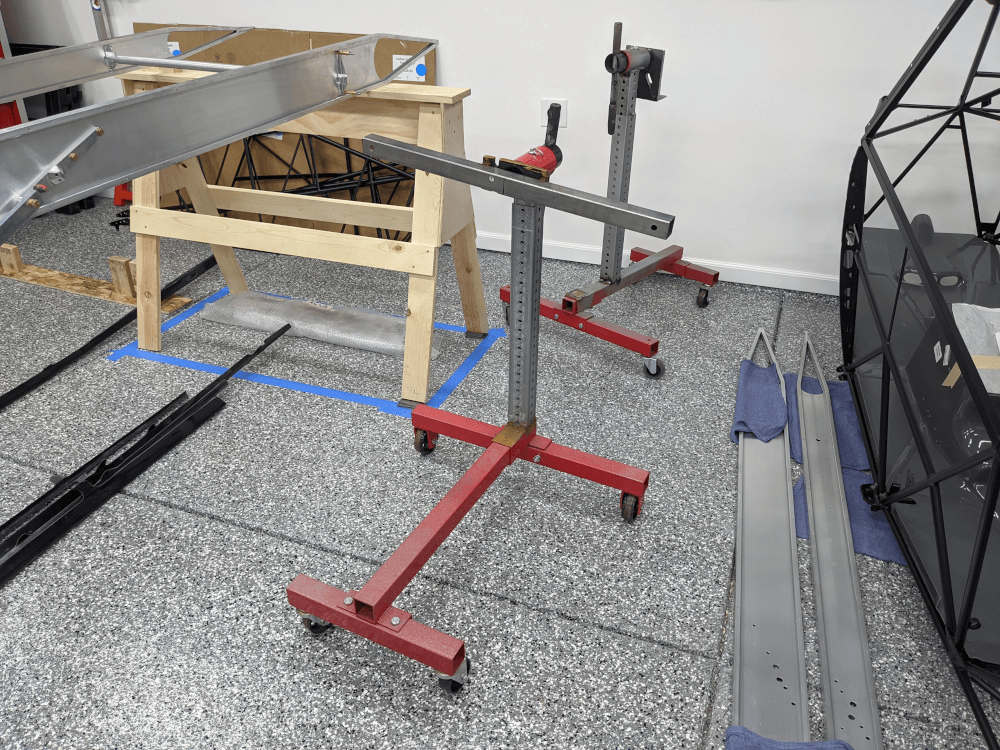 Fuselage rotators
I did try to get the mounting hardware so I would be ready to go tomorrow and picked up some 3/8” x 3 1/2” bolts for the front of the fuselage, some 1/4” bolts for the tail, and some washers and nuts. I also moved as much around the garage as I could to get it out of the way. As part of this I removed the tail surfaces from the top of the fuselage (they were zip-tied there for shipping) and noticed that part of one of the horizontal stabilizers is bent. This is something I’m going to follow up with CubCrafters about this week. I also tried to figure out where to store the tail feathers until I need them and I think I might try to put them in the rafters of the garage when I have everything pulled out tomorrow.
Finally, I should mention that I wasn’t able to move on to the fuselage build while I was waiting because I did not have some of the required parts and because I did not have a rotator yet. I ordered the things I was missing (at least for the first few steps - mostly sealants and lubricants) so I should be able to make some progress there if I get stuck again.