Craig came by once again today to help me finish installing the center aileron hanger. This part doesn’t seem tricky since there are just 4 more holes in the bracket to match drill and rivet; however, it ends up being quite a pain because the bracket is bent to a different curve than the false spar so it doesn’t sit flat. This means you have to try to bend it, once it is already partially installed, to remove the gap between the two parts so that the holes can be drilled and the rivets installed. This is a challenging process by yourself and Craig had already done it on his wing so he was a huge help and agreed to help with mine as well.
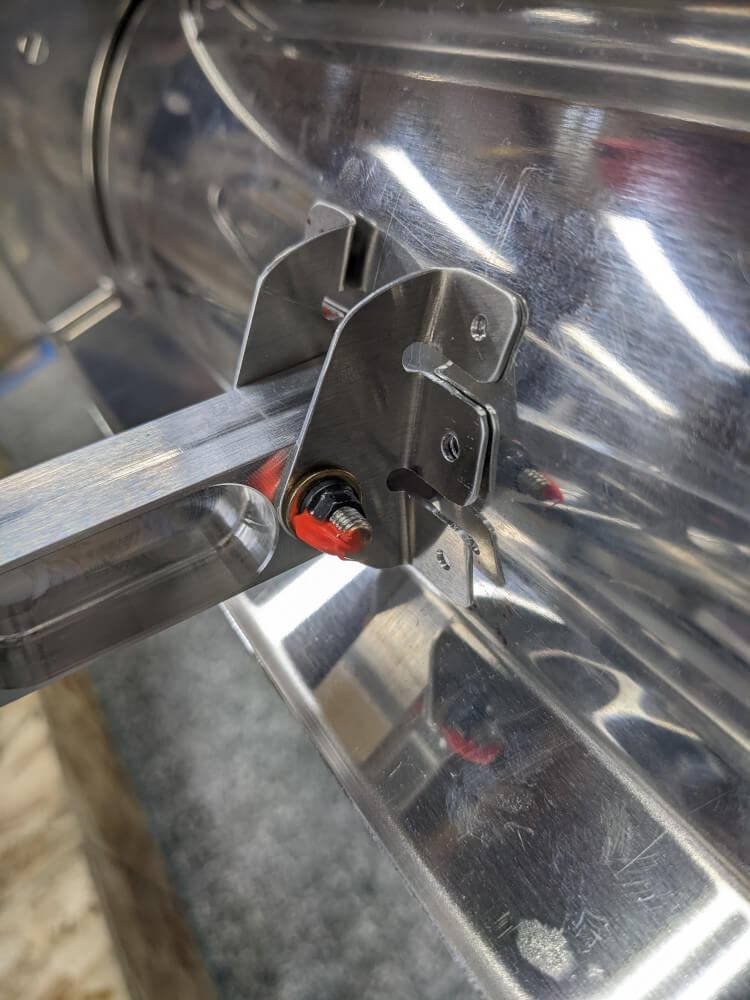 The bracket with large gaps between it and the false spar
Before we got started with the bracket, we first pulled the last two rivets in the outboard aileron hanger using the offset puller he brought with him. This meant that the last two things to do were install the center aileron hanger bracket and the final rivet in the flap/aileron hanger.
Since the center holes had already been match drilled and we didn’t want them to go anywhere, we started the center hanger bracket install by pulling te CherryMax rivets in those two spots. With that done, we worked on the rest of the holes from easiest to hardest trying to find some way to hold the pieces flush while drilling and riveting. We were occasionally able to accomplish this with a large welding clamp Craig brought and sometimes just by pushing on the bracket with a pair of pliers or some other tool. The top holes in the brackets could be drilled with the normal palm drill but we had to use the angle drill on the bottom two.
The hole that ended up being most challenging, and the one we saved for last, was the bottom outboard hole. It can be seen in the first picture in this build log entry and is quite far away from the false spar. In fact, it was far away enough that just pushing on the bracket wasn’t enough to eliminate a satisfactory amount of the gap. We played around with this for a while but eventually Craig figured out that we could put a compound/second bend in that bracket tab to allow it to angle down towards the surface (bend 1) and then set flat against it (bend two). We did this by using a pair of pliers to bend the tab away from the false spar and then add the second bend. Once we did this, it pushed up flat against the false spar with no problem! This let us get the last rivet in and pretty much complete section 231 (the last rivet in the flap/aileron hanger should be really quick to install)! We’ll definitely have to remember this trick for next time and will likely try to pre-bend these tabs before installation.
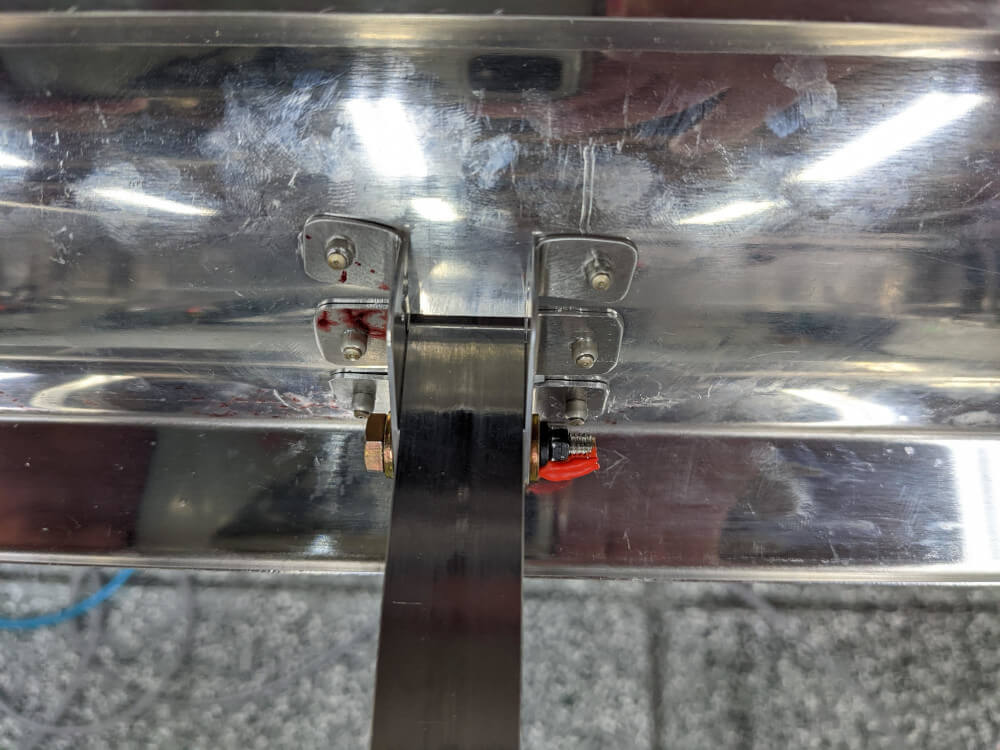 The bracket side of the rivets after installation
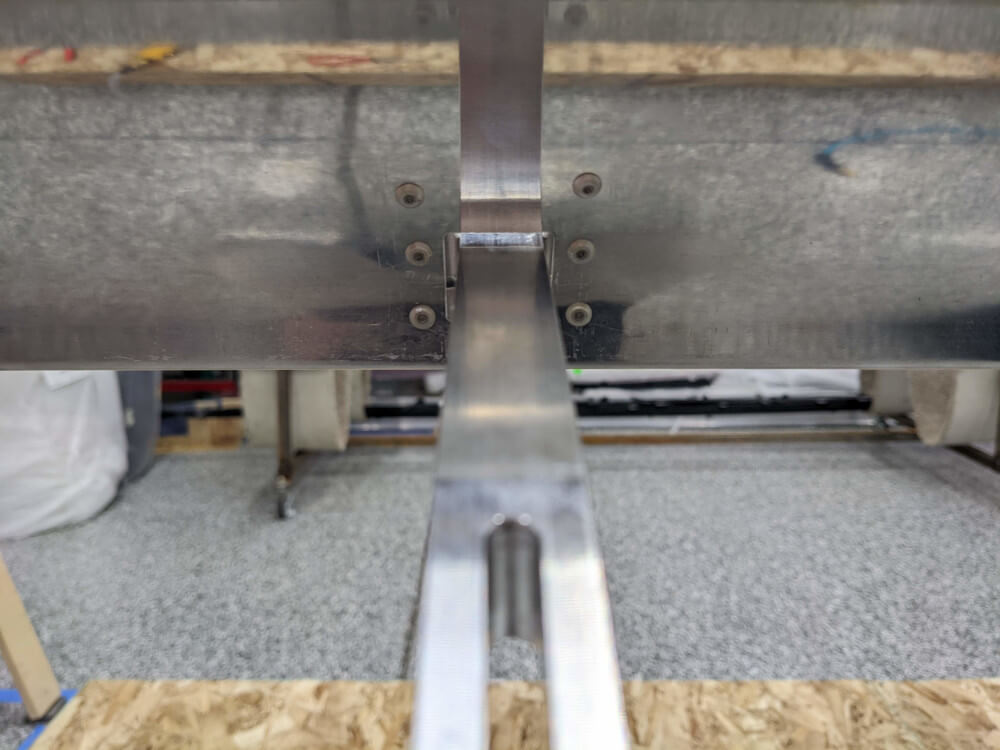 The head side of the rivets after installation
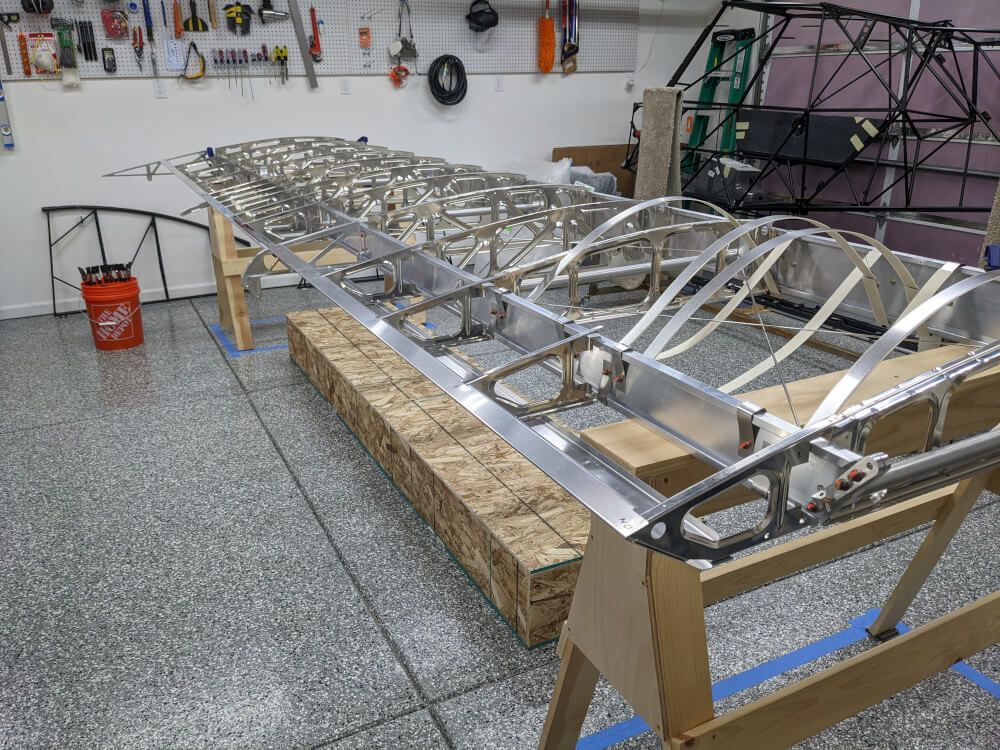 The wing with the false spars pretty much complete
Wing Manual (Extended Fuel), CCEX-004 Rev. 2.02, Pages 106-125 ↩