Rib 5 Capstrip Fabric Rivet Holes
The first thing I did tonight was match drill the fabric rivet holes through the capstrip in rib #5. There are several holes pre-drilled in the double rib and 3 holes in the machined rib that must be match-drilled from underneath so that fabric rivets can be installed after covering.
I started by using an offset drill head on the angle drill to match drill the most rearward two holes in the machined rib. This was necessary because the machined rib itself and the false spar get in the way of accessing the holes from below. Using the offset head and working from below was effective and I was able to drill the holes without a problem. That being said, I did ensure I was using light pressure so I could control the drill easily and prevent it from pushing up and into the machined rib when it broke through the back side of the hole.
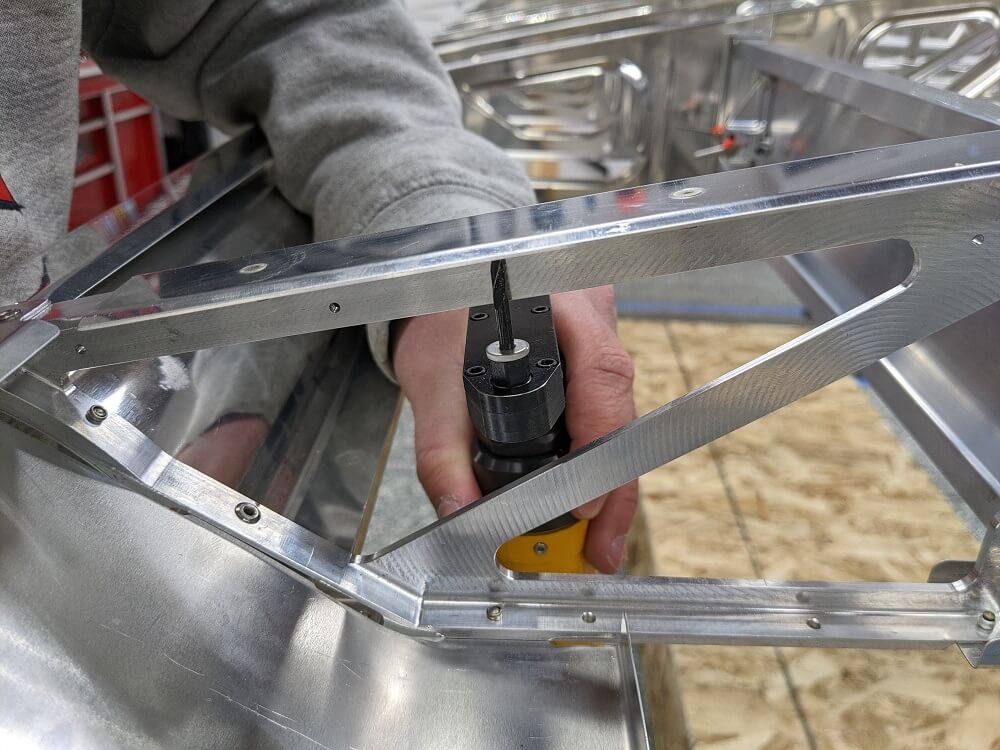 The position of the angle drill so that the fabric rivet holes could be match drilled
Unfortunately, there is a diagonal piece of the machined rib that prevents accessing the most forward hole in the same way. This meant that I could not use the angle drill to drill that hole. Since the false spar didn’t extend far enough forward to block access to the bottom of the machined rib at this point, I decided to use a 12” drill bit and try to bend it slightly to get mostly straight, as it seemed was originally intended by the instructions. Unfortunately, even this slight offset made the hole come out with a bit of an angle so a fabric rivet wouldn’t sit flat. It may have still pulled flat just fine but I went ahead and passed a #30 drill bit back through from the top side to straighten it a bit. This will have no practical affect on the wing or the fabric rivet hole but does mean it’s a little less perfect than it could have been. Next time I will probably try to come up with a different way to use an angle drill to drill this hole so that it comes out perfectly straight like the others.
That being said, using the 12” bit to match drill the holes in the double rib worked great and was easy. This finished section 311.
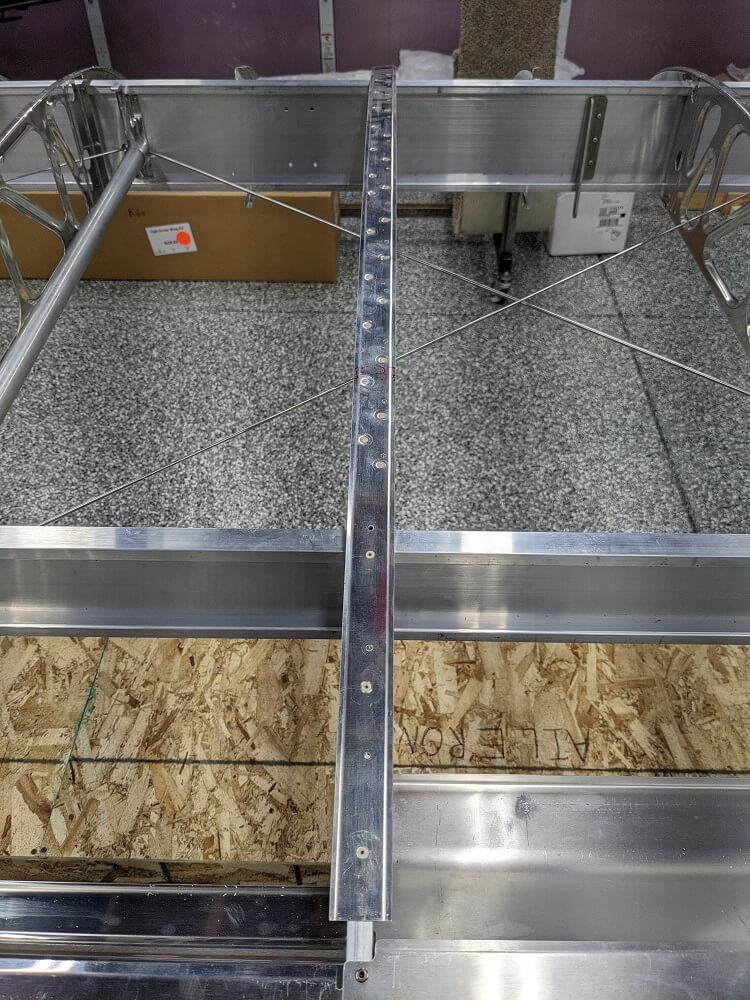 Rib #5 with the fabric rivet holes match drilled
Capstrip Nutplates
After that was done, I finished up section 322 by installing the nutplates in the rib #1 and rib #3 capstrips.
The #40 holes for the nutplate rivets first had to be countersunk which was straightforward using a microstop cage and countersink cutter. Next, getting the nutplates to sit flat against the underside of the rib was a bit tricky but using the rivet squeezer to flatten the bumps in the rib worked pretty well. In addition, I bent the tabs on the end of the nutplates with the rivet holes in them up very slightly using a pliers wrench so that they would contact the rib a bit better. A cleco could then be inserted through one of the nutplate holes to hold it in place while the other hole was riveted.
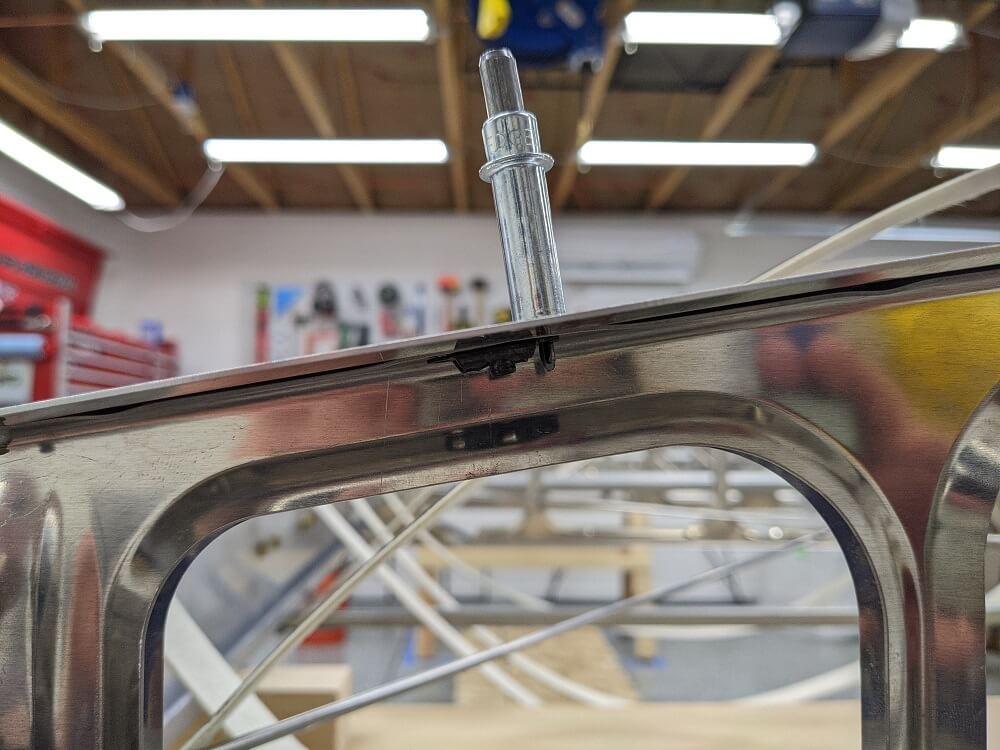 A nutplate cleco’d in place and sitting flat against the underside of the rib
Riveting was pretty straightforward using the pneumatic rivet puller (a normal pneumatic puller and not the Cherry puller). Once all of the rivets were pulled section 322 was complete.
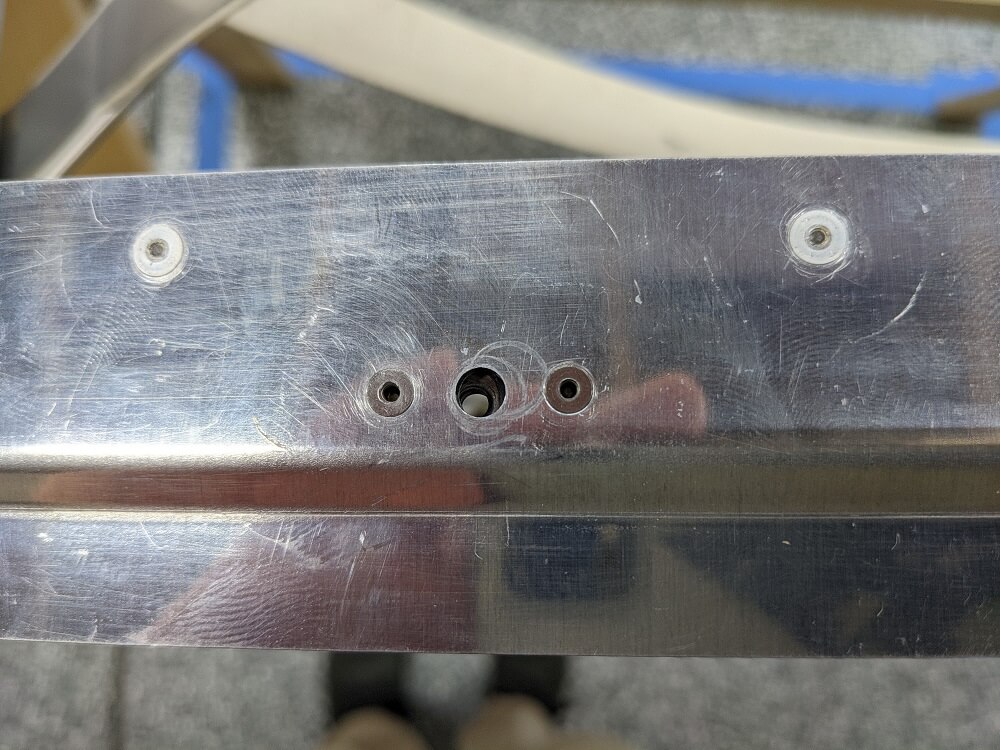 A fully installed nutplate