Rib 5 Capstrip
I borrowed the CherryMax rivet puller from Craig today so I started by finishing the capstrip on rib #5. I had already countersunk the 3 holes in the capstrip and machined tail rib so I quickly pulled the CherryMax rivets that were to be installed there.
 The CherryMax rivets installed through the capstrip and into the machined tail rib
Next, I set the depth appropriately on a microstop cage for a #40 countersink and countersunk the #40 hole in the capstrip/nose rib. I then inserted the solid rivet called for in the manual and squeezed it. This finished section 311 of the new manual except for match drilling the fabric rivet holes (from the bottom since they are pre-drilled in the machined and double rib). I do need to borrow an offset angle drill head from Craig to make doing this easier and for the most rearward hole in the machined tail rib to even be possible.
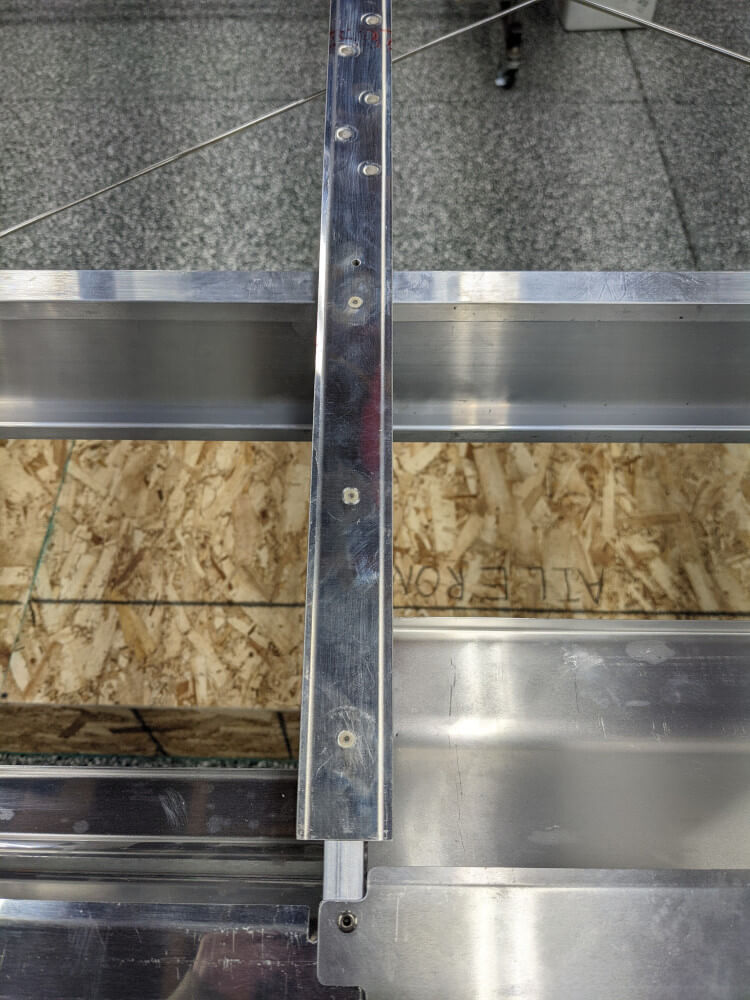
 The capstrip on rib #5 finished except for the fabric rivet holes
Rib 1 Bottom Capstrip
Next, I installed the bottom capstrip on rib #1 as described in section 332 of the manual. I hadn’t heard back from CubCrafters about the rivet from this capstrip into the nose rib but, upon looking at the leading edge skin instructions, I realized that the CherryMax rivet installed in the nose rib for the capstrip won’t interfere with the skins at all. This also agrees with the instructions, the diagram, and with how Craig is interpreting the instructions.
I had already clamped this capstrip in place so I verified its position one more time and then match drilled all of the holes with a #30 bit. I also match drilled the hole for the SS42D rivet in the flap false spar that goes through the capstrip and tail rib.
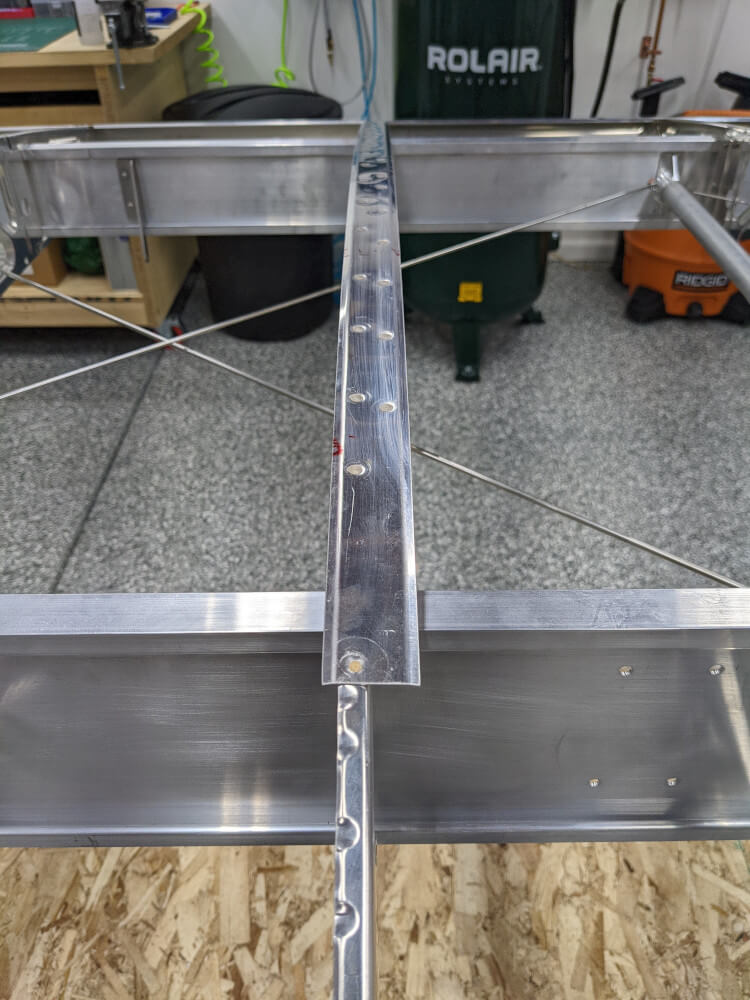
 Most of the holes for the capstrip drilled and cleco’d
With the holes drilled, I removed the capstrip, deburred all of the holes, and cleco’d it back on. I then went from hole to hole countersinking and installing the rivets as I went. One hole lined up with a flute on the rib so I used the rivet squeezer to flatten this out a bit before riveting (as suggested in Dave Embry’s build tips). Finally, after the other rivets had been installed, I riveted a SS42D rivet into the more rearward hole (that goes through the flap false spar). This finished section 332 of the manual.
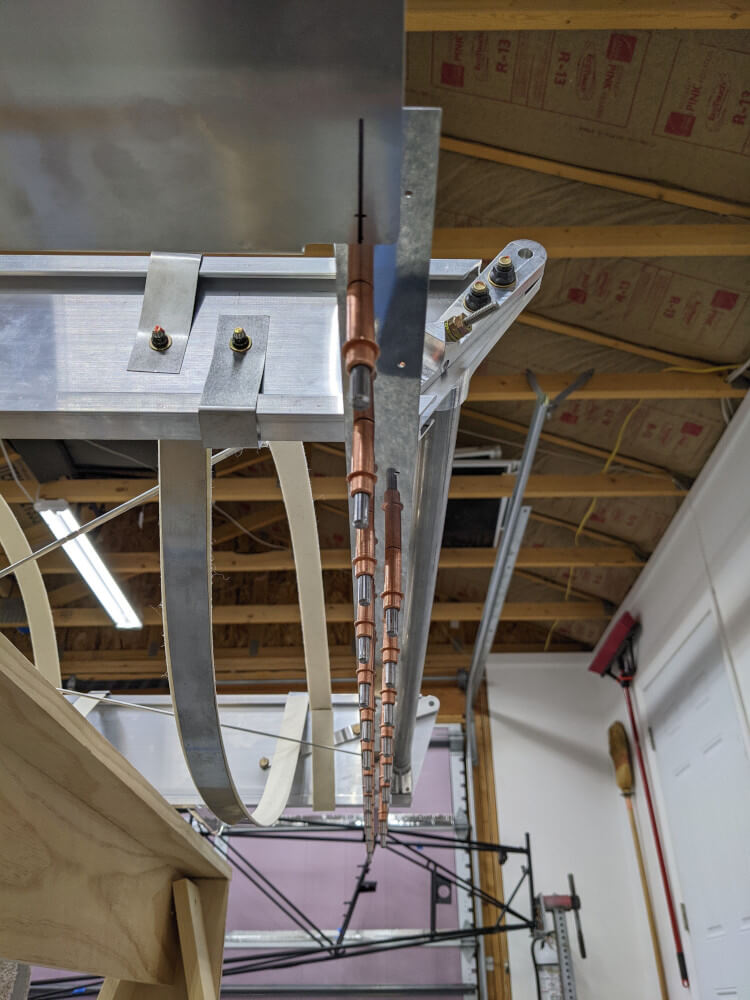
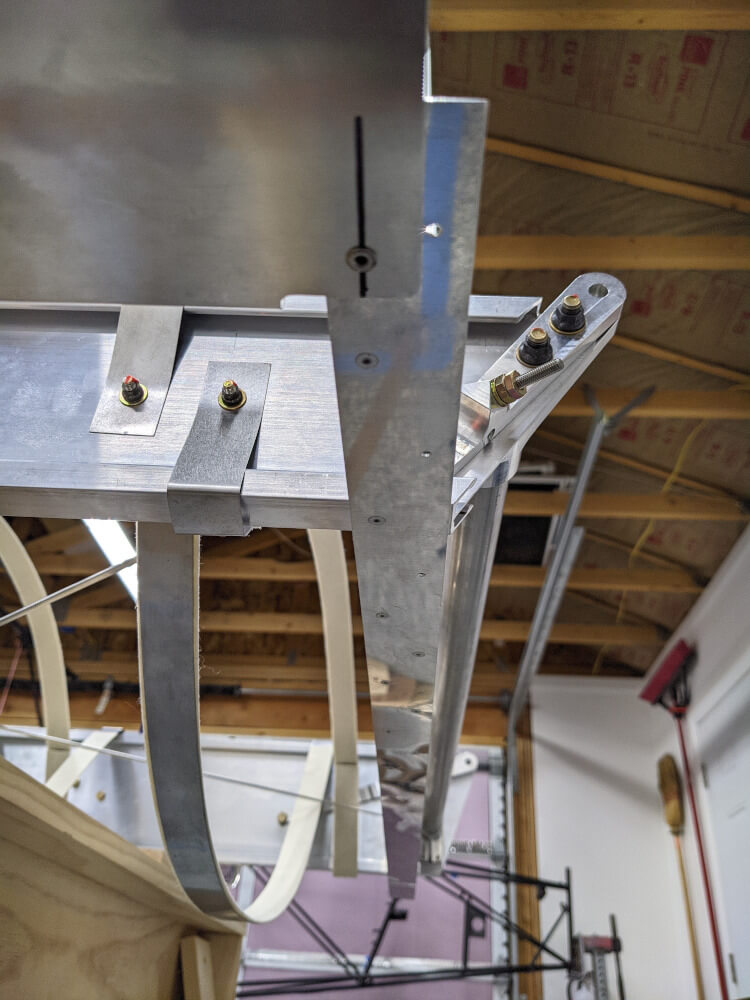 The finished capstrip on the bottom of rib #1