Craig came by again today to help me with the aileron false spar. With it clamped in place the last time we worked on it (flush with the edge of the aileron/flap hanger), we were able to start by using the spacing jig to drill the top holes in ribs 6 and 7 (per the manual) and then install clecos. From there, we double checked the position of the false spar on the aileron/flap hanger and began drilling the holes there.
The first one we drilled was the top hole in the curved part of the hanger using the angle drill and offset head. In order to ensure that the final hole was nice, we clamped on both sides of the area to drill and drilled first with a #40 bit (being very careful to keep it as perpendicular to the material as possible) and then enlarged with a #30. In addition, since the space was to small to use a bit with a drill stop I taped a piece of scrap wood an inch or so behind where the bit would come out to keep it from accidentally marring the area behind the drill exit. I also used a small nylon washer on the drill bit (generally a good idea if a drill stop can’t be used) to provide a bearing surface in case the base of the bit contacted the metal I was drilling.
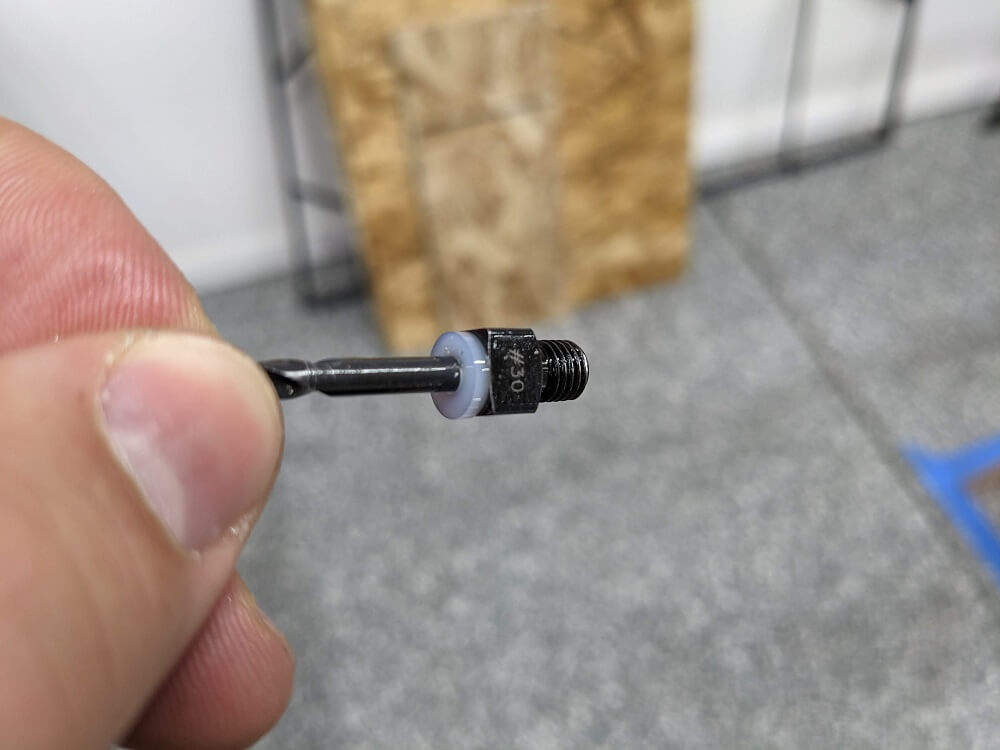 A nylon washer on a drill bit being used as a bearing surface
After this hole was drilled, I inserted a stubby cleco so that it would be easier to remove and to make it easier to access the lower hole on the curved part of the false spar since that is the hole we drilled next. This hole was drilled in the same way as the previous one except for the fact that we had to use very short threaded drill bits (ATS p/n 5000-30SS and 5000-40SS) in order to fit the drill head in straight on. If we used even slightly longer bits, they would cause the head of the drill to contact the side of the hanger before it was straight. A cleco (even the short ones) wouldn’t fit in this hole after drilling so we went ahead and pulled the rivet using the offset rivet puller (Marson PRP26A). Last time we did this the part of the rivet puller that moves backwards took a little gouge out of the aileron/flap hanger where it contacted. In order to avoid that this time we ground down the back of the moving part of the puller a bit to create a curved (rather than sharp) edge and pulled in smaller increments (releasing the handle and pushing the tool forward on the rivet stem each time). This kept the rivet puller away from the metal behind it and would have hopefully prevented any blemishes if it had touched. We used this same tool to pull the other rivet in the curved part of the false spar as well (that had been filled with the stubby cleco).
With the two holes drilled in the curved part of the false spar, we match drilled the remaining two (using the spacing guide) and pulled their rivets as well. From here, we continued following the manual by match drilling and then riveting the remaining holes in ribs 6, 7, and 8.
At this point, the manual called for installing the aileron to set the outboard hanger angle/spacing. We did this and ended up needing 3 washers between the aileron and the outboard hanger to achieve the desired spacing. We shifted the outboard portion of the false spar back and forth until it was aligned with the outboard edge of the outboard aileron hanger and then clamped it in place. We also used several clamps to hold it in position where it overlapped the inboard false spar (at rib 9). Finally, we attached the brackets to the center aileron hanger using the hardware called out in the manual except that we did not yet install a lock nut. Instead, we used a non-locking nut and made it snug. This is because we were just able to match drill the center hole in each bracket and then the top holes but the bottom holes had a significant gap between them and the false spar. We had encountered this on the previous wing and, rather than using clamps like last time, hope to take the brackets off and bend them to fit better before drilling.
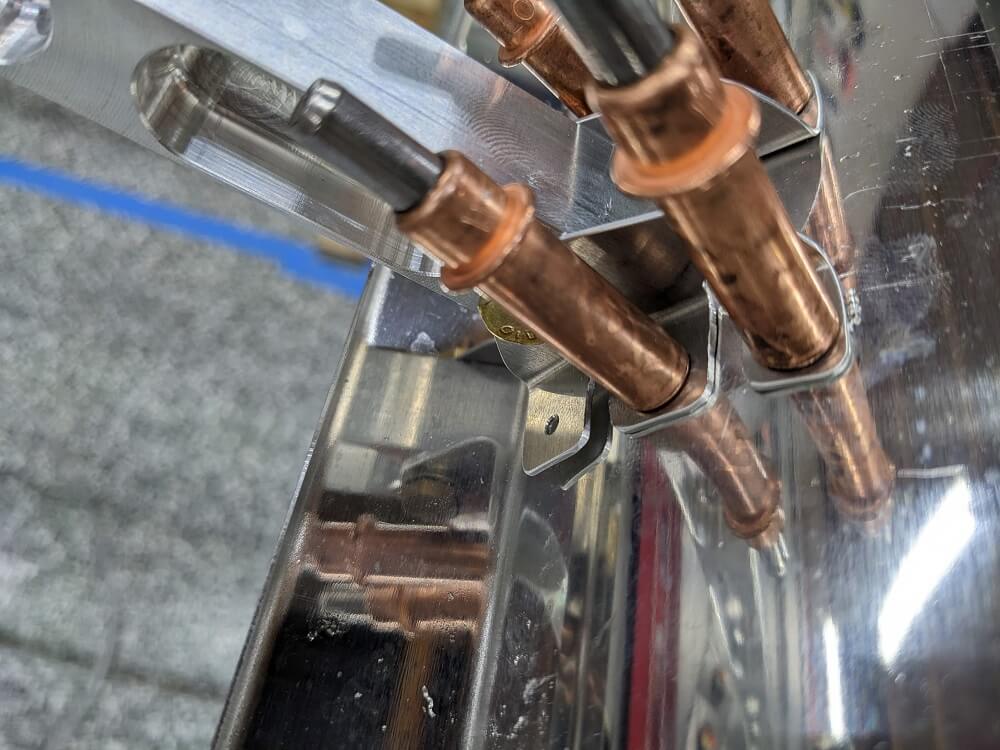 The center aileron hanger brackets with a gap between the parts
From here, we took the aileron off the wing and checked the overlapping section of the false spar with the spacing jig. We then match-drilled the holes for the overlap at rib 9 and the holes in the curved section of the false spar in the outboard aileron hanger. We puled these two rivets in the outboard hanger but then ran out of time for the day. This almost completed section 401 of the manual but there is still a little work left to do in order to complete that section/the aileron false spar.
Wing Manual (EX-2/EX-3) CK-KM301 Rev B, Section 37 ↩